Air Conditioner Installation Kit Made Easy

Installing an air conditioner is much easier when you have the proper tools. Using an air conditioner installation kit streamlines the process, helping you save both time and effort. With the right kit, you can efficiently install your unit by following the correct steps. This ensures a secure installation and delivers optimal cooling performance for your space.
Key Takeaways
An air conditioner kit makes installation quick and easy.
Clear the area and gather tools before starting the setup.
Clean filters and check refrigerant often to keep it working well.
Tools and Preparation for Using an Air Conditioner Installation Kit
Tools Included in the Air Conditioner Installation Kit
Your air conditioner installation kit typically comes with essential tools to make the process easier. These tools include:
Tubing Cutter for precise pipe cutting.
Manifold Gauges to test the system and check for leaks.
Vacuum Pump to remove air, gas, or moisture from the system.
Refrigerant Scale to measure the exact amount of refrigerant needed.
Core Removal Tool for faster refrigerant recovery or evacuation.
Coil Fin Straightener to fix bent fins and improve airflow.
Refrigerant Recovery Machine for safely recovering refrigerant during repairs.
These tools ensure you have everything necessary for a smooth installation process.
Additional Tools You May Need for Installation
While the kit provides many essentials, you may need extra tools and materials to complete the job. Some commonly required items include:
A power drill for mounting brackets.
Screwdrivers for securing screws and bolts.
Measuring tape to ensure accurate placement.
Level to confirm the unit is installed evenly.
Sealant or weatherstripping to insulate the unit and prevent air leaks.
Having these additional tools and materials on hand will help you install your air conditioner efficiently.
Safety Tips to Follow Before Installation
Safety should always come first when working with an air conditioner installation kit. Follow these precautions to protect yourself:
Stay hydrated and take breaks to avoid heat stress.
Use stable ladders or harnesses to prevent falls when working at heights.
Handle refrigerants carefully to avoid skin or respiratory irritation.
Inspect the installation area for hazards and remove any obstacles.
Wear gloves, goggles, and non-slip footwear for added protection.
By following these tips, you can ensure a safe and successful installation experience.
Step-by-Step Guide to Installing an Air Conditioner with an Installation Kit
Step 1: Unpack and Inspect the Installation Kit
To begin the installation, you need to carefully unpack and inspect the air conditioner installation kit. Follow these steps:
Unpack all components, including the indoor and outdoor units, coil, and any additional materials like wiring accessories or a thermostat.
Inspect each item for damage or missing parts. Ensure everything is intact before proceeding.
Tip: Keep the packaging nearby until the installation is complete. It can help protect components during setup or serve as temporary storage for small parts.
Step 2: Prepare the Installation Area
Proper preparation ensures a smooth installation process. Take the following steps:
Clear the area of debris, plants, or objects that might obstruct the unit's operation.
Confirm that your electrical system can handle the air conditioner's load. If necessary, consult a professional for upgrades.
Check that the site allows easy access to wiring, pipes, and ductwork.
Note: A well-prepared area reduces the risk of delays and ensures the correct way to install a window air conditioner or any other type of unit.
Step 3: Mount the Air Conditioner
Mounting the air conditioner requires precision and planning. Start by assessing the structure to identify potential challenges. For example:
Address structural constraints by choosing appropriate solutions, such as ductless systems for limited spaces.
Ensure the unit is sized correctly for the room to avoid inefficiencies.
Use a level to confirm the unit is even after mounting.
Reminder: Proper mounting is crucial for both indoor and outdoor unit installation. It ensures stability and optimal performance.
Step 4: Seal and Insulate the Unit
After mounting, seal and insulate the unit to prevent air leaks and improve efficiency. Apply weatherstripping or sealant around the edges of the unit. This step is especially important when installing air conditioners in windows, as gaps can reduce cooling effectiveness.
Pro Tip: Double-check the insulation to ensure no gaps remain. This will help maintain consistent indoor temperatures.
Step 5: Connect and Test the Air Conditioner
Once the unit is mounted and sealed, connect and test it to ensure proper functionality. Follow these steps:
Secure the coil using brackets or supports.
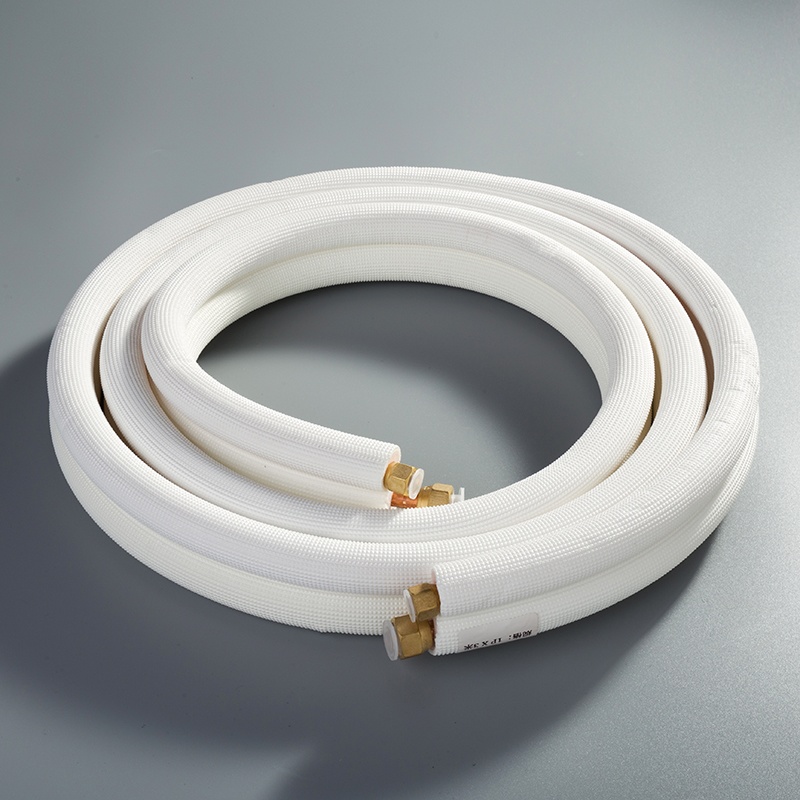
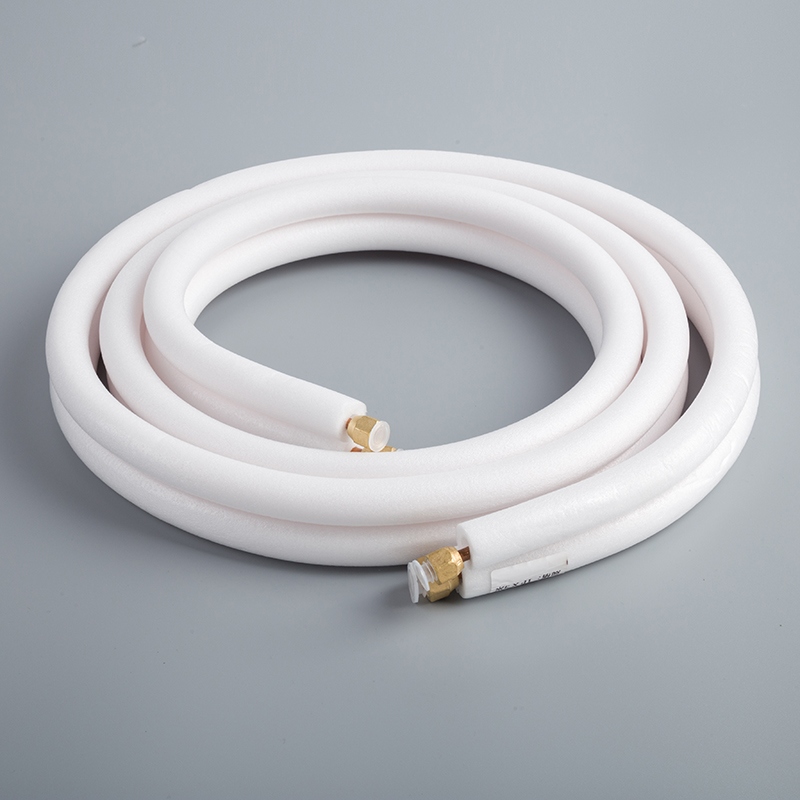
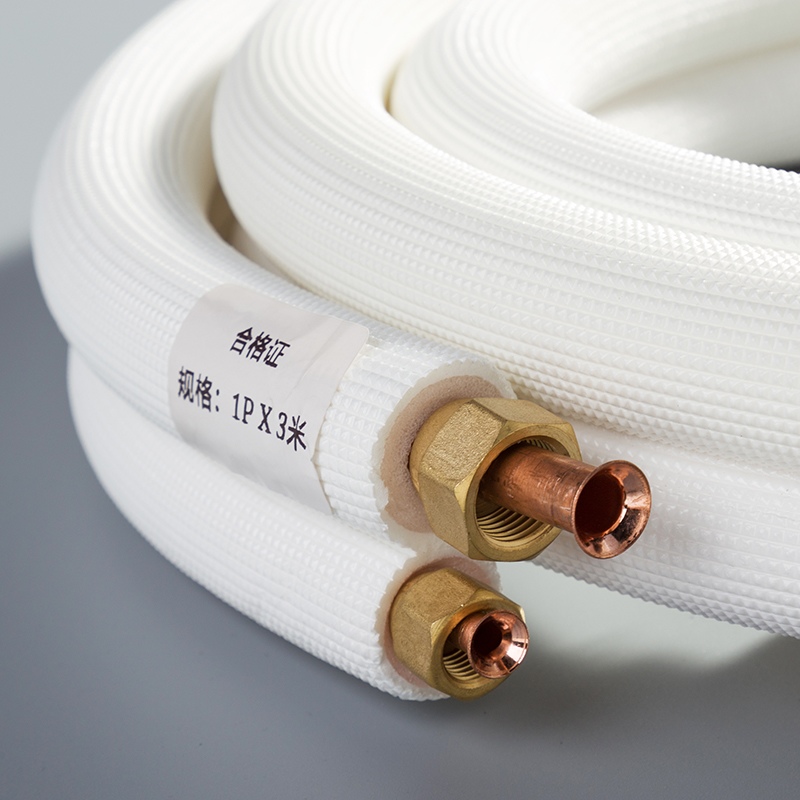
Connect refrigerant lines between the indoor and outdoor units, ensuring a tight seal to prevent leaks.
Install the expansion valve to regulate cooling efficiency.
Test airflow and cooling performance by measuring temperature differences across the system.
Turn on the unit and monitor its operation for at least 20 minutes.
Tip: Familiarize yourself with the air conditioner's features during testing. Check for leaks and ensure the system cools the room as expected.
By following this step-by-step process, you can confidently install a window A/C unit or any other air conditioning system. This method ensures a secure and efficient setup, providing long-term comfort.
Troubleshooting and Maintenance Tips for Your Air Conditioner Installation Kit
Common Installation Issues and How to Fix Them
Even with the best preparation, you might encounter some challenges during air conditioning installation. Knowing how to address these issues ensures a smoother process. Below is a table highlighting common problems and their solutions:
Common Issue | Resolution |
|---|---|
Incorrect thermostat installation | Ensure proper placement and calibration of the thermostat for accurate temperature control. |
Improper AC unit placement | Install the unit in a shaded area to enhance efficiency and prevent overworking. |
Incorrect refrigerant levels | Check and maintain correct refrigerant levels to avoid inefficiency and potential damage. |
Poor insulation | Improve insulation to prevent air leaks and enhance energy efficiency during installation. |
Wrong size AC unit | Assess cooling needs accurately to select the right size unit for optimal performance. |
Tip: Always double-check your work during installation to catch and fix these issues early. This will save you time and effort in the long run.
Maintenance Tips for Long-Term Air Conditioner Performance
Proper maintenance keeps your air conditioner running efficiently for years. Follow these tips to ensure optimal performance:
Clean or Replace Filters Regularly: Dirty filters reduce airflow and strain the system. Check them monthly and clean or replace them as needed.
Inspect and Clean Coils: Dust and debris can accumulate on the coils, reducing cooling efficiency. Clean them at least once a year.
Check Refrigerant Levels: Low refrigerant can damage the system. Monitor levels and refill if necessary.
Seal and Insulate: Ensure the unit remains properly sealed and insulated to prevent air leaks. This is especially important if you install a window A/C unit.
Schedule Professional Inspections: Have a technician inspect your system annually to identify and fix potential issues.
Pro Tip: Learning how to install and maintain your air conditioner properly can save you money on repairs and energy bills. Regular upkeep ensures your unit operates at peak efficiency.
By addressing common issues and following these maintenance tips, you can enjoy a reliable and efficient cooling system for years to come.
Installing an air conditioner with an installation kit offers several advantages. You can save money by avoiding labor costs and enjoy the flexibility of working at your own pace. However, the process requires careful attention to detail. Mistakes during installation may reduce efficiency or lead to costly repairs.
Key Takeaways:
Save on labor costs.
Gain valuable home improvement experience.
Ensure proper handling of refrigerants and electrical connections to avoid risks.
By following this guide, you can confidently install your air conditioner and create a cool, comfortable space.
FAQ
How do you know if your air conditioner installation kit is complete?
Check the kit for essential tools like tubing cutters, manifold gauges, and vacuum pumps. Verify that all components match the instructions provided.
What is the best way to install a window A/C unit?
Follow the step-by-step guide in this blog. Ensure proper mounting, sealing, and insulation for efficient cooling and long-term performance.
How to install an air conditioner safely?
Inspect the area for hazards. Use gloves and goggles. Handle refrigerants carefully. Follow the installation instructions to avoid risks and ensure proper setup.
See Also
Simple Guide: Set Up Copper Tubes for AC Efficiently
5 Strategies to Reduce Expenses on Copper AC Tubing
Simple DIY: Set Up Copper Coils for Air Conditioning

© Copyright 2024 Dongguan Baoyuan Refrigeration Parts Co.,Ltd - All Rights Reserved.