How to Connect Copper Pipes to Galvanized Pipes - Step by Step

Proper pipe connection is crucial in plumbing systems to ensure longevity and efficiency. Understanding the process of copper to galvanized pipe connection is essential for any DIY enthusiast or professional plumber. Neglecting this connection can lead to severe issues like corrosion, which can result in significant financial losses. By following a systematic approach, one can successfully join these two types of pipes, ensuring a durable and reliable connection. Additionally, knowing how to connect blue water pipe to copper and how to connect coppe is vital for maintaining the integrity of your plumbing system.
Tools and Materials
Essential Tools
Plumbers rely on a variety of hand tools to effectively carry out plumbing tasks. These tools include wrenches for tightening and loosening connections, sandpaper for smoothing surfaces, and a soldering kit for secure joints. Each tool plays a crucial role in ensuring a successful copper to galvanized pipe connection.
Required Materials
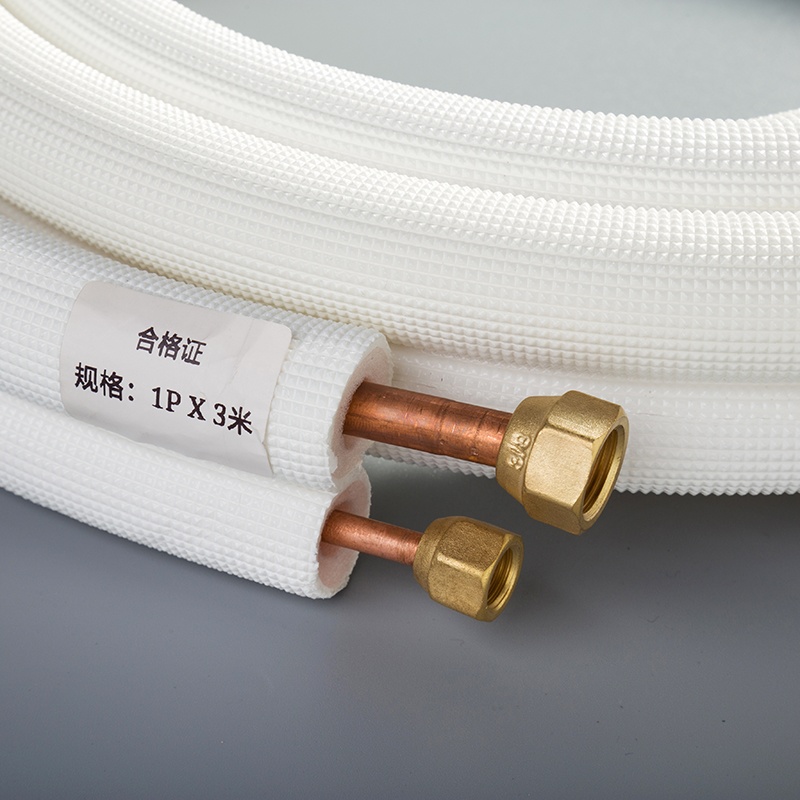
When it comes to materials, having the right components is key. Copper pipes are known for their durability and resistance to corrosion, making them an excellent choice for plumbing projects. On the other hand, galvanized pipes offer strength and reliability in various applications. To bridge these two types of pipes seamlessly, a dielectric union is essential. This fitting acts as a buffer between the dissimilar metals, preventing corrosion and ensuring long-term integrity. Additionally, Teflon tape provides an extra layer of protection by sealing threaded connections securely.
Step-by-Step Guide
Preparing the Pipes
To ensure a seamless copper to galvanized pipe connection, the initial step involves cleaning the pipes thoroughly. This process is crucial as any debris or dirt on the surfaces can hinder a secure joint. By using sandpaper, scrub the pipes gently to remove any impurities that could affect the connection. Once cleaned, proceed to measuring and cutting the pipes accurately. Precision is key in this step to guarantee a perfect fit during assembly.
Connecting the Pipes
The next phase focuses on attaching the dielectric union. This specialized fitting acts as a protective barrier between the copper and galvanized pipes, preventing corrosion and ensuring longevity. Begin by threading one end onto the male threads of the galvanized steel pipe, then slide the female copper hub fitting over onto the copper tubing. This meticulous process sets a solid foundation for a durable connection.
Moving forward, soldering the copper pipe is essential for creating a secure bond. Utilize a soldering kit to join the copper pipe with precision and care. The solder forms a strong seal, enhancing the structural integrity of the connection. Simultaneously, screwing the galvanized pipe into place complements this step. Use Teflon tape as needed to secure threaded connections tightly, further fortifying the joint.
Final Checks
As you near completion, it is vital to conduct thorough inspections of the connection. Check for any signs of gaps or irregularities that could compromise its effectiveness. Ensure all components are securely fastened and aligned correctly before proceeding to test for leaks.
Conduct a comprehensive leak test by pressurizing the system and observing for any water seepage or drips along the connection points. This meticulous examination guarantees that your copper to galvanized pipe connection is watertight and reliable for long-term use.
Tips for Success
Avoiding Common Mistakes
Use the appropriate tools for each step to prevent errors.
Double-check measurements before cutting to avoid unnecessary adjustments later.
Ensure a clean surface before soldering to promote a strong bond.
Follow the correct sequence when connecting pipes to prevent leaks.
Maintenance Tips
Regularly inspect the connection for any signs of wear or damage.
Keep the area around the pipes clear to facilitate future maintenance.
Apply lubricant to threaded connections periodically to prevent rust buildup.
Monitor water pressure regularly to detect any potential issues early on.
Remember, attention to detail and proactive maintenance can significantly extend the lifespan of your copper to galvanized pipe connection. By avoiding common mistakes and implementing proper maintenance practices, you can enjoy a reliable and efficient plumbing system for years to come.
Summarize the crucial steps taken during the connection process.
Highlight the significance of incorporating a dielectric union for long-term durability.
Implement regular maintenance practices to ensure a robust and reliable plumbing system.
Inspect connections periodically to detect any potential issues early on.
Remember, attention to detail is key in maintaining a secure and watertight connection.
By following these guidelines, you can enjoy a seamless and efficient copper to galvanized pipe connection for years to come.
See Also
Beginner's Guide: Easy Way to Solder Copper Pipes
Flameless Technique: Simple Steps for Soldering Copper Pipes
Buying Copper Pipe Coils: Detailed Step-by-Step Guide

© Copyright 2024 Dongguan Baoyuan Refrigeration Parts Co.,Ltd - All Rights Reserved.