How to Use a Copper Pipe Compression Tool: A Complete Guide

Write a Tutorial blog post on Using a Copper Pipe Compression Tool: A Step-by-Step Tutorial. Copper pipe compression tools play a crucial role in creating secure and leak-free connections for copper pipes. These tools ensure reliable installations, making them essential for plumbing, heating systems, gas lines, and various DIY projects. In this comprehensive guide, we will walk you through the step-by-step process of using a Copper Pipe Compression Tool effectively. Let's delve into the world of copper pipe fittings and discover how to make professional-grade connections with ease.
Tools and Materials
Required Tools
To effectively use a Copper Pipe Compression Tool, you will need a reliable tool like the iCrimp IWS-1632FAFS Copper Pipe Pressing Tool. This tool features jaws specifically designed to fit certain sizes of copper press fittings. It requires force to compress a fitting, creating a secure and leak-free joint effortlessly. Unlike traditional methods like soldering, copper press fittings are beginner-friendly and easier to install. The installation process is quick, saving you valuable time and labor costs.
For the tightening process, having Wrenches is essential. When using a compression tool, wrenches play a crucial role in ensuring that the fittings are securely tightened for leak-free connections.
Necessary Materials
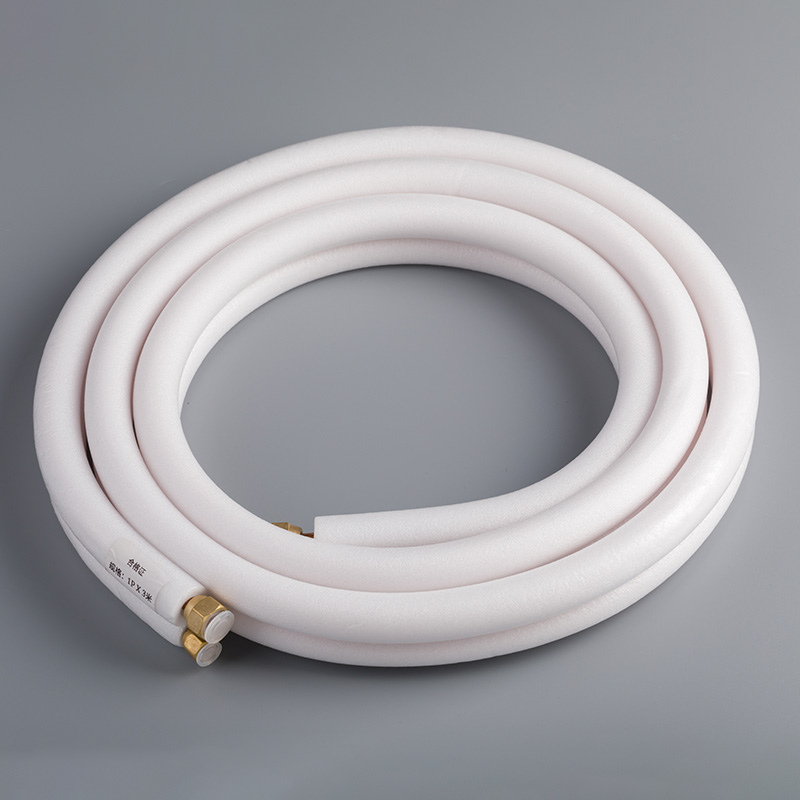
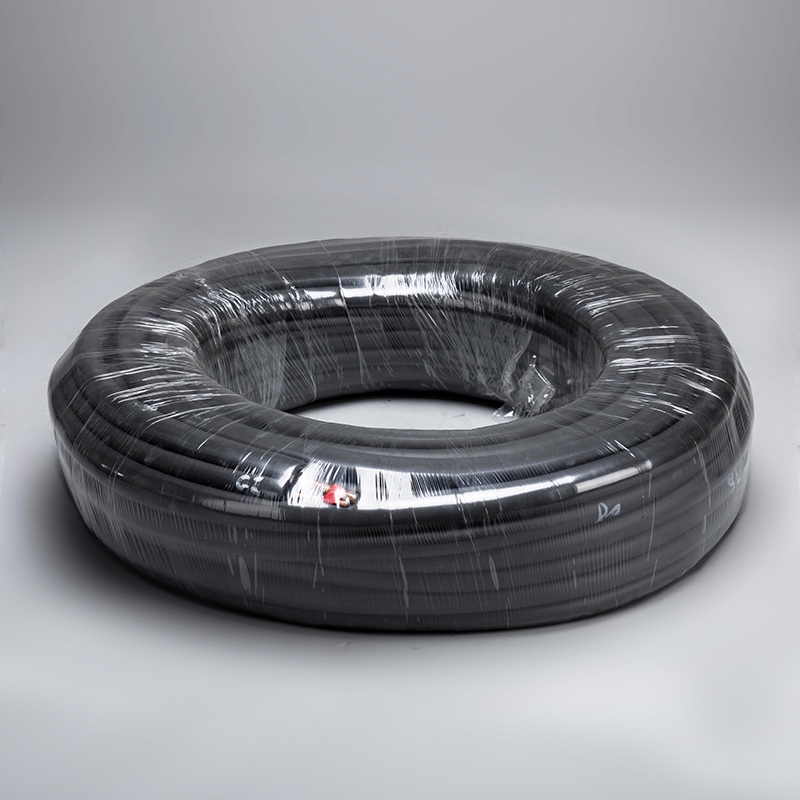
When working with copper pipes, it's vital to have high-quality materials on hand. Copper Pipes are the primary component for your plumbing project. These pipes are durable and resistant to corrosion, making them ideal for various applications.
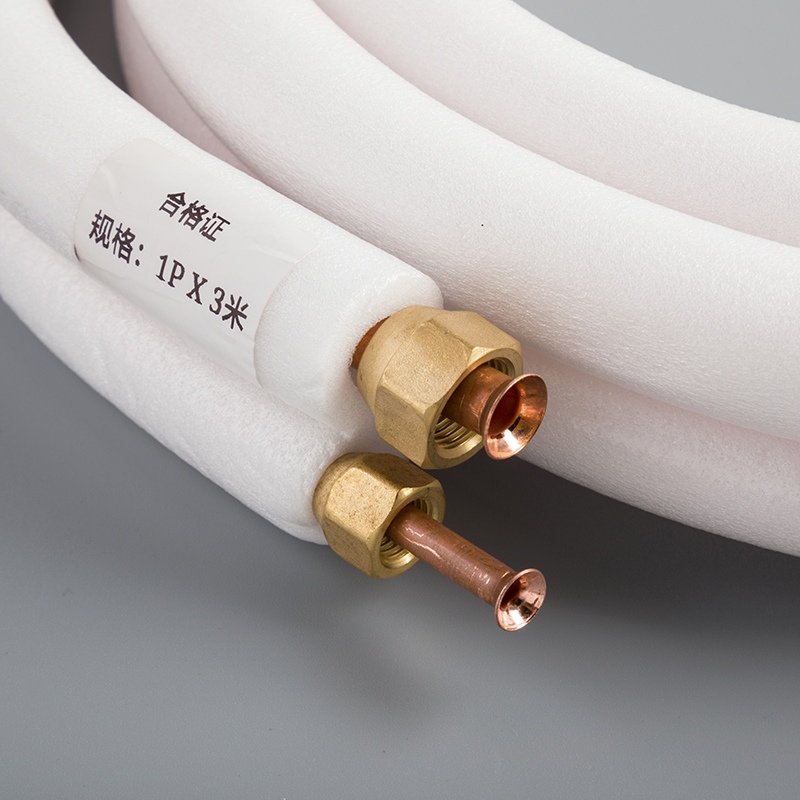
To connect your copper pipes securely, you'll need Compression Fittings. These fittings consist of three key pieces: a nut, an olive, and a fitting body. They provide a reliable way to join two pipes without the need for soldering or welding.
Step-by-Step Guide
Preparing the Pipe
To begin, cut the copper pipe to your desired length using a pipe cutter. Ensure a clean and straight cut for optimal fitting. Next, deburr the cut end of the pipe using a deburring tool. This step removes any rough edges or burrs that could affect the fitting.
Assembling the Fitting
Start by placing the compression nut over the pipe followed by the olive. The olive should sit flush against the end of the pipe. Align the pipe carefully within the fitting body to ensure a proper connection.
Tightening the Fitting
Initiate by hand-tightening the compression nut onto the fitting body until snug. Then, use two wrenches to further tighten the nut while holding the fitting body steady. Remember not to overtighten; listen for a slight squeak as an indication of secure tightening.
Checking for Leaks
When ensuring the integrity of your copper pipe compression fitting, visual inspection is crucial. Look for any signs of leaks or gaps between the pipe and the fitting. Check for water droplets or moisture around the connection points, indicating a potential leak. Inspect the entire length of the joint to guarantee a secure and tight fit.
Additionally, pay attention to listening for squeaks during this process. As you tighten the compression nut with wrenches, listen for a subtle squeaking sound. This noise signifies that the fitting is properly secured and sealed. If you do not hear any squeaks, consider giving the nut an extra half-turn to ensure a snug connection.
Remember that a thorough visual check and attentive ear can help you detect any issues with your compression fitting before they escalate into leaks or other plumbing problems.
Common Mistakes
Over-Tightening
Tightening the compression fitting excessively can lead to damage and leaks in your plumbing system.
Applying too much force when securing the nut can distort the fitting, compromising its effectiveness.
Excessive tightening may cause the olive to deform, resulting in an improper seal between the pipe and the fitting.
Misalignment
Failing to align the copper pipe correctly within the compression fitting can result in leaks.
Misalignment causes unnecessary stress on the connection, potentially leading to future issues.
Ensure proper alignment to prevent leaks and maintain the integrity of your plumbing system.
Skipping Deburring
Neglecting to deburr the cut end of the pipe can hinder a secure connection with the compression fitting.
Burrs left on the pipe edge can damage the olive or prevent it from seating properly, causing leaks.
Always deburr after cutting to ensure a smooth surface for optimal fitting and sealing.
Recapping the essential steps in using a Copper Pipe Compression Tool is crucial for successful plumbing projects. Remember to cut and deburr the pipe accurately before assembling the fitting components. Aligning the parts correctly ensures a leak-free connection. When tightening, avoid over-tightening to prevent damage and leaks. Always check for leaks visually and listen for squeaks as indicators of a secure fit. Lastly, heed final tips: sand old copper pipes for better compression fitting results based on user experience with old copper pipes. Achieve professional-grade connections with these insights!
See Also
Becoming an Expert in Copper Pipe Fittings: The Complete Manual
Top 5 Must-Know Tricks for Installing 1/4 Copper Pipe Fittings
Mastering Copper Pipe Fittings: The Ultimate DIY Handbook
Simple 5-Step Process for Installing Compression Fittings on Curved Copper Pipes

© Copyright 2024 Dongguan Baoyuan Refrigeration Parts Co.,Ltd - All Rights Reserved.