How to Use a Copper Pipe Crimper Tool: A Step-by-Step Guide

When it comes to plumbing, ensuring secure and leak-free connections is paramount. Copper pipe crimper tools play a crucial role in achieving this. In this guide, we will walk you through the step-by-step process of using a copper pipe crimper tool effectively. From gathering the necessary materials to crimping the 3/4 copper pipe and other copper pipe sizes correctly, you'll learn everything you need to know to create durable connections for your plumbing projects. Additionally, we'll cover how to solder copper pipe for those situations where crimping isn't the preferred method.
Gather Tools and Materials
Required Tools
Copper pipe crimper tool
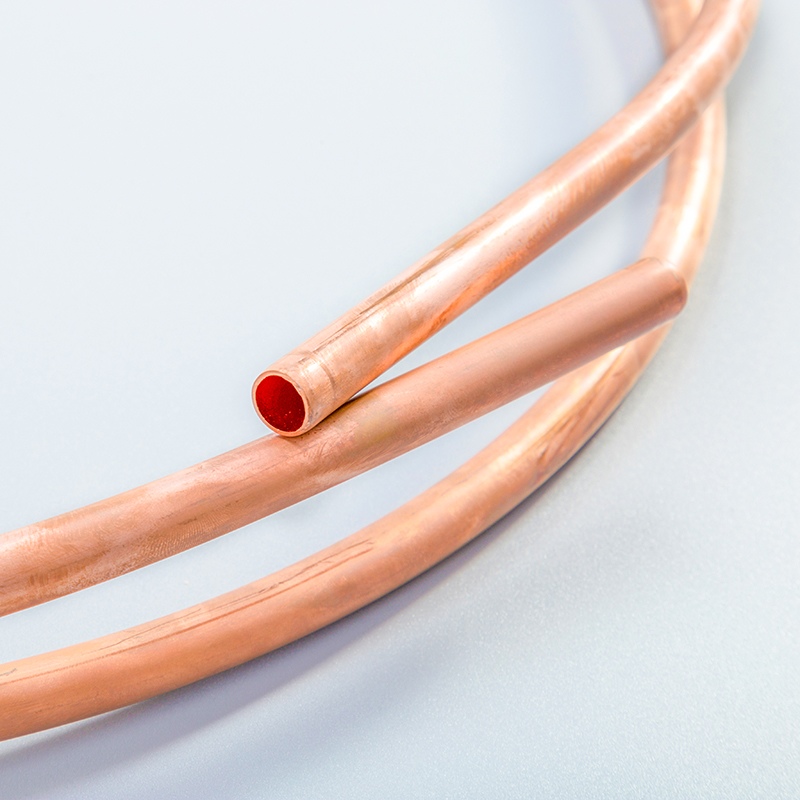
3/4 copper pipe
Measuring tape and marker
Required Materials
Copper pipe sizes
Press fittings
Cleaning supplies
To begin your project successfully, ensure you have all the necessary tools and materials at hand. The Kainn Solder Fitting Crimping Tool is a reliable choice developed by Karl and Andrew to prevent pipework from falling apart during soldering. Here's what you need:
Required Tools
Start with the essential copper pipe crimper tool to create secure connections.
Grab a piece of 3/4 copper pipe for your plumbing needs.
Don't forget your trusty measuring tape and marker for accurate measurements.
Required Materials
Different copper pipe sizes are crucial for various plumbing projects.
Utilize high-quality press fittings for durable connections.
Keep your workspace clean with the help of proper cleaning supplies.
Remember, having the right tools and materials is key to achieving professional results in your plumbing endeavors.
Prepare the Copper Pipe
Measure and Cut the Pipe
To start preparing the copper pipe for crimping, use the measuring tape to ensure accurate measurements. Precision is key in creating secure connections. Once you have measured the required length, proceed to cut the pipe with a suitable cutting tool. Make sure your cuts are clean and precise to facilitate a seamless crimping process.
Clean and Deburr the Pipe
After cutting the pipe, it is essential to clean the pipe ends thoroughly. Removing any debris or imperfections will result in a better connection. Next, deburr the pipe to eliminate any rough edges that could affect the fitting's seal. A smooth surface ensures a proper fit for press fittings.
Mark the Depth for Fittings
To prepare for fitting installation, use the marker to mark the depth on the pipe where the fittings will be placed. This step is crucial for ensuring that fittings are inserted correctly and securely. Pay close attention to detail when marking to avoid any errors during the crimping process. Ensuring accurate marks will guarantee a successful connection between pipes and fittings.
By following these steps meticulously, you are setting yourself up for success when using a copper pipe crimper tool. Proper preparation of the copper pipe is fundamental in achieving leak-free and durable plumbing connections.
Crimp the Copper Pipe
Install the Correct Jaw
Choosing the right jaw
Selecting the appropriate jaw for your copper pipe crimper tool is crucial to ensure a precise and secure connection. Different jaws are designed to fit various pipe sizes, so choosing the right jaw that matches your specific project requirements is essential. By selecting the correct jaw size, you guarantee a proper crimp that will withstand high pressure and temperature variations.
Installing the jaw
Once you have chosen the suitable jaw for your project, it's time to install it onto your copper pipe crimper tool. Ensure that the jaw is securely attached and aligned with the tool to avoid any misalignments during the crimping process. Installing the jaw correctly guarantees that each crimp is consistent and reliable, providing leak-free connections every time.
Position the Tool and Crimp
Positioning the tool
Positioning your copper pipe crimper tool correctly is key to achieving successful crimps. Place the tool over the press fitting and align it perpendicular to ensure an even distribution of pressure during crimping. Proper positioning of the tool guarantees a tight seal between the pipe and fitting, creating a durable connection that will last for years to come.
Crimping the fitting
Once you have positioned the tool accurately, it's time to initiate the crimping process. Apply steady pressure on the handles of your copper pipe crimper tool until you hear a distinct click sound indicating a complete crimp. This action deforms both the pipe and ring, creating a tight seal between them. Crimping the fitting securely ensures that there are no leaks in your plumbing system and maintains consistent water flow throughout.
Inspect the Connection
Checking for leaks
After completing the crimping process, it's essential to inspect your connection thoroughly for any signs of leaks or imperfections. Run a pressure test on your newly crimped joint to ensure its integrity under normal operating conditions. Checking for leaks allows you to identify any potential issues early on and make necessary adjustments before finalizing your plumbing installation.
Ensuring a secure fit
To guarantee a secure fit between your pipes and fittings, visually inspect the crimped connection for uniformity and tightness. A properly crimped joint should exhibit no gaps or irregularities along its surface, indicating a secure attachment between components. Ensuring a secure fit confirms that your plumbing system is well-constructed and ready to withstand daily usage without any concerns about leaks or malfunctions.
By following these steps diligently, you can master using a copper pipe crimper tool effectively while creating professional-grade connections in your plumbing projects.
To ensure successful crimping, always remember the importance of precise measurements and clean cuts for your copper pipe.
Utilize the Kainn Solder Fitting Crimping Tool to address common problems faced by plumbers with standard fittings.
Implement innovative solutions like indenting solder fittings to enhance grip and stability without additional support.
Secure connections are achievable through proper preparation, correct jaw selection, and meticulous crimping techniques.
Follow these steps diligently for leak-free plumbing connections that withstand high pressure and temperature variations.
See Also
Comprehensive Steps for Purchasing Copper Pipe Coils
Basic Instructions: Soldering Copper Pipe for Novices
Quick Tutorial: Measuring Copper Pipe Like an Expert
Becoming Proficient in Copper Pipe Fittings: An In-Depth Manual
Top 5 Recommendations for Utilizing 1/4 Copper Pipe Fittings

© Copyright 2024 Dongguan Baoyuan Refrigeration Parts Co.,Ltd - All Rights Reserved.