Easy DIY Guide to Fixing a Split Copper Pipe

When it comes to copper pipe repair, addressing a split copper water pipe promptly is crucial. The integrity of your plumbing system depends on it. Understanding the steps involved in this process is key to ensuring a successful fix. Additionally, opting for a DIY approach not only saves you time but also money. By taking matters into your own hands, you empower yourself to tackle household issues efficiently and effectively. For instance, using copper pipe insulation can prevent future damage, and knowing how to handle a 1 inch copper pipe or a 2 inch pipe can make a significant difference in your repair efforts.
Tools and Materials Needed

Essential Tools
To begin your copper pipe repair journey, you will need a Pipe cutter to precisely cut through the damaged section. A Soldering kit is essential for soldering the split with accuracy, ensuring a secure fix. Additionally, having Pipe repair tape on hand can provide a quick temporary solution until a permanent fix is implemented.
Necessary Materials
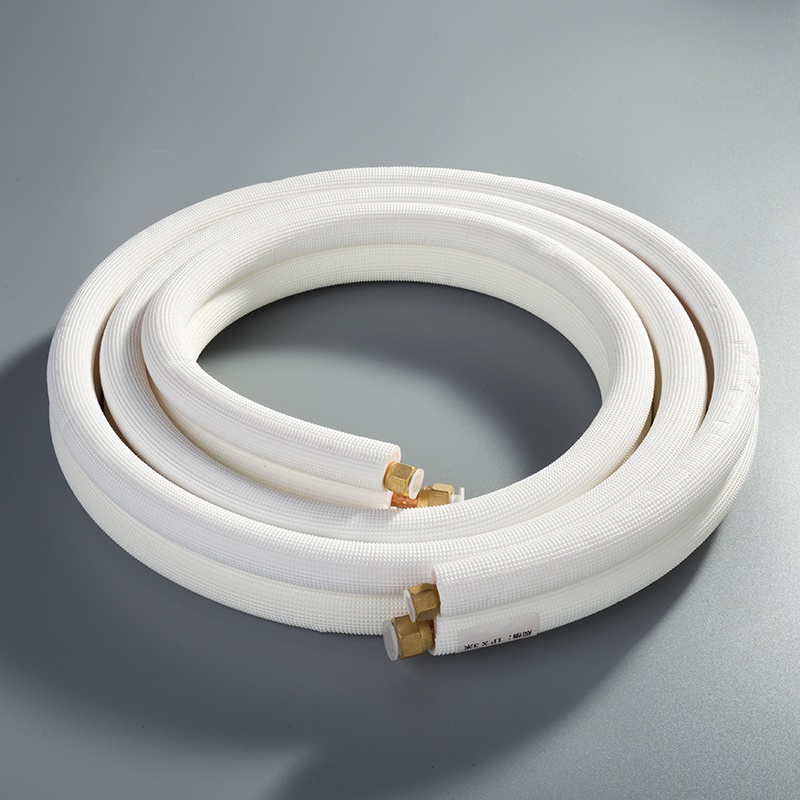
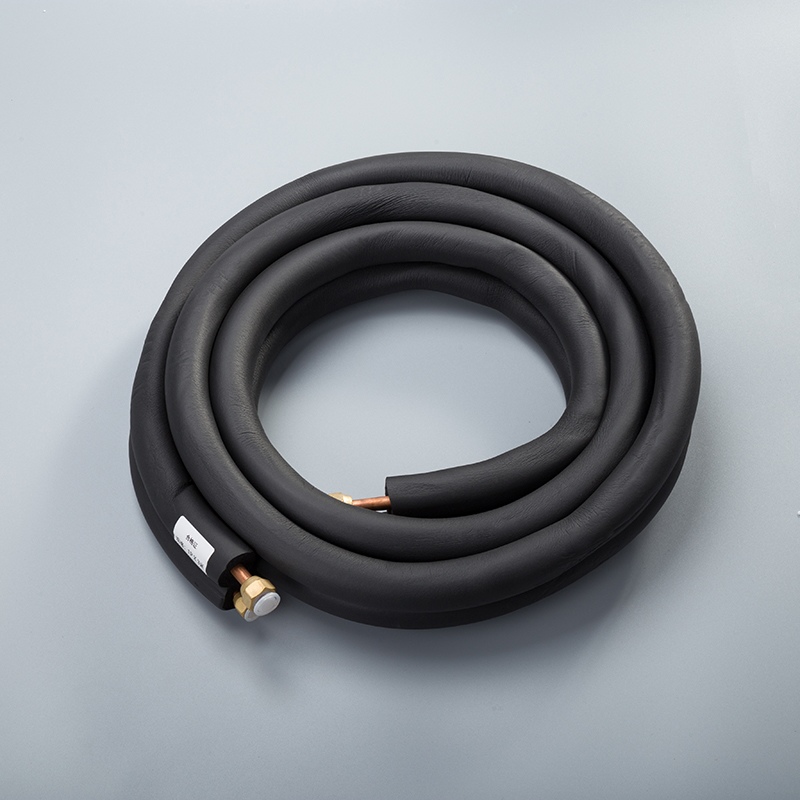
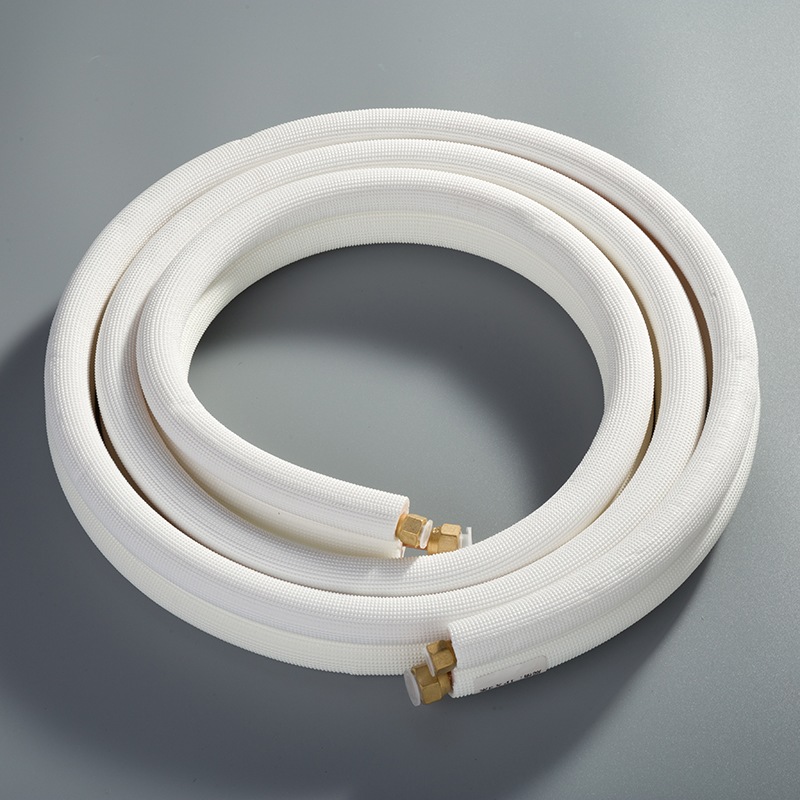
When it comes to materials, having Copper pipe insulation is crucial to prevent future damage and maintain the integrity of your plumbing system. Ensure you have the necessary Copper water pipe, 1 inch copper pipe, and 2 inch copper pipe ready for any size of repair job that may come your way.
Step-by-Step Guide

Preparing the Pipe
Shutting off the water supply
To ensure a successful repair, start by shutting off the water supply to the affected area. This step is crucial as it prevents any further leakage and allows you to work on the pipe without any interruptions. Locate the main valve that controls the water flow in your home and turn it off. By doing this, you create a safe environment to proceed with fixing the split copper pipe.
Draining the pipe
After shutting off the water supply, it's time to drain the pipe completely. To do this, open all faucets connected to the pipe and let any remaining water flow out. You can also use a bucket to collect any excess water that may still be present in the pipe. Ensuring that the pipe is dry is essential before moving on to the next steps of repairing the split.
Repair Methods
Soldering the Split
If you have experience with soldering or know someone who does, soldering the split in the copper pipe can provide a permanent solution. Make sure to clean and sand both ends of the split before applying flux and solder. Heat up your soldering iron and carefully seal the gap with solder, creating a secure bond. Once done correctly, this method can effectively fix the split and prevent future leaks.
Using a Repair Sleeve
An alternative method to repair a split copper pipe is by using a repair sleeve. This sleeve acts as a patch over the damaged area, providing structural support and sealing off any leaks. Simply slide the repair sleeve over the split section of the pipe and tighten it securely in place. This quick and efficient solution can be an effective way to address minor splits in copper pipes.
Applying Pipe Repair Tape
For a temporary fix or small leaks, applying pipe repair tape can be a practical solution. Wrap the tape tightly around the damaged area, ensuring that it covers the split completely. The adhesive properties of this tape create a watertight seal, preventing further leakage until a more permanent repair can be implemented. Keep in mind that while this method is effective for minor issues, it is recommended to follow up with a more permanent solution for long-term reliability.
Final Steps
Testing the Repair
Once you have completed repairing the split copper pipe using your chosen method, it's essential to test its effectiveness before restoring water flow. Turn on the main water supply again and check for any signs of leakage at the repaired section. Running some water through the system will help you verify if the fix was successful or if further adjustments are needed.
Re-insulating the Pipe
To safeguard your repaired copper pipe from future damage or corrosion, consider re-insulating it after completing the repairs. Copper pipe insulation helps maintain consistent temperatures within the pipes and prevents freezing during colder months. By adding this extra layer of protection, you prolong the lifespan of your plumbing system and reduce the risk of future issues arising.
Tips and Precautions
Safety Tips
Wearing protective gear
When working on repairing a split copper pipe, protective gear is essential to ensure your safety. Safety goggles shield your eyes from any debris that may come loose during the repair process. Heavy-duty gloves protect your hands from sharp edges and hot surfaces, reducing the risk of injuries. Additionally, wearing a dust mask can prevent you from inhaling any dust or particles that may be released when handling the pipes. Prioritizing your safety by wearing these protective items creates a secure environment for you to focus on fixing the split copper pipe effectively.
Ventilating the area
Proper ventilation is crucial when repairing a split copper pipe to avoid inhaling harmful fumes. Opening windows and doors allows fresh air to circulate, reducing the concentration of soldering fumes in the room. If possible, use a fan to help direct any fumes outside and maintain good airflow throughout the repair process. Ensuring adequate ventilation not only protects your respiratory health but also creates a more comfortable workspace for carrying out the necessary repairs.
Maintenance Tips
Regular inspections
To prevent future issues with your plumbing system, regular inspections of your copper pipes are recommended. Look for signs of corrosion, leaks, or damage along the pipes' length. Addressing minor concerns early can help avoid major repairs in the future. By conducting routine checks on your plumbing system, you can identify potential problems before they escalate, saving you time and money in the long run.
Using copper pipe insulation
An effective way to maintain the integrity of your copper pipes is by using copper pipe insulation. Insulating your pipes helps regulate water temperature and prevents freezing during colder months. This simple yet crucial step can extend the lifespan of your plumbing system and reduce energy costs associated with heating water. By investing in proper insulation for your copper pipes, you ensure their durability and efficiency for years to come.
John, Mike, and his crew showcased exceptional professionalism during the installation of new copper pipes. Their dedication to completing the job efficiently and effectively is evident in the positive testimonials received from satisfied customers. The transition from old galvanized pipes to new copper ones not only improved water pressure but also eliminated concerns about potential pipe issues. Customer satisfaction was paramount throughout the repiping process, highlighting the importance of quality workmanship and attention to detail. The successful completion of these projects underscores the benefits of investing in reliable plumbing solutions for long-term peace of mind.
See Also
Simple Guide for Repairing Copper Pipe Leaks Efficiently
Quick and Simple Way to Install Copper Pipe Coils
Resolving Pipe Coil Problems: DIY Tips and Tricks


