Easy Steps: How to Measure Copper Pipe for DIY Success

When embarking on DIY projects, how to measure copper pipe accurately is a fundamental skill that can make or break your success. Precision in measurements ensures seamless fittings and eliminates costly errors. Understanding the significance of precise dimensions and following the correct steps can elevate your craftsmanship to professional levels. With the right guidance, you can master the art of measuring copper pipes effectively, setting a solid foundation for your DIY endeavors.
Tools Needed

Essential Tools
Measuring Tape
To accurately measure the length of copper pipes, start with a reliable measuring tape. This tool provides precise measurements, ensuring your DIY project's success.
String or Flexible Tape
Utilize string or flexible tape to wrap around the pipe for an accurate circumference measurement. This simple yet effective tool helps in determining the pipe size correctly.
Steel Measuring Tape
For added precision and durability, consider using a steel measuring tape. This sturdy tool ensures longevity and accuracy in measuring copper pipes for your projects.
Specialized Tools
Pipe Cutters
Invest in quality pipe cutters to ensure clean and precise cuts on copper pipes. These tools are essential for achieving accurate lengths without any rough edges.
Multi Bender Pipe Tool
For bending copper pipes with precision, a multi bender pipe tool is indispensable. This specialized tool allows you to create smooth bends up to 180° without distortion, enhancing the overall quality of your DIY projects.
Measuring Steps

Step 1: Identify Pipe Type
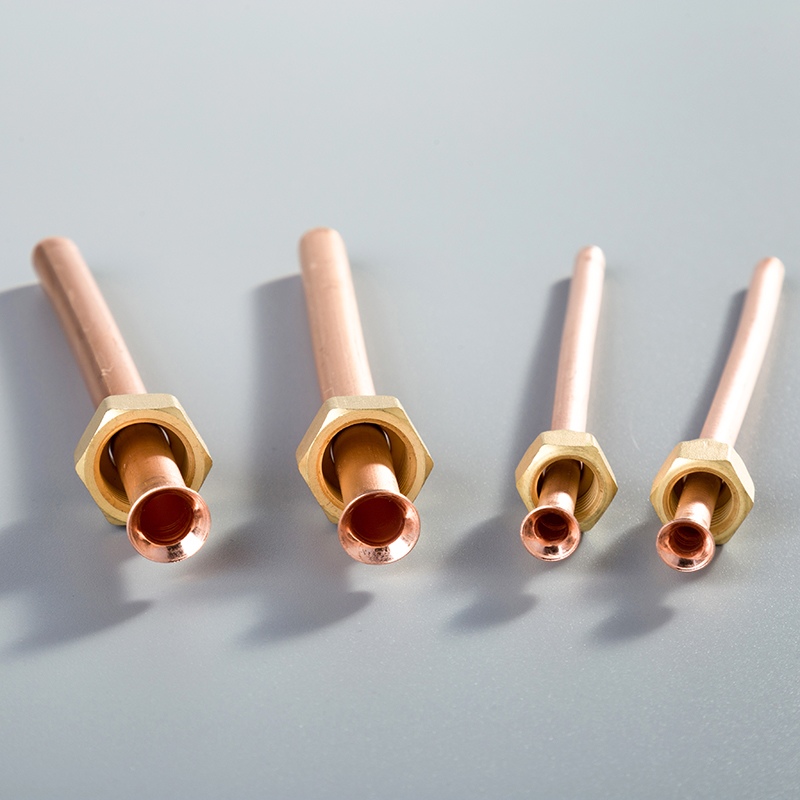
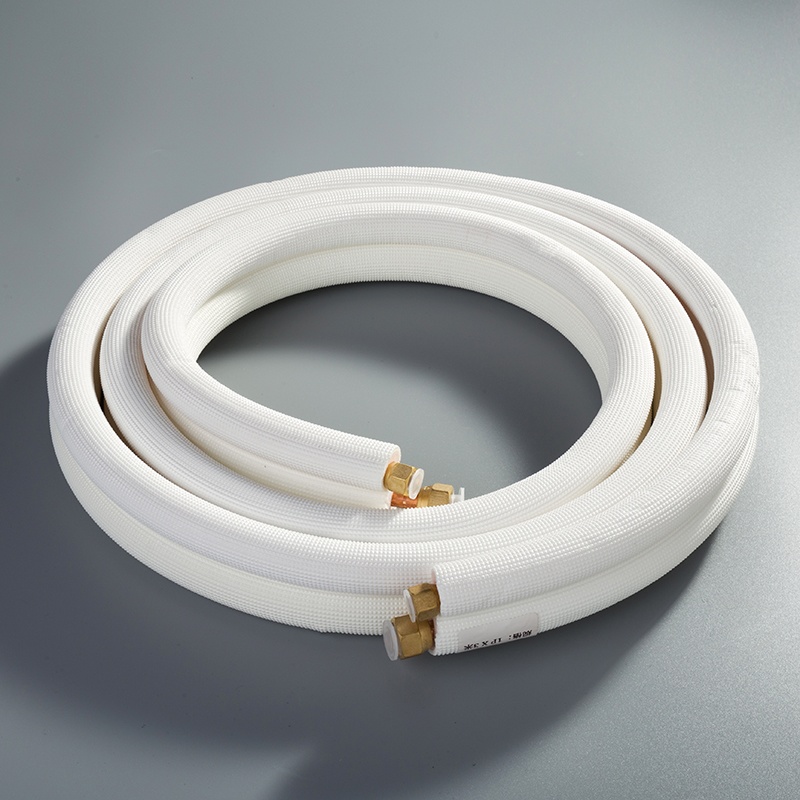
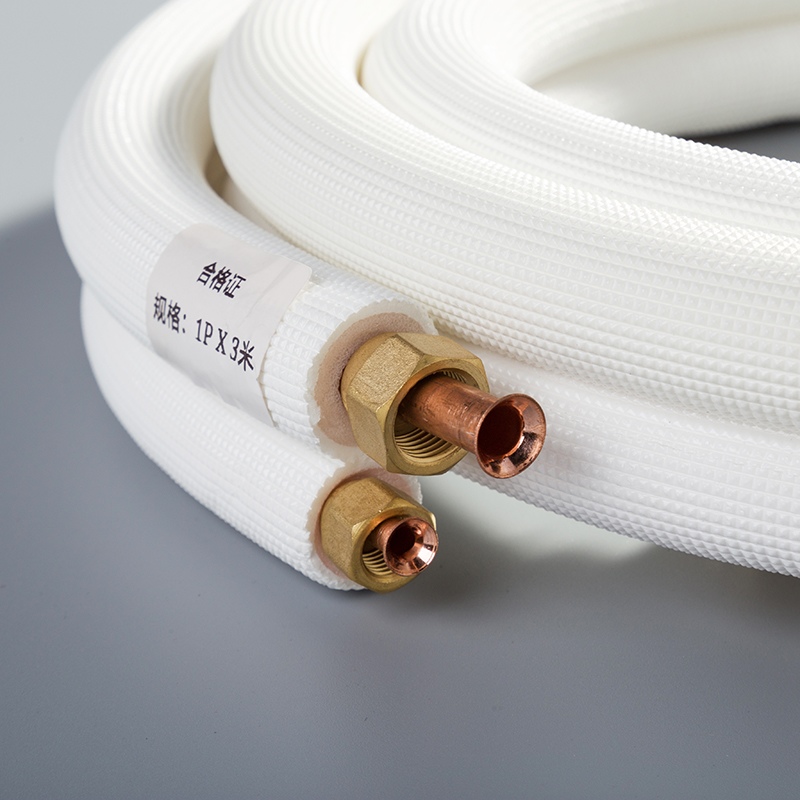
To begin accurately measuring copper pipes, Identify the type of pipe you are working with. There are two main types to consider: Hard (Rigid) Copper Pipe and Soft (Coiled) Copper Pipe. Each type requires specific measurement techniques to ensure precision in your DIY projects.
Step 2: Measure Circumference
Next, focus on measuring the circumference of the copper pipe. Start by using String or Flexible Tape to wrap around the pipe smoothly. This method allows you to obtain an accurate measurement without any distortions. Once wrapped, make sure to Mark the length clearly for reference.
Step 3: Calculate Diameter
After determining the circumference, it's essential to calculate the diameter of the copper pipe accurately. Begin by Dividing the measured circumference by Pi (approximately 3.1415). This calculation will give you the precise diameter of the pipe. Additionally, understanding the Nominal Size of the pipe is crucial for selecting appropriate fittings and connectors for your DIY projects.
Utilizing these straightforward steps will empower you to measure copper pipes effectively for your DIY endeavors, ensuring seamless fittings and precise connections that elevate the quality of your projects.
Step 4: Confirm Measurements
When ensuring the accuracy of your copper pipe measurements, it is crucial to Double-Check with a steel measuring tape. This step guarantees that your initial measurements are precise and helps in avoiding errors during your DIY project. By verifying the dimensions with a steel tape, you can confidently move forward with cutting and fitting the copper pipes accurately.
To further enhance the precision of your measurements, always Ensure that each mark and length is exact. This attention to detail is essential for seamless connections and fittings in your DIY endeavors. By prioritizing precision, you can prevent potential issues such as leaks or misalignments, ensuring a professional finish to your projects.
In an investigative study on burst copper water pipes, significant pipe wall thinning was attributed to general corrosion with corrosion pitting within the material. This emphasizes the importance of accurate measurements to prevent structural weaknesses and failures in piping systems. By following these steps diligently, you can avoid similar pitfalls and achieve success in your DIY projects.
Tips and Precautions
Safety Measures
Avoid Lead Contamination
When handling copper pipes, Avoid any risks of lead contamination by ensuring that the materials you use are lead-free. Lead can pose serious health hazards, especially when in contact with drinking water. By prioritizing lead-free options, you guarantee the safety and well-being of your household.
Use Proper Safety Gear
Before diving into your DIY project involving copper pipes, always Use the necessary safety gear to protect yourself. Safety gear, such as gloves and goggles, shields you from potential injuries and ensures a secure working environment. By equipping yourself with the right protective equipment, you can confidently tackle your project without compromising your safety.
Best Practices
Measure Twice, Cut Once
Embrace the age-old adage of Measure Twice, Cut Once to avoid unnecessary mistakes in your DIY endeavors. Taking the time to double-check your measurements before cutting ensures precision and accuracy in every step of your project. By adhering to this practice, you minimize errors and material wastage, leading to a more efficient and successful outcome.
Mark Accurately Before Cutting
Before making any cuts on your copper pipes, it is essential to Mark them accurately for precise results. Accurate marking guarantees that your cuts are made at the correct points, preventing any misalignments or inaccuracies in your project. By marking with precision, you set yourself up for seamless fittings and professional-quality outcomes.
In carpentry and design work alike, accuracy is paramount for achieving exceptional results. Whether crafting custom cabinets or working on intricate DIY projects with copper pipes, precision craftsmanship sets the foundation for success.
Recap the straightforward steps you've learned to measure copper pipes accurately. Precision is key in DIY projects, ensuring seamless fittings and professional outcomes. By following this guide diligently, you pave the way for success in your endeavors. Remember, precision in measurements leads to precise connections and a polished finish. Embrace the art of accurate measuring, equip yourself with the right tools, and embark on your DIY projects confidently. Your attention to detail will set you apart as a skilled craftsman in your home improvement ventures.
See Also
Essential Tips: Measuring Copper Pipe Size Made Easy
Simple Installation: Pro Tips for Copper Pipe Coils
Buying Copper Pipe Coils: A Detailed Step-by-Step Guide


