Expert Tips for Measuring and Installing Copper Pipes

Tips for Measuring and Installing Copper Pipes
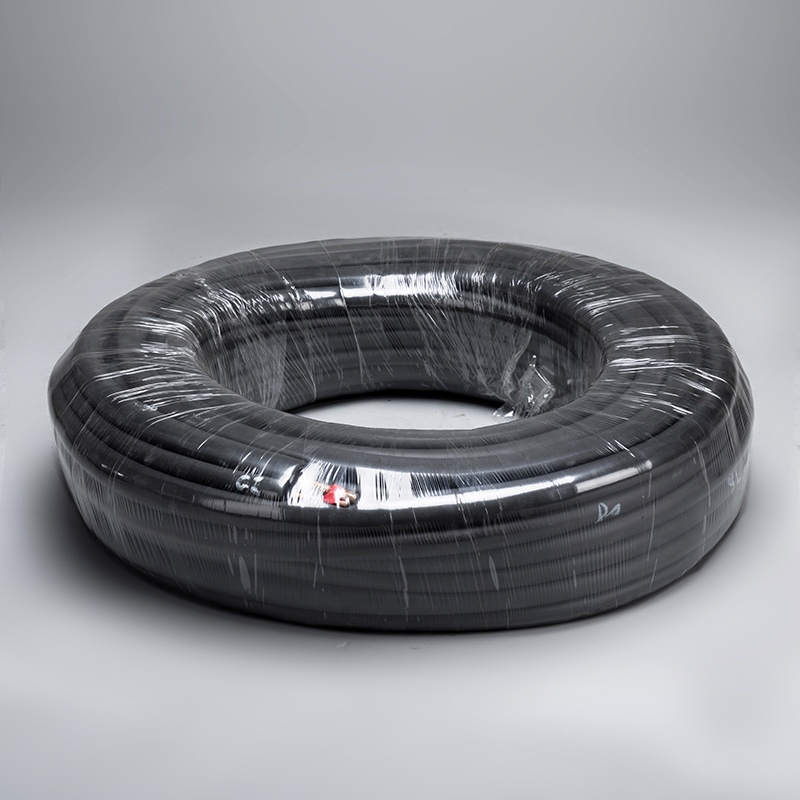
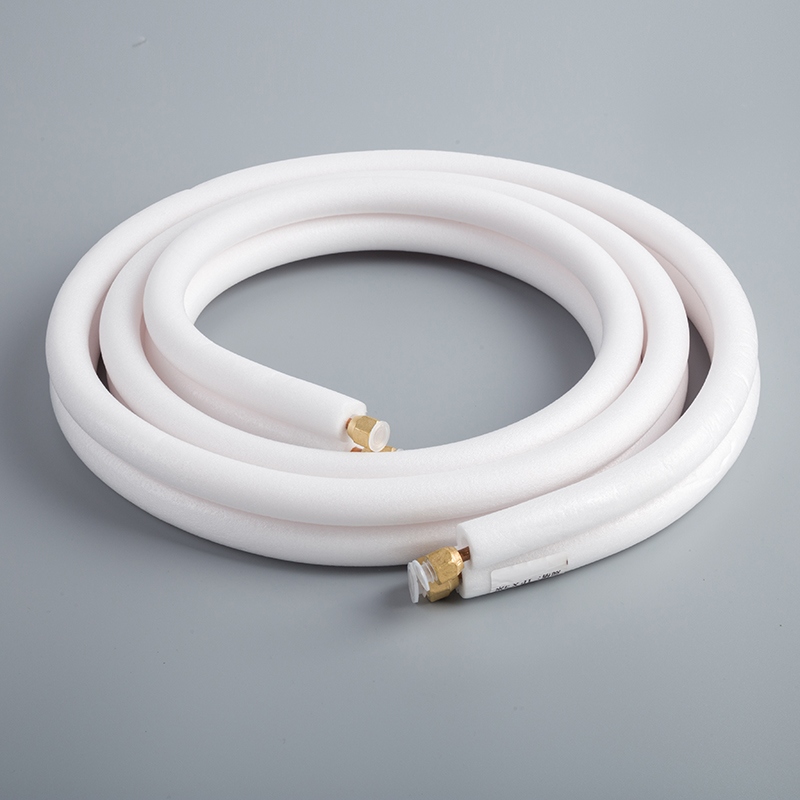
Proper measurement and installation of copper pipes are crucial for a reliable plumbing system. Baoyuan, a leading manufacturer of pure copper connecting pipes for air conditioners, offers some valuable tips to ensure your project is a success. Copper pipes are known for their exceptional durability, often lasting over 50 years with proper maintenance, which saves homeowners time and money. Copper's corrosion resistance and efficient heat conduction make it a preferred choice for plumbing.
Here are some essential tips for measuring and installing copper pipes:
Use the Right Tools: Essential tools and materials include pipe cutters, measuring tapes, and soldering equipment. Accurate measurements prevent costly mistakes and ensure a seamless installation process.
Measure the Outside Diameter: To measure the outside diameter of a copper pipe, you can use a set of calipers or a measuring tape by directly measuring across the end of the pipe. Alternatively, wrap a string or flexible tape around the pipe, mark the point where it meets, and divide the length by 3.14159 to get the diameter.
Calculate Length with Fittings: When calculating the length of copper pipe needed with fittings, work from the starting point to the next fitting, measuring one length at a time and including the length inside the fitting.
Ensure Accurate Cuts: Before cutting copper pipe, it's important to measure the diameter of the pipe accurately to ensure the right-sized tube cutter is used for the job.
For more information on high-quality copper pipes, visit Baoyuan's product page at https://copperpipe.net/products/. Whether you're an individual, distributor, or service provider, these tips will help you achieve a successful installation and long-lasting plumbing system.
Write a 'Tips' blog post on 'Tips for measuring and installing copper pipes'
Understanding Copper Pipes
Types of Copper Pipes
Copper plumbing pipes come in several types based on the thickness of the walls relative to the diameter. Type K pipes have the thickest walls and offer extreme durability. These pipes are often used for underground installations. Type L pipes, available in both rigid and flexible forms, are commonly used for interior plumbing, fire protection, and some HVAC applications. Type M pipes have thinner walls than Type L and are typically used for residential water supply lines. Each type serves specific purposes, so selecting the right one is crucial.
Properties of Copper Pipes
Copper pipes possess several advantageous properties. Copper resists corrosion, ensuring longevity and reliability. The material conducts heat efficiently, making it ideal for hot water systems. Copper's malleability allows for easy bending and shaping, which simplifies installation. Additionally, copper pipes do not release harmful chemicals into the water supply, ensuring safe drinking water. These properties make copper a preferred choice for plumbing.
Tools and Materials Needed
Essential Tools
For measuring and installing copper pipes, certain tools are indispensable:
Pipe Cutters: Ensure clean and precise cuts.
Measuring Tapes: Provide accurate measurements.
Calipers: Measure the outside diameter of the pipes.
Soldering Equipment: Includes a torch, solder, and flux for joining pipes.
Deburring Tool: Smooths the edges after cutting.
Additional Materials
Additional materials enhance the installation process:
Pipe Fittings: Connect different sections of copper pipes.
Emery Cloth: Cleans the pipe surfaces before soldering.
Pipe Insulation: Prevents heat loss and condensation.
Safety Gear: Includes gloves and goggles for protection.
Measuring Copper Pipes
Accurate Measurement Techniques
Accurate measurements are vital for a successful installation. Use a measuring tape or calipers to measure the outside diameter of the pipe. For a quick measurement, wrap a string around the pipe, mark the point where it meets, and divide the length by 3.14159 to get the diameter. When calculating the length needed with fittings, measure from the starting point to the next fitting, including the length inside the fitting. This ensures precise cuts and proper fitting.
Common Measurement Mistakes
Avoid common measurement mistakes to ensure a smooth installation. Do not use incorrect tools for measuring the diameter. Always double-check measurements before cutting. Failing to account for the length inside fittings can lead to inaccuracies. Using a worn-out measuring tape can result in errors. Ensuring accurate measurements prevents costly mistakes and ensures a seamless installation process.
Cutting Copper Pipes
Using a Pipe Cutter
A pipe cutter ensures clean and precise cuts for copper pipes. Start by securing the pipe cutter around the pipe. Rotate the cutter around the pipe, tightening the knob after each full rotation. This process scores the pipe and eventually cuts through it. A clean cut reduces the risk of leaks and ensures a proper fit for fittings.
Smoothing the Edges
After cutting, the edges of the copper pipe may have burrs or rough spots. Use a deburring tool to smooth these edges. Insert the deburring tool into the pipe and rotate it to remove any burrs. Smooth edges ensure a better fit for fittings and prevent damage to seals.
Installing Copper Pipes
Preparing the Pipes
Preparation involves cleaning the ends of the copper pipes and fittings. Use an emery cloth to clean the surfaces that will be joined. Clean surfaces ensure a strong bond when soldering. Also, apply flux to the cleaned surfaces to promote the flow of solder.
Soldering the Pipes
Soldering involves heating the joint and applying solder to create a watertight seal. Use a propane torch to heat the joint until the flux bubbles. Touch the solder to the joint, allowing it to melt and flow into the connection. Ensure the entire joint is covered with solder for a secure seal.
Checking for Leaks
After soldering, inspect the joints for leaks. Turn on the water supply and observe the joints. Look for any signs of water leakage. If leaks are detected, reheat the joint and apply more solder. Ensuring leak-free joints guarantees a reliable plumbing system.
Proper measurement and installation of copper pipes ensure a reliable plumbing system. Use the right tools and techniques to achieve accurate results. Follow safety guidelines to prevent accidents. Visit Baoyuan's product page for high-quality copper pipes. Leave comments or questions to engage with the community.
See Also
Simple Steps: Measuring Copper Pipes for DIY Achievement
Quick Tutorial: Measuring Copper Pipes Like an Expert
Simple Process for Measuring Copper Pipes Like a Pro

© Copyright 2024 Dongguan Baoyuan Refrigeration Parts Co.,Ltd - All Rights Reserved.