How to Fit Copper Pipes for Beginners

Learning the art of copper pipe fitting is a valuable skill for beginners diving into plumbing projects. Understanding the process not only empowers individuals but also opens doors to versatile applications in various projects. The allure of copper pipes lies in their durability, reliability, and ease of maintenance, making them a preferred choice in plumbing systems. Before embarking on this journey, familiarize yourself with the essential tools and materials required to kickstart your copper pipe fitting endeavors. Knowing how to clean copper pipe and how to solder a copper pipe is crucial, especially when working with different sizes like a 1 1/2 inch copper pipe.
Tools and Materials Needed
Essential Tools
To kickstart your copper pipe fitting project, you will need the following essential tools:
Pipe cutter
Pipe cutters are indispensable for achieving clean and precise cuts on copper pipes. They come in various sizes to accommodate different pipe diameters.
Soldering torch
A soldering torch is a crucial tool for joining copper pipes using solder. It provides the necessary heat to create a strong and durable bond between the pipes.
Pipe cleaning tools
Cleaning tools are essential for preparing the surface of copper pipes before soldering. Proper cleaning ensures optimal adhesion and prevents leaks in the future.
Hand benders
Hand benders are handy tools for shaping copper pipes without kinking or damaging them. They allow you to create bends at specific angles to suit your plumbing layout.
Compression tools
When opting for compression fittings, compression tools become essential for securely connecting copper tubing without the need for soldering. These tools ensure a tight and leak-free joint every time.
Necessary Materials
In addition to the essential tools, gather the following necessary materials before starting your copper pipe fitting project:
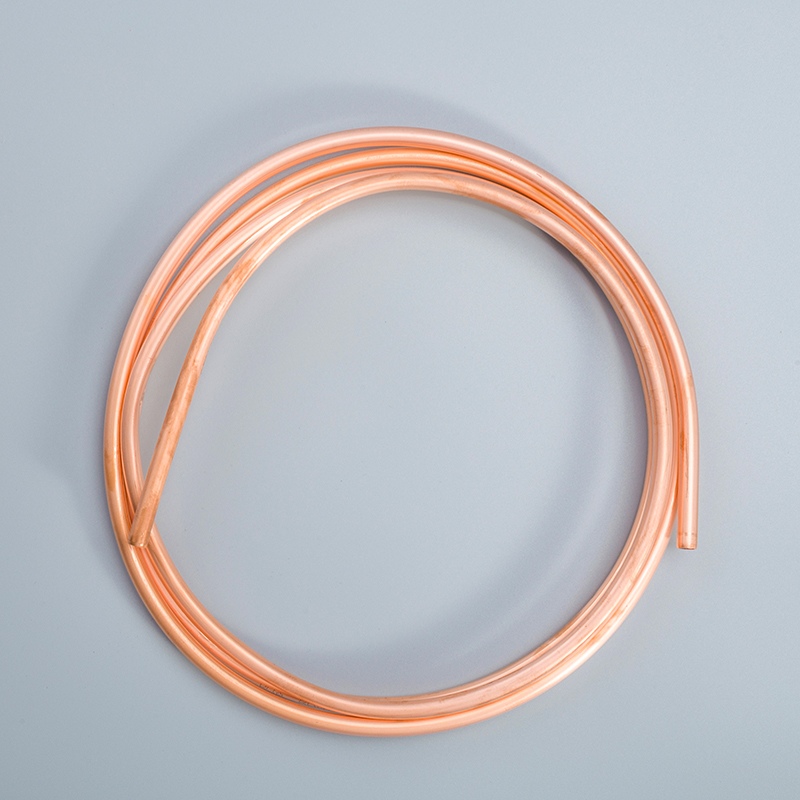
Copper pipes (annealed and hard drawn)
Copper pipes come in various types, including annealed and hard drawn variants. Understanding their differences can help you choose the right type for your specific plumbing needs.
Solder
High-quality solder is vital for creating strong joints between copper pipes. Make sure to select a solder that matches the diameter of your pipes for optimal results.
Flux
Flux plays a critical role in soldering copper pipes by promoting capillary action and ensuring proper flow of molten solder. Applying flux correctly is key to achieving reliable connections.
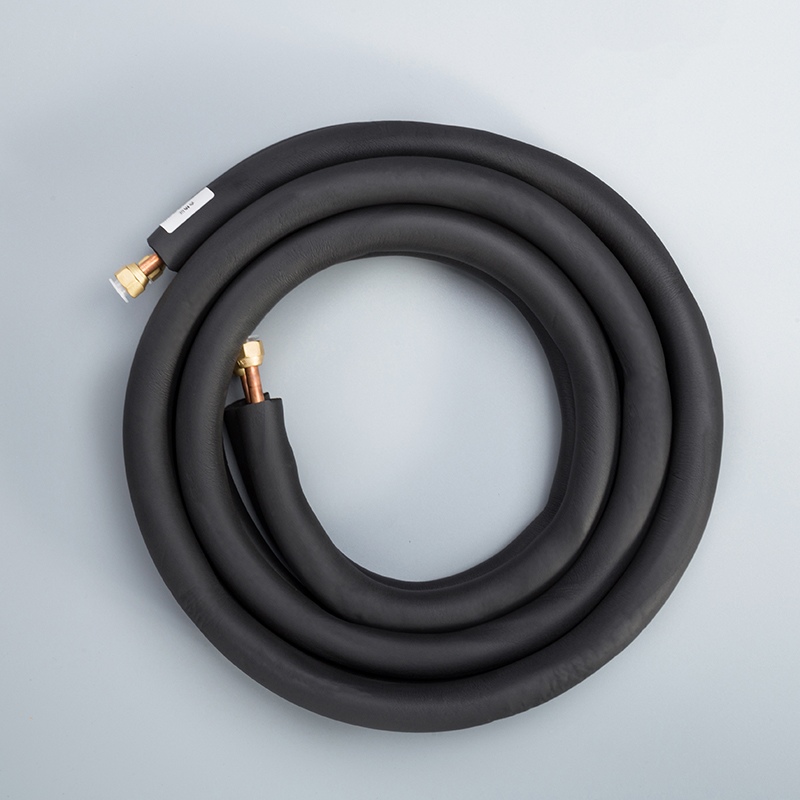
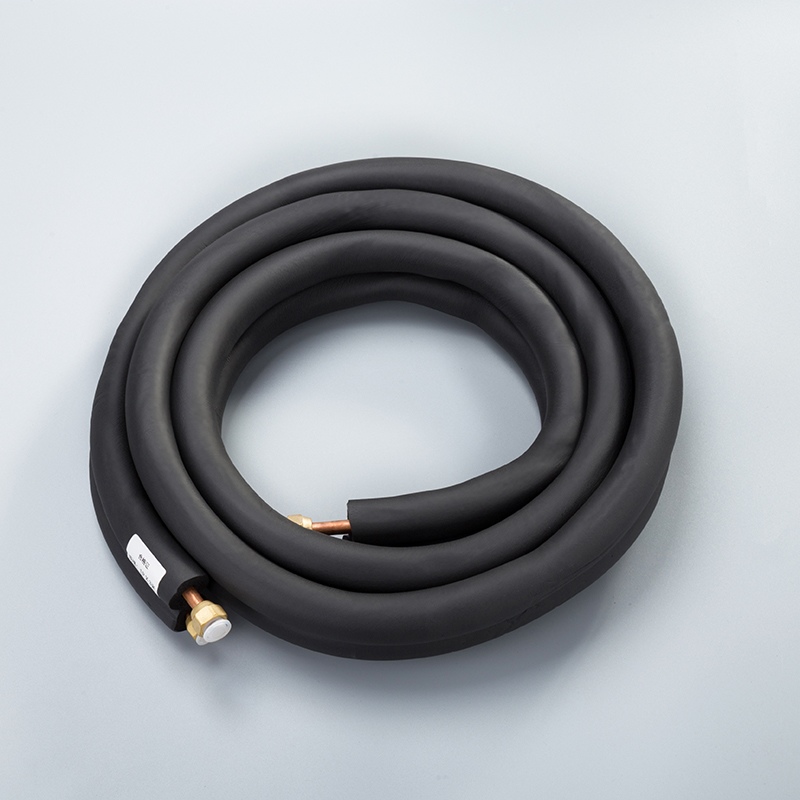
Fittings (elbows, tees, etc.)
Various fittings, such as elbows and tees, are necessary for routing copper pipes around obstacles or connecting multiple sections together. Choose fittings that match the size and type of your pipes.
PTFE tape
PTFE tape, also known as thread seal tape, is used to create watertight seals when connecting threaded fittings to copper pipes. Wrapping PTFE tape around pipe threads helps prevent leaks.
Push-fit joints
For quick and easy installations without soldering, consider using push-fit joints. These convenient fittings allow you to connect copper pipes effortlessly by simply pushing them together until they lock into place.
Preparing the Work Area
Safety Precautions
Wearing Protective Gear
Prioritize safety by wearing appropriate protective gear such as gloves, goggles, and long sleeves to shield yourself from potential hazards during the copper pipe fitting process.
Ensuring Proper Ventilation
Maintain a well-ventilated workspace to disperse any fumes that may arise from soldering or cleaning materials. Good ventilation promotes a healthier working environment and reduces the risk of inhaling harmful substances.
Setting Up the Workspace
Clearing the Area
Begin by clearing your work area of any clutter or obstacles that could impede your progress. A clean workspace not only enhances efficiency but also minimizes the chances of accidents while handling tools and materials.
Organizing Tools and Materials
Organize your tools and materials in a systematic manner to streamline your workflow. Having everything within reach saves time and ensures that you can focus on the task at hand without unnecessary interruptions.
Measuring and Cutting Copper Pipes
Measuring the Pipes
Using a tape measure
Plumbers typically use a tape measure to determine the length of copper pipes needed for a specific plumbing layout. This step is crucial in ensuring accurate cuts and precise fittings, avoiding unnecessary wastage of materials.
Marking the cut points
Once the measurement is taken, it's essential to mark the exact points where the pipe needs to be cut. Precision is key in this process to guarantee that each section fits perfectly into the overall plumbing system without any gaps or overlaps.
Cutting the Pipes
Using a pipe cutter
When it comes to cutting copper pipes, a pipe cutter is the go-to tool for achieving clean and straight cuts. This tool ensures smooth edges, which are vital for creating leak-free connections and maintaining the integrity of the plumbing system.
Ensuring clean cuts
After making the cut using a pipe cutter, it's crucial to check that the edges are clean and free from any debris or rough spots. Clean cuts not only facilitate easy fitting but also promote efficient soldering or joining of pipes later in the process.
Cleaning and Preparing the Pipes
Cleaning the Pipe Ends
When preparing copper pipes for fitting, it is crucial to ensure that the pipe ends are clean and free from any debris or contaminants. To achieve this, a wire-based pipe cleaner can be used to scrape away the oxide layer on the outside surface of the pipe until it shines. This process helps in promoting better adhesion and preventing potential leaks in the future.
Using a pipe cleaning tool
Start by selecting a suitable pipe cleaning tool that matches the diameter of your copper pipes.
Gently insert the tool into the pipe end and rotate it to remove any dirt or residue.
Repeat this process until the entire circumference of the pipe end is thoroughly cleaned.
Inspect the cleanliness of the pipe end visually to ensure no debris remains before proceeding with further steps.
Removing burrs and debris
After using the pipe cleaning tool, check for any burrs or sharp edges on the inside of the pipe.
Use an emery cloth to roll into a small cylinder and rotate it inside the fitting to eliminate any rough spots.
Ensure that all burrs and debris are removed to guarantee a smooth surface for seamless fittings.
By removing these imperfections, you create an ideal environment for successful soldering and joint connections.
Applying Flux
Before soldering copper pipes, applying flux is essential to facilitate proper bonding between surfaces and enhance solder flow within joints.
Importance of flux
Flux plays a critical role in ensuring that solder adheres effectively to copper surfaces during soldering.
It helps in removing oxides from metal surfaces, allowing for better wetting and capillary action when joining pipes.
Proper flux application significantly improves joint strength and durability over time.
Proper application techniques
Begin by applying a thin layer of flux evenly on both surfaces that will be joined together.
Use a brush or applicator to spread flux along the areas where solder will flow during assembly.
Avoid excessive flux application as it may lead to drips or excess residue after soldering.
Remember that proper flux application is key to achieving leak-free connections and long-lasting plumbing installations.
Assembling and Soldering the Pipes
To begin fitting copper pipes together, start by dry fitting the pipes to ensure they align correctly before proceeding with soldering. This practice helps in identifying any potential issues or adjustments needed in the alignment of the pipes.
When you are satisfied with the fit, proceed to heat the joint with a propane torch. The heat from the torch will prepare the surfaces for soldering by raising their temperature to facilitate proper bonding.
Next, apply solder along the heated joint, allowing it to flow smoothly between the connected pipes. The molten solder creates a strong and durable bond between the copper surfaces, ensuring a leak-free connection.
After applying the solder, it is crucial to allow the joint to cool completely before moving forward. This cooling period solidifies the bond created by the solder, securing the connection between the copper pipes effectively.
Using Compression Fittings
Preparing the Pipe
Deburring the pipe
To ensure a smooth and secure connection, deburr the pipe by removing any rough edges or imperfections. This step helps prevent leaks and ensures a proper fit between the pipe and fittings.
Marking the end of the fitting on the pipe
Before assembly, mark the end of the fitting on the pipe to indicate where it will be inserted. This marking ensures that the compression fitting is positioned correctly for a tight and leak-free joint.
Assembling the Compression Fitting
Wrapping PTFE tape around the pipe end
Wrap PTFE tape around the end of the pipe to create a watertight seal when connecting it to a compression fitting. The tape helps prevent leaks by providing an additional layer of protection against water seepage.
Tightening the compression fitting
After inserting the pipe into the compression fitting, tighten it securely to establish a strong connection. Use appropriate tools to ensure that the fitting is properly sealed, minimizing the risk of leaks in your plumbing system.
Using Push-Fit Joints
Preparing the Pipe
Ensuring clean and smooth pipe ends
To ensure a successful connection, start by cleaning the pipe ends thoroughly. Removing any dirt or debris from the surface promotes better adhesion between the pipe and the fitting, reducing the risk of leaks in your plumbing system.
Marking the insertion depth
Before assembly, mark the insertion depth on the pipe to guide you during the connection process. This marking ensures that you insert the pipe into the fitting at the correct depth for a secure and reliable joint.
Assembling the Push-Fit Joint
Inserting the pipe into the fitting
Carefully insert the cleaned copper pipe into the push-fit fitting until it reaches the marked insertion depth. Ensure that it fits snugly to prevent any movement that could compromise the connection's integrity.
Ensuring a secure connection
Once inserted, verify that you have achieved a secure connection by gently pulling on both ends. A properly secured joint will not detach easily, indicating a strong and leak-free bond between the pipe and fitting.
Bending Copper Pipes
Using Hand Benders
Opt for the appropriate bender based on the tube size to ensure precise bends without compromising the integrity of the copper pipe.
Bend the pipe gradually to achieve the desired angle, ensuring smooth curves that align seamlessly with your plumbing layout.
Using Elbows for Bends
Employ four 45-degree elbows strategically to navigate obstacles and create efficient pathways for copper supply lines within your plumbing system.
Utilize these elbows to maneuver around obstructions such as drain or vent pipes, optimizing space and maintaining a streamlined flow in your copper pipe configuration.
Testing the Installation
Checking for Leaks
Visual inspection
Examine the soldered joints and fittings visually to detect any signs of leaks. Look for visible drips, moisture, or discoloration around the connection points. A thorough inspection ensures that your copper pipe installation is watertight and secure.
Verify that there are no gaps or irregularities in the soldered joints by closely examining each connection point. Any abnormalities could indicate a potential leak that needs immediate attention to prevent water damage.
Inspect the entire length of the copper pipes to ensure there are no visible cracks, dents, or deformities that could compromise the integrity of your plumbing system. Identifying and addressing these issues early on can prevent future leaks and costly repairs.
Pressure testing
Conduct a pressure test on your newly installed copper pipes to assess their durability and leak resistance under normal operating conditions. Use a pressure testing kit to pressurize the system and monitor for any fluctuations that may indicate leaks.
Gradually increase the pressure within the pipes to simulate water flow and gauge their performance under stress. Monitor pressure gauges or indicators closely to detect any sudden drops, which could signify a leak in the system.
Maintain consistent pressure for a sufficient duration to ensure that your copper pipe installation can withstand typical usage demands without compromising its structural integrity. Pressure testing provides peace of mind and validates the quality of your workmanship in fitting copper pipes.
Final Adjustments
Tightening connections
Check all compression fittings, push-fit joints, and soldered connections for any looseness or play that could lead to leaks over time. Use appropriate tools to tighten these connections securely without overtightening, which may damage the pipes.
Ensure that all compression rings are properly seated and tightened according to manufacturer guidelines to maintain a reliable seal between components. Properly secured connections prevent water seepage and maintain efficient water flow throughout your plumbing system.
Double-check all threaded fittings joined with PTFE tape to confirm they are tightly fastened without cross-threading or misalignment issues. Secure fittings contribute to a leak-free plumbing setup that functions optimally for years to come.
Ensuring stability
Evaluate the overall stability of your copper pipe installation by gently applying pressure at various points along the piping system. Sturdy support brackets should hold the pipes firmly in place without excessive movement or vibrations during use.
Inspect wall-mounted sections of copper pipes for adequate anchoring and alignment with recommended spacing between supports based on local building codes or industry standards. Properly supported pipes minimize stress on joints and fittings, reducing the risk of leaks due to movement.
Make necessary adjustments to reinforce unstable sections by adding additional support brackets or securing straps as needed to enhance the structural integrity of your plumbing layout.
Recapping the journey of mastering copper pipe fitting reveals a path filled with learning and growth. Practice is the key to honing this valuable skill, unlocking endless possibilities for your plumbing projects. Remember, seeking professional guidance is always an option if you encounter challenges beyond your expertise. As you venture into the world of copper pipes, keep in mind the wise words of those who found joy and success in their endeavors: "Soldering copper opens doors to creativity and functionality, offering a world of opportunities for your projects." Stay curious, stay safe, and happy plumbing!
See Also
Straightforward Process: Soldering Copper Pipe for Novices
Quick Guide: Measuring Copper Pipe for DIY Projects
Key Pointers: Utilizing 1/4 Copper Pipe Fittings
Simple Tutorial: Mastering Copper Pipe Measurement
Effortless Process for Measuring Copper Pipes Professionally

© Copyright 2024 Dongguan Baoyuan Refrigeration Parts Co.,Ltd - All Rights Reserved.