How to Use a Copper Pipe Bender: A Step-by-Step Guide

To begin your journey into bending copper pipes, understanding the importance of this skill is key. The process offers versatility in plumbing and HVAC systems, allowing for custom configurations. An overview of the bending process reveals its simplicity yet crucial role in pipefitting tasks. Equipping yourself with the necessary tools, such as a copper pipe bender and measuring tools, ensures precision in your work. Additionally, familiarizing yourself with copper pipe dimensions and techniques like copper pipe soldering and using copper pipe compression fittings will further enhance your proficiency.
Preparing the Pipe
Measuring and Marking
To ensure precision in your copper pipe bending project, Using an Indelible Marker is essential. This tool allows you to mark the exact spot where you intend to create a bend. By marking the tube accurately, you set yourself up for success in achieving the desired angle. Remember, accuracy at this stage will save you time and effort later on. Additionally, Checking Copper Pipe Dimensions before marking ensures that your measurements align with the required specifications.
Smoothing Burrs
When preparing your copper pipe for bending, it's crucial to eliminate any imperfections that could affect the bend quality. Utilizing Tools for Smoothing, such as sandpaper or a deburring tool, helps remove burrs along the pipe's edge. This step guarantees a clean bend without any disruptions or irregularities. Prioritizing a smooth surface on the copper pipe is key to achieving professional results consistently. Remember, attention to detail during this phase pays off in the final outcome.
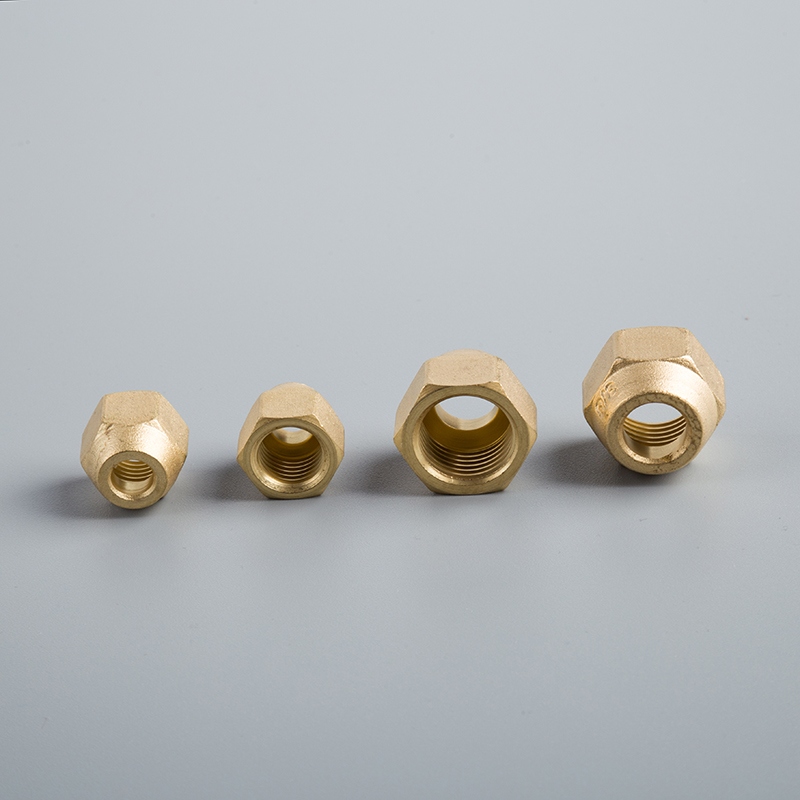
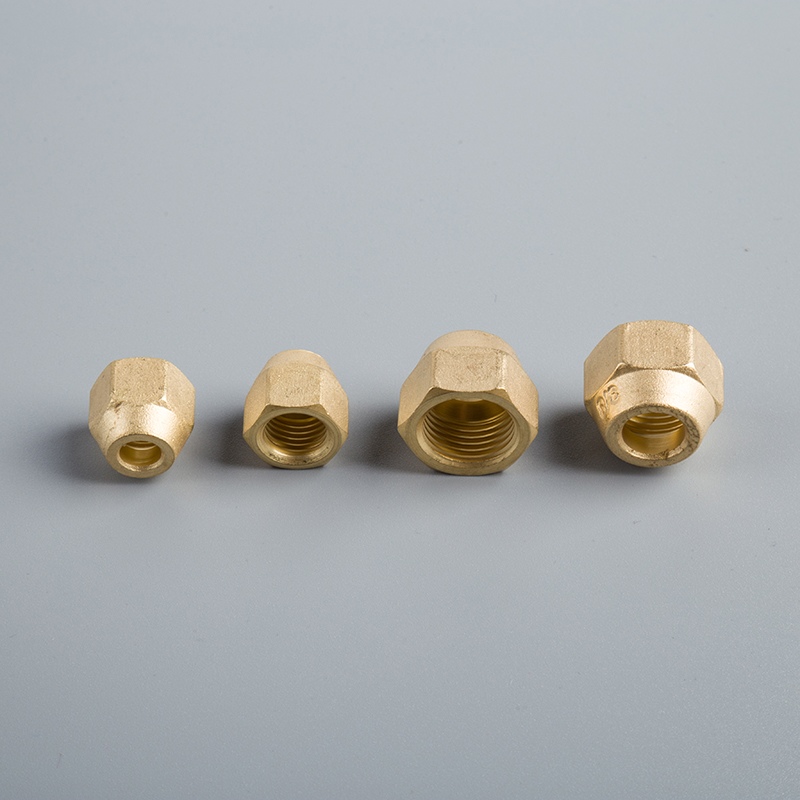
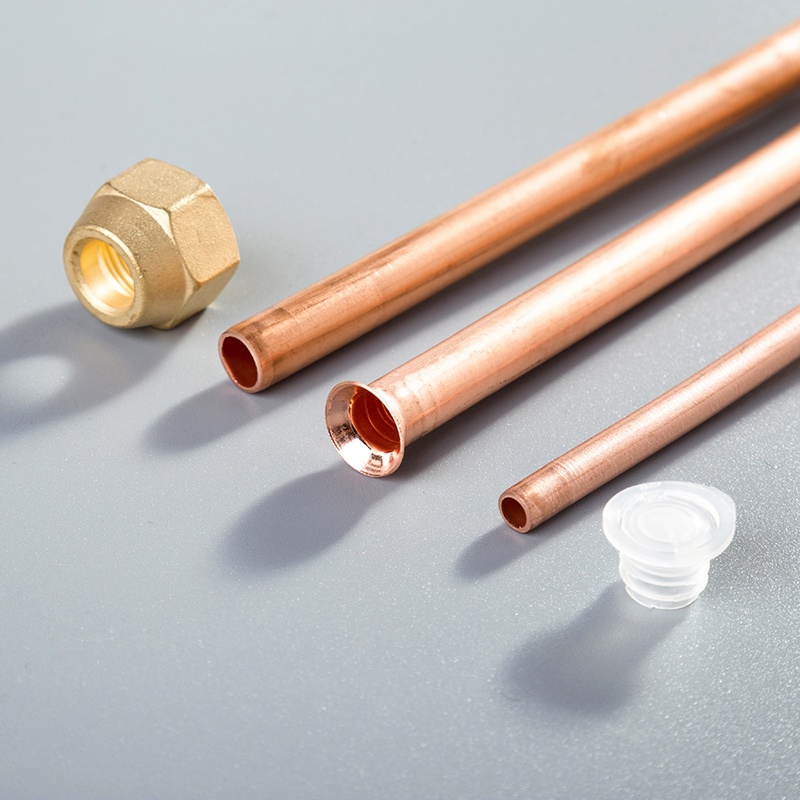
Using Copper Pipe Compression Fittings
Exploring alternative methods of connecting copper pipes can enhance your plumbing projects' efficiency and durability. Benefits of Compression Fittings include their ease of installation and reusability, making them a versatile choice for various applications. Learning How to Install Compression Fittings involves simple steps like sliding the compression ring onto the pipe end and tightening it securely with a wrench. Embracing compression fittings opens up possibilities for seamless connections without compromising on strength or longevity.
Using the Pipe Bender
When it comes to utilizing a copper pipe bender, inserting the pipe correctly is crucial for a successful bend. Positioning the pipe accurately within the bender ensures that the bend will be precise and aligned with your requirements. Once you have positioned the pipe, securing it firmly in place guarantees stability during the bending process.
Bending the pipe effectively involves applying pressure gradually and consistently. By exerting force in controlled increments, you can achieve a smooth and uniform bend without causing any damage to the copper material. Additionally, using a fixed fulcrum as a point of leverage enhances your control over the bending process, allowing you to manipulate the pipe with accuracy.
After completing the bend, checking its quality is essential to ensure that it meets your specifications. Verifying the accuracy of the bend by measuring angles and alignment guarantees that your project progresses smoothly without any setbacks. If adjustments are necessary to achieve perfection, make them promptly to maintain precision throughout your work.
Remember, mastering the art of using a copper pipe bender requires practice and attention to detail. By following these steps diligently and honing your skills, you can create professional-grade bends in copper pipes for various applications.
Finishing Touches
Removing the Pipe
To begin the final phase of your copper pipe bending project, focus on Careful Extraction of the pipe from the bender. Start by loosening any securing mechanisms gently to avoid unnecessary strain on the newly formed bend. Slowly slide the pipe out of the bender, ensuring that it maintains its shape and alignment throughout the removal process. By handling this step delicately, you safeguard the integrity of your hard work and prevent any accidental deformations.
Final Adjustments
Transitioning to the last stage involves making Correcting Over-Bends if necessary. In case you notice any deviations from the desired angle or shape in your copper pipe, apply gentle pressure to rectify these imperfections. By addressing over-bends promptly, you guarantee that your final product meets professional standards and functions optimally within your plumbing system. Additionally, consider Preparing for Copper Pipe Soldering by cleaning the surfaces to be joined thoroughly. This preparation ensures a secure and durable connection when soldering copper pipes together.
To summarize, the process of bending copper pipes involves meticulous steps and attention to detail.
Achieving precision in each stage, from measuring and marking to securing the pipe in the bender, is crucial for successful outcomes.
Remember, mastering the art of copper pipe bending opens up a world of possibilities for custom configurations in plumbing and HVAC systems.
Moving forward, consider exploring soldering techniques for copper pipes to further enhance your skills and project efficiency.
See Also
Detailed Steps for Purchasing Copper Pipe Coils
Basic Guide: Soldering Copper Pipe for Novices
Effortless Tutorial: Professional Copper Pipe Measurement
Becoming an Expert in Copper Pipe Connections: In-Depth Manual
5 Simple Techniques for Installing Compression Fittings on Curved Copper Tubing

© Copyright 2024 Dongguan Baoyuan Refrigeration Parts Co.,Ltd - All Rights Reserved.