How to Use a Copper Pipe Flaring Tool

When working with copper pipes, achieving a proper flare is crucial for leak-free connections. Understanding the importance of flaring copper pipes ensures the durability and efficiency of your plumbing system. The copper pipe flaring tool plays a key role in this process, allowing you to create precise flares for a secure fit. This blog will provide an overview of the tool, guiding you through the steps involved in creating flawless flares on your copper pipes. Additionally, we'll discuss how to use the tool for various applications, such as fitting a copper pipe in a pool skimmer, and reference a copper pipe size chart to ensure you select the correct dimensions. For those needing to cut pipes to the right length, we'll also cover the use of a copper pipe tube cutter.
Preparing the Copper Pipe
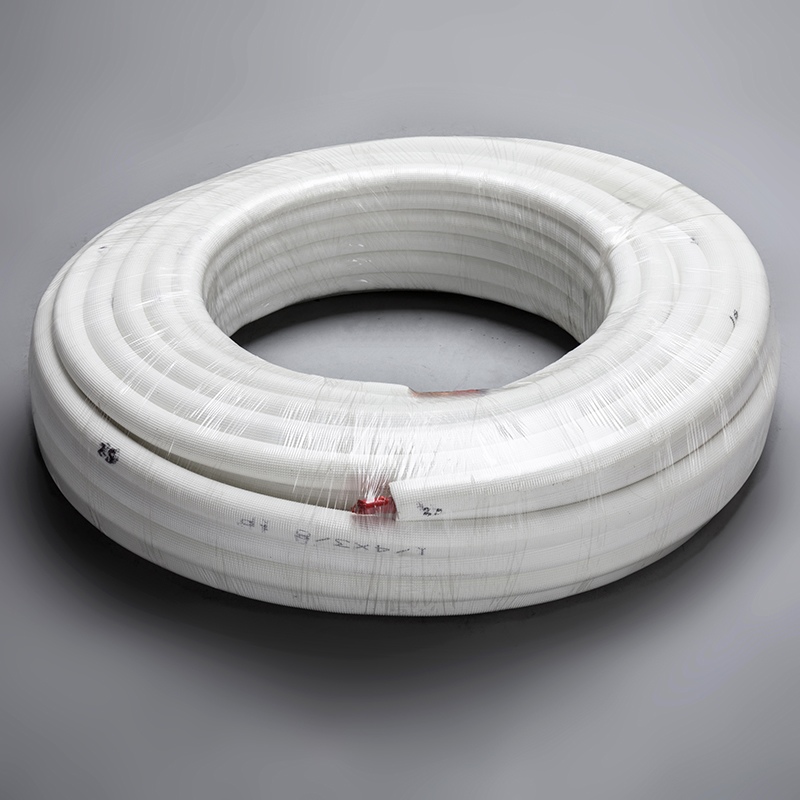
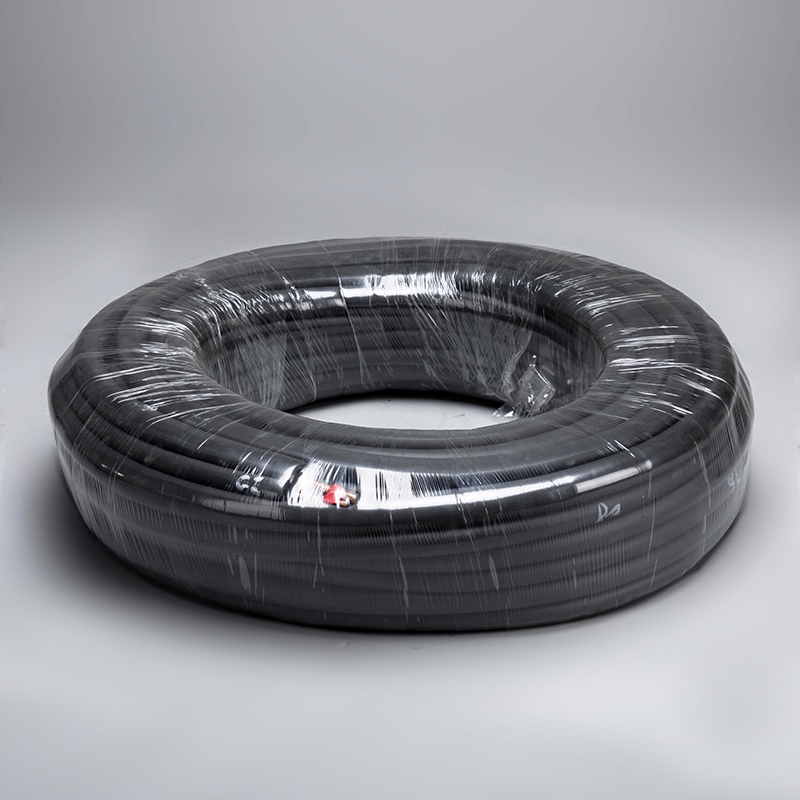
Selecting the Right Copper Pipe
To ensure a successful flaring process, it is essential to check the copper pipe size chart meticulously. This chart provides detailed information on the dimensions of various copper pipes, helping you select the perfect fit for your project. Additionally, when ensuring compatibility with the copper pipe in a pool skimmer, consider factors like diameter and material composition. A precise match guarantees a seamless integration that enhances the overall efficiency of your plumbing system.
Cutting the Copper Pipe
When it comes to using a copper pipe tube cutt tool, precision is key. This specialized tool allows you to make clean and accurate cuts on copper pipes, ensuring a snug fit during the flaring process. After cutting, smoothing the edges of the cut pipe is crucial. Removing any roughness or burrs from the edges ensures a smooth transition and prevents leaks in your plumbing connections.
Positioning the Pipe
Properly positioning the pipe sets the foundation for a flawless flare. Start by inserting the pipe into the flaring tool securely. This step ensures stability during flaring and promotes an even distribution of force. Next, adjusting the height for the flare is vital. The correct height setting guarantees that your flare meets industry standards and provides optimal functionality within your plumbing system.
Using the Flaring Tool
Securing the Pipe
To ensure a stable foundation for the flaring process, tighten the grip of the flaring tool securely around the copper pipe. This step guarantees that the pipe remains in position throughout the flaring procedure, preventing any unnecessary movements that could affect the quality of the flare. Additionally, ensuring the clamp is snug around the pipe is essential. A properly secured clamp maintains consistent pressure on the pipe, allowing for a uniform flare to be created without any disruptions.
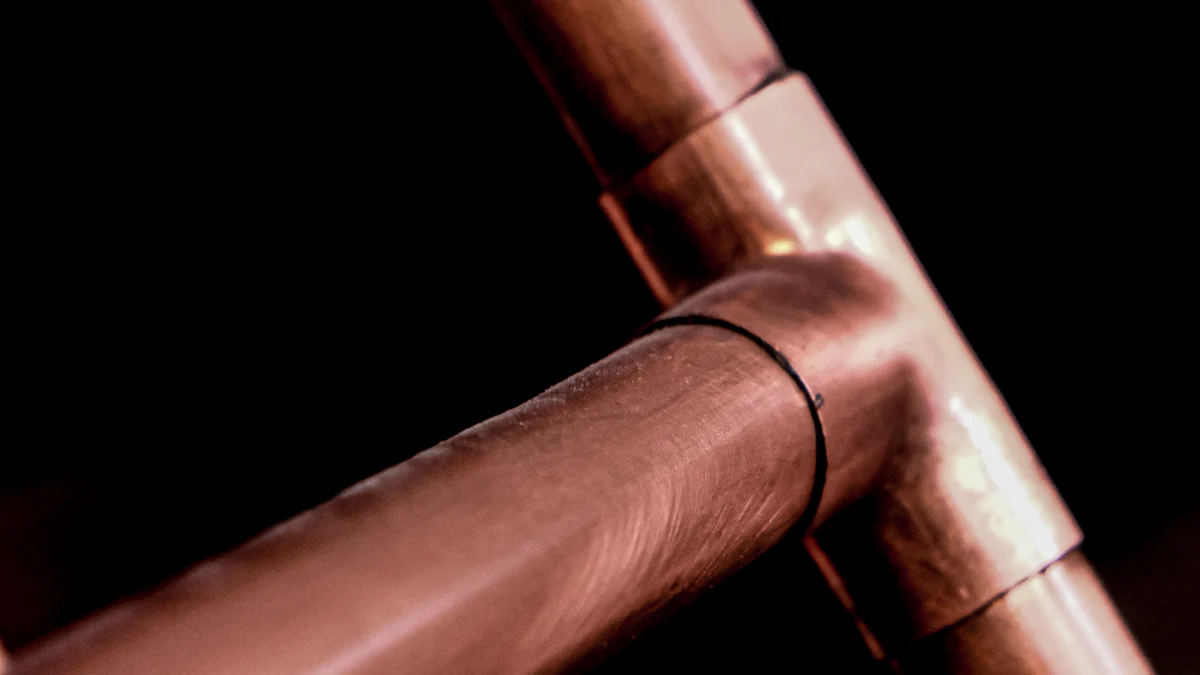
Creating the Flare
When using a flaring tool, precision is key to achieving optimal results. Centering the flaring cone over the tubing ensures that the flare is formed symmetrically and accurately. By aligning the cone correctly, you set the stage for a flawless connection that enhances both durability and efficiency. Subsequently, tightening the cone to form the flare requires gradual and controlled movements. This action shapes the copper pipe into a funnel-like end, ready to serve as a joint for other pipes or components within your plumbing system.
Finalizing The Flare
After creating the initial flare, it's crucial to assess its quality before finalizing it. Checking the quality of the flare involves inspecting its shape and dimensions to ensure it meets industry standards. If adjustments are necessary to achieve perfection, don't hesitate to make them promptly. Making precise modifications guarantees that your connections are leak-free and durable in various applications where copper pipes are utilized.
Remember, mastering how to use a flaring tool effectively not only enhances your plumbing skills but also ensures long-lasting and reliable connections in your projects.
Expert advice from MGFTools emphasizes ensuring quality flares when using a flaring tool effectively. According to Toolfetch, these tools create funnel-shaped ends on copper pipes and tubes, making them ideal joints for other components in HVAC and plumbing systems. Elgracool highlights specialized tools like Flaring tool for copper tube (metric) designed specifically for working with copper tubing efficiently.
Tips and Best Practices
Maintaining the Flaring Tool
To ensure the longevity and efficiency of your flaring tool, prioritize regular cleaning and lubrication. By keeping your tool clean, you prevent debris buildup that could affect its performance. Lubricating the moving parts enhances the tool's functionality, allowing for smoother operations during the flaring process. Remember, a well-maintained tool not only ensures precise flares but also extends the lifespan of your equipment.
Ensuring Safety
When working with a copper pipe flaring tool, safety should always be a top priority. Wearing protective gear such as gloves and safety goggles shields you from potential hazards like sharp edges or metal shavings. Additionally, working in a well-ventilated area minimizes exposure to fumes or dust generated during the flaring process, promoting a healthier work environment. Prioritizing safety measures guarantees a secure and comfortable experience while achieving professional results in your plumbing projects.
Testimonials:
Use bold for the person's name or position.
Blockquotes for the testimonial text.
Use italic for emphasizing impactful phrases.
Lists for multiple testimonials or key points within them.
Inline
codefor specific products, services, or outcomes mentioned.
When reflecting on the flaring process, it becomes evident that precision and technique are paramount. Mastering the art of creating flawless flares not only ensures leak-free connections but also enhances the efficiency of your plumbing projects. Remember, proper technique guarantees durable and reliable results. For further insights, consider exploring tools from reputable brands like Ridgid and Reed for your HVAC and plumbing needs. Additionally, delve into Elgracool's durable flaring tool for copper tubes, equipped with inserts for metric pipes, to elevate your craftsmanship in working with copper tubing.
See Also
Selecting the Ideal Flaring Tool for 1/2 Copper Pipes
Essential Flaring Tools for Copper Pipe DIYers
Best 5 Tools for Flaring Copper Pipe Projects

© Copyright 2024 Dongguan Baoyuan Refrigeration Parts Co.,Ltd - All Rights Reserved.