How to Use a Crimp Tool for Copper Pipes

Crimping copper pipes is a crucial skill in plumbing projects. Understanding the crimping process ensures secure connections for your 2 copper pipe. Utilizing a crimp tool for copper pipe guarantees precise fittings without the need for soldering. The benefits of this method include efficiency, reliability, and durability in your plumbing system. Additionally, knowing how to cut copper pipe and how to sweat copper pipe can further enhance your plumbing expertise.
Tools and Materials
To ensure a successful crimping process for your copper pipes, having the right tools and materials is essential.
Necessary Tools
Crimp Tool for Copper Pipe
When embarking on a plumbing project involving copper pipes, the crimp tool for copper pipe becomes your trusted ally. This specialized tool exerts precise pressure to create secure connections without the need for soldering. By utilizing the crimp tool effectively, you can achieve leak-free fittings that guarantee long-lasting performance.
PEX Crimping Tool
In addition to the crimp tool designed specifically for copper pipes, a PEX crimping tool offers versatility in plumbing connections. This tool allows you to work with various pipe materials, providing flexibility in your projects. With the PEX crimping tool, you can ensure reliable seals and efficient installations across different plumbing systems.
Required Materials
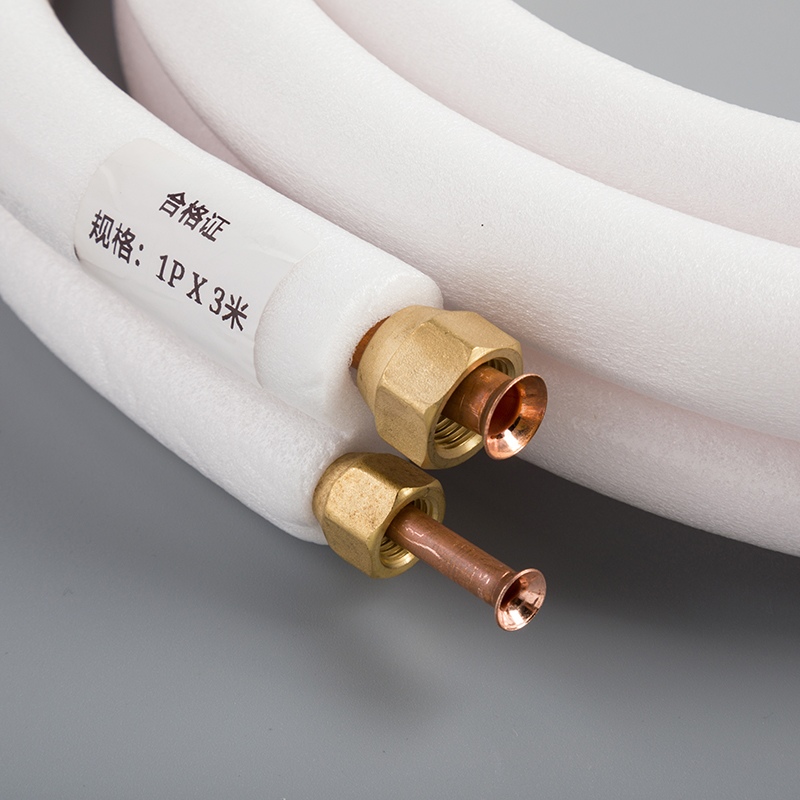
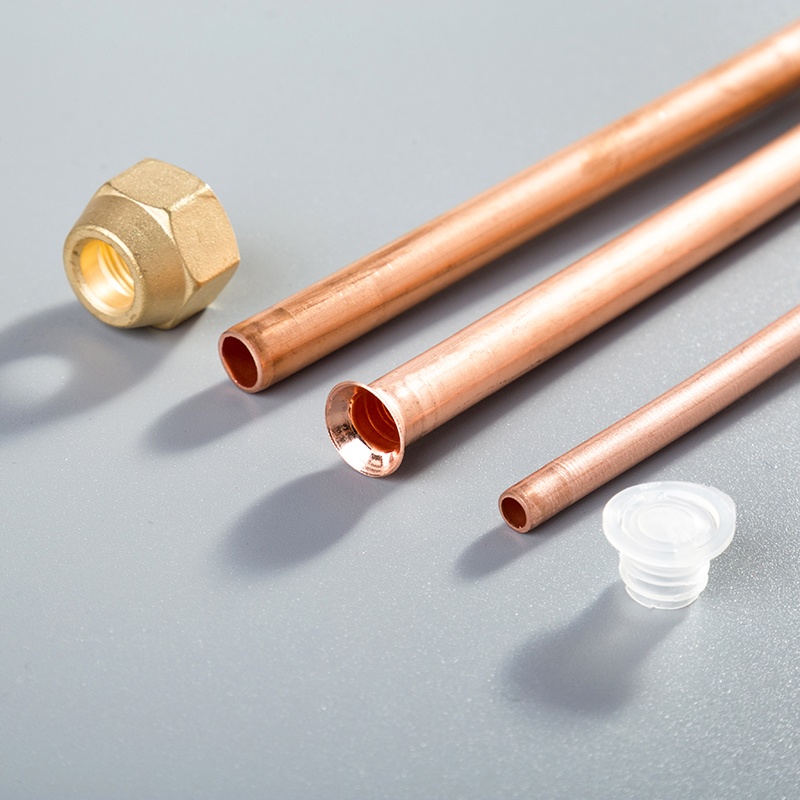
Copper Pipes
The foundation of any plumbing project involving copper pipes lies in the quality of copper pipes used. Opting for durable and corrosion-resistant copper pipes ensures the longevity of your plumbing system. These pipes are known for their reliability and effectiveness in carrying water efficiently throughout your home.
Press Fittings
Complementing your choice of copper pipes, press fittings play a crucial role in creating secure joints without welding or soldering. These fittings offer convenience and ease of installation while maintaining high performance standards. By incorporating press fittings into your plumbing projects, you can streamline the connection process and enhance the overall efficiency of your system.
Preparation Steps
Measuring and Cutting
To ensure precise fittings for your plumbing project, cutting copper pipe accurately is crucial. Begin by measuring the desired length of the copper pipe using a measuring tape. Once measured, mark the cutting point with a pencil to guide your cutting process. Utilize a tube cutter to make a clean and straight cut on the marked spot. Remember to deburr the cut end of the pipe using a deburring tool to remove any rough edges that could affect the fitting.
How to Cut Copper Pipe
When cutting copper pipe, position the tube cutter perpendicular to the pipe's axis. Rotate the cutter around the pipe while tightening it after each rotation until you achieve a clean cut. Avoid rushing this step as precision is key in ensuring a proper fit for your plumbing connections.
Marking the Pipe
For accurate positioning of press fittings, marking the copper pipe is essential. Use a marker or pencil to mark where each press fitting should be placed along the pipe. Ensure these marks are clear and aligned with your measurements to guarantee precise crimping later on.
Accurate Positioning
When marking the pipe, take into account factors like spacing between fittings and distance from bends or corners. Precision in marking ensures that your press fittings are positioned correctly for secure connections without any room for error.
Installing the Jaw
Choosing the right size jaw for your crimping tool is vital in achieving leak-free connections. Select a jaw that matches the size of your press fittings to ensure compatibility and efficiency during the crimping process. Installing an incorrectly sized jaw can lead to improper crimps and potential leaks in your plumbing system.
Choosing the Right Size
Before installing the jaw, double-check that it corresponds with the size of your press fittings by comparing them side by side. A properly sized jaw guarantees a snug fit around the fitting, allowing you to crimp with confidence and precision.
Crimping Process

Positioning the Tool
Aligning with Fitting
To begin the crimping process, position the crimp tool accurately over the press fitting. Ensure that the tool aligns perfectly with the fitting to guarantee a secure connection. Proper alignment is crucial in achieving a watertight seal that prevents any potential leaks in your plumbing system.
Applying Pressure
Creating a Watertight Seal
Once aligned, apply consistent pressure using the crimp tool to deform the fitting onto the copper pipe securely. By exerting adequate force, you create a tight seal that ensures long-lasting performance and reliability. The pressure applied during this step plays a vital role in forming a strong connection that withstands water flow and pressure without any compromise.
Tips for Secure Connection
Ensuring Proper Fit
To prevent leaks in your plumbing system, ensure the press fittings fit snugly onto the copper pipe.
Align the crimp tool precisely over the fitting to create a secure connection without any gaps.
Verify that the jaw size matches the press fitting to guarantee a proper fit during crimping.
Checking the Seal
Perform a final inspection after crimping to confirm a watertight seal.
Examine the crimped connection closely for any signs of imperfections or gaps.
Test the connection by running water through the pipes and checking for any leaks.
A thorough inspection ensures a reliable and durable plumbing system that withstands water pressure effectively.
Summarize the crimping process to ensure secure connections for your plumbing project.
Utilizing a crimp tool guarantees precise fittings without the need for soldering, ensuring efficiency and durability in your system.
Consider exploring advanced techniques or seeking professional guidance to enhance your plumbing skills further.
See Also
Selecting the Top Flaring Tool for 1/2 Copper Pipe
5 Simple Ways to Connect Fittings on Curved Copper Pipes
5 Key Pointers for Utilizing 1/4 Copper Pipe Fittings

© Copyright 2024 Dongguan Baoyuan Refrigeration Parts Co.,Ltd - All Rights Reserved.