How to Install Copper Water Pipes: A Step-by-Step Guide

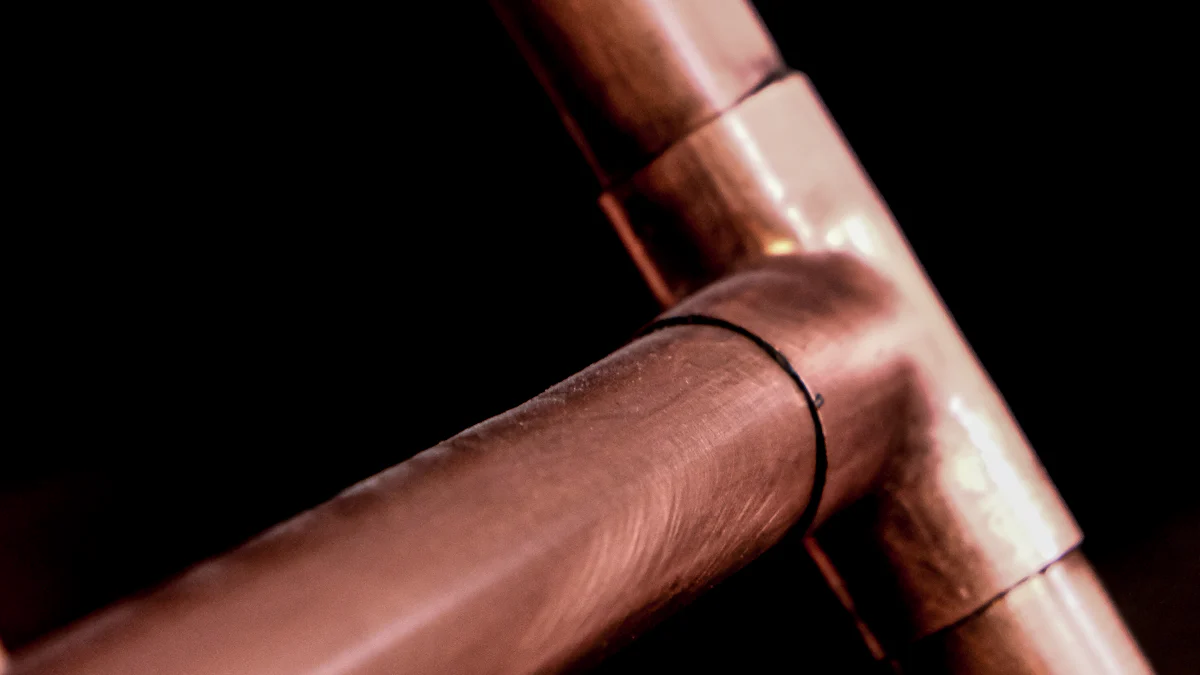
Proper installation of copper water pipes is paramount for a reliable plumbing system. Understanding the steps involved and the benefits of utilizing copper pipe hangers can ensure a successful project. Whether you're working with a 1 inch copper pipe or a 2 inch copper pipe, copper pipes offer durability and resistance to corrosion, making them a wise choice for your plumbing needs.
Tools and Materials

Essential Tools
When embarking on the installation of copper water pipes, it is essential to have the necessary tools at your disposal. Begin by utilizing a Pipe cutter to precisely cut the copper pipes to the required length. This tool ensures clean and accurate cuts, facilitating a seamless installation process. Additionally, a Deburring tool is crucial for removing any rough edges or burrs from the cut pipes, ensuring a smooth connection. Lastly, a Soldering torch is indispensable for creating secure joints between copper pipes using solder.
Required Materials
To complete the installation successfully, gather the following materials: Copper water pipe, which serves as the main component of your plumbing system, providing durability and reliability. Ensure you have both 1 inch and 2 inch copper pipe sizes on hand to accommodate different plumbing requirements effectively. Additionally, Copper pipe hangers are vital for supporting and securing the copper pipes in place, preventing sagging or movement over time.
Preparing the Pipes
Measuring and Cutting
To start the pipe preparation process, accurately measure the length required for your copper pipes. Precision in measurement is crucial to ensure a proper fit and seamless connection. Once you have determined the correct length, proceed to cut the pipe using a reliable pipe cutter. This tool will assist you in achieving clean and precise cuts, essential for a successful installation.
Deburring the Pipes
After cutting the pipes, it is imperative to deburr both the inside and outside edges. Inside deburring involves removing any roughness or burrs from the inner surface of the pipe. This step ensures that there are no obstructions that could impede water flow or cause leaks. Similarly, outside deburring focuses on smoothing out the outer edges of the pipe, guaranteeing a secure and snug fit during assembly.
Professional piping requires specialized tools for cutting, bending, belling, and expanding copper pipes to fit installation requirements. Tools such as knives, violins, benders, flaring tools, and trimming machines are essential for precise pipe processing.
Installation Process
Soldering the Pipes
Applying flux
To begin the soldering process, apply flux to the cleaned and deburred pipe surfaces. Flux plays a crucial role in ensuring a clean and strong bond between the pipes. It helps to remove any oxidation that may hinder the solder from adhering properly.
Heating the joint
Next, heat the joint using a soldering torch until it reaches the appropriate temperature for soldering. This step is essential to create a secure connection between the copper pipes. Proper heating ensures that the solder flows evenly around the joint, forming a tight seal.
Applying solder
Once the joint is heated adequately, apply solder to the connection point. The molten solder will flow into the joint by capillary action, filling any gaps and creating a watertight seal. Be sure to apply just enough solder to cover the entire circumference of the joint for a reliable connection.
Using Press Fittings
Inserting the pipe
When utilizing press fittings, start by inserting the pipe into the fitting until it reaches its full depth. Press fittings provide a convenient and efficient way to join copper pipes without requiring heat or additional materials. Ensure that the pipe is inserted correctly to guarantee a secure fit.
Securing the fitting
After inserting the pipe, secure the fitting by using a pressing tool specifically designed for press fittings. This tool applies pressure evenly around the fitting, compressing it onto the pipe and creating a leak-proof connection. Press fittings offer a quick and reliable alternative to traditional soldered joints.
Installing Copper Pipe Hangers
Positioning hangers
To support your copper pipes effectively, position hangers at regular intervals along their length. Properly spaced hangers prevent sagging or movement of the pipes over time, maintaining stability within your plumbing system. Ensure that each hanger is securely fastened to provide adequate support.
Securing pipes
Once you have positioned all hangers, secure your pipes within them using appropriate fasteners or clamps. This step ensures that your copper pipes remain in place and do not shift under pressure or with changes in temperature. Securely fastening your pipes guarantees longevity and reliability in your plumbing installation.
To summarize, the installation process of copper water pipes involves precise measurements, clean cuts, and secure fittings. Following best practices ensures a reliable plumbing system with optimal performance. Seeking professional help when needed guarantees a successful and efficient installation. Remember, proper installation of copper pipes is key to maintaining a durable and leak-free plumbing system.
Testimonials:
Care Plumbing
"Care Plumbing came to my house and installed all new copper pipe. My house was built in 1954 and the galvanized pipe was a mess. John, Mike, and his crew came to the house at the time they said they would be here. They put all new copper pipe in the house in one day as they stated. The patchwork and cleanup were very good. We now have decent water pressure and don't have to worry about the old galvanized pipe breaking."
See Also
Basic Guide: Soldering Copper Pipes for Novices
Quick Guide: Measuring Copper Pipes for DIY Projects
Comprehensive Manual: Preserving Copper Pipe Performance

© Copyright 2024 Dongguan Baoyuan Refrigeration Parts Co.,Ltd - All Rights Reserved.