Step-by-Step Guide to Installing Compression Fittings on Copper Pipes

Compression fittings are essential components in plumbing, offering a reliable way to join copper pipes securely. Eliminating the need for soldering, these fittings provide a leak-proof connection vital for various applications. Understanding how to install a compression fitting on a copper pipe is crucial for any DIY enthusiast or professional plumber. Additionally, knowing how to remove a compression fitting from a copper pipe is equally important for maintenance and repairs. This guide will walk you through the process step by step, ensuring a successful outcome without the hassle of specialized tools. Let's delve into the world of compression fittings and discover their significance in plumbing systems.
Tools and Materials Needed
Essential Tools
Pipe cutter: A pipe cutter is essential for achieving clean and precise cuts on copper pipes, ensuring a proper fit for compression fittings.
Deburring tool: Using a deburring tool helps in smoothing out the rough edges of the pipe after cutting, allowing for a seamless connection with the compression fitting.
Adjustable wrench: An adjustable wrench is necessary for tightening the compression nut onto the fitting securely, creating a leak-proof joint.
Compression fitting kit: This kit contains all the components required for installing compression fittings, simplifying the process and ensuring you have everything you need at hand.
Required Materials
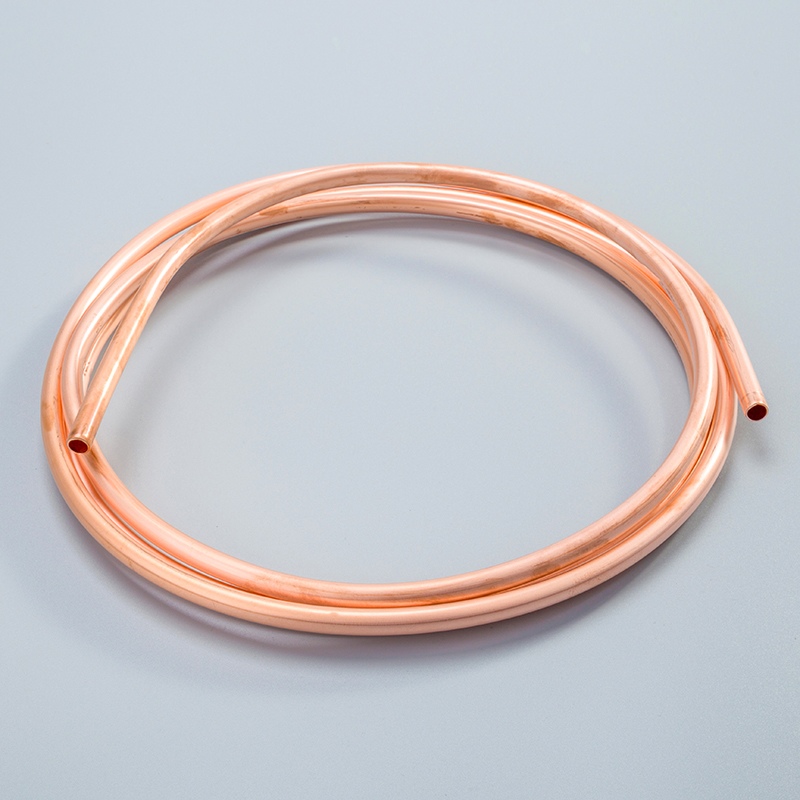
Copper pipes: High-quality copper pipes are crucial for durability and reliability in plumbing systems, providing a sturdy foundation for compression fittings to create secure connections.
Compression fittings: These fittings are designed to connect copper pipes effectively without the need for soldering, offering a convenient and leak-proof solution.
Pipe joint compound or Teflon tape: Applying pipe joint compound or Teflon tape on the threads of the compression fittings ensures a tight seal, preventing any potential leaks in the plumbing system.
Preparation Steps
Measuring and Cutting the Pipe
To ensure a precise fit, start by measuring the length of the copper pipe accurately. This step is crucial in determining the exact size needed for your plumbing project. Once you have the measurement, proceed to cut the pipe to the required length using a reliable pipe cutter.
Achieving clean and smooth cuts on copper pipes is essential for seamless connections with compression fittings. After cutting the pipe, it's vital to remove any rough edges that may affect the fitting process. Cleaning and deburring both the inside and outside of the pipe will guarantee a proper and secure fit for the compression fittings.
By following these meticulous preparation steps, you are setting yourself up for a successful installation of compression fittings on copper pipes. Remember, precision in measuring and cutting, along with thorough cleaning and deburring, are key factors in ensuring a leak-free connection that will stand the test of time.
Installing the Compression Fittings
Assembling the Compression Fitting
To begin assembling the compression fitting, place the compression nut onto the copper pipe. This step is crucial in preparing the pipe for a secure connection with the compression fitting. Next, add the compression ring to ensure a proper seal and prevent any potential leaks in the plumbing system.
Attaching the Fitting to the Pipe
When attaching the fitting to the pipe, carefully insert the copper pipe into the compression fitting body. Proper alignment is key to achieving a tight and leak-proof connection. Once inserted, proceed by tightening the compression nut onto the fitting using an adjustable wrench. This final step ensures that your compression fitting is securely in place, ready to withstand water pressure and maintain its integrity over time.
Final Steps and Testing
Checking for Leaks
To ensure a watertight seal, the pipe joint compound or Teflon tape should be applied meticulously. This step guarantees that the connection is secure and leak-free. Once the compound or tape is in place, proceed to tighten the fittings securely using an adjustable wrench. This final touch ensures that the compression fittings are firmly in position, ready to withstand water pressure without any risk of leaks.
Testing the Installation
Upon completing the installation process, it's time to put it to the test. Start by turning on the water supply gradually to check for any signs of leakage. Allow the water to flow through the system and then inspect for any leaks around the compression fittings. If everything appears dry and secure, congratulations! You have successfully installed compression fittings on your copper pipes.
Tips and Troubleshooting
Common Mistakes to Avoid
Tightening the compression nut excessively:
Over-tightening the compression nut can lead to potential leaks in the plumbing system. It is crucial to tighten the nut securely but not excessively, as this may cause damage to the fitting or pipe, resulting in a compromised connection.
Inadequate cleaning of the pipe:
Not cleaning the pipe properly before installing a compression fitting can result in an imperfect seal and potential leaks. Ensure that both the inside and outside of the pipe are thoroughly cleaned and deburred to guarantee a secure connection with the compression fitting.
Troubleshooting Leaks
Identifying leak sources:
When faced with a leak in your plumbing system, it is essential to identify the source promptly. Check all compression fittings for any signs of moisture or dripping water to pinpoint where the leak is originating from accurately.
Re-tightening or reassembling fittings:
If you encounter a leak around a compression fitting, consider re-tightening or reassembling the fitting. Use an adjustable wrench to ensure that the compression nut is securely fastened onto the fitting, creating a watertight seal and preventing further leakage issues.
To summarize, the installation process of compression fittings on copper pipes involves meticulous steps to ensure a secure and leak-proof connection. Precision in measuring, cutting, cleaning, and assembling is crucial for a successful outcome.
Proper installation is paramount to prevent leaks and maintain the integrity of your plumbing system. Following each step carefully guarantees a reliable connection that will withstand the test of time.
Readers are encouraged to implement these steps diligently for effective results. Your attention to detail will pay off with a functional and durable plumbing setup.
Feel free to share your experiences or seek advice from fellow DIY enthusiasts and professionals in the comments section below. Your engagement enriches our community's knowledge and fosters continuous learning.
See Also
Effortless Guide: Attaching Compression Fittings to Curved Copper Pipes
Basic Guide: Soldering Copper Pipe for Novices
Key Pointers: Utilizing 1/4 Copper Pipe Fittings
Becoming Proficient in Copper Pipe Fittings: An In-Depth Manual
Simple Techniques: Measuring Copper Pipe for DIY Achievement

© Copyright 2024 Dongguan Baoyuan Refrigeration Parts Co.,Ltd - All Rights Reserved.