Methods to Remove Stuck Compression Fittings: A Complete Guide

Compression fittings play a vital role in various industries and applications due to their versatility and reliability. Write a 'Guides' blog post on 'Methods to remove stuck or frozen compression fittings' to understand the significance of removing stuck compression fittings, which is crucial for maintenance and repair tasks. This guide aims to provide a comprehensive approach to tackling this common issue effectively. By exploring different methods and best practices, readers can equip themselves with the necessary knowledge to handle stuck compression fittings confidently.
Understanding Compression Fittings
What Are Compression Fittings?
Definition and Basic Components
Compression fittings are commonly used to connect pipes or tubing securely in plumbing and industrial applications.
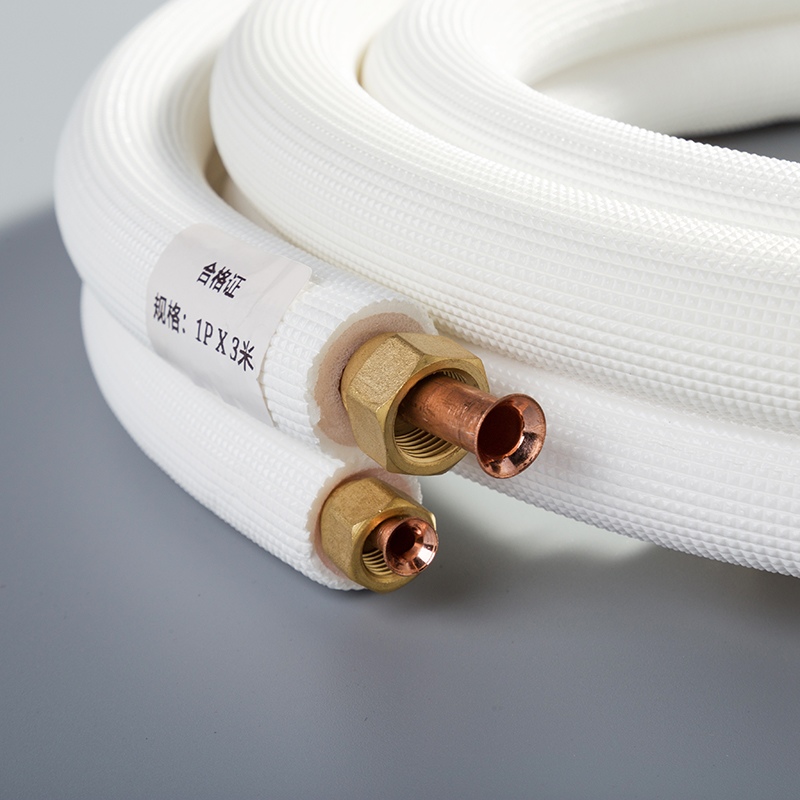
The fitting consists of a compression nut, a compression ring (ferrule), and a compression seat.
To assemble the fitting, slide the compression nut onto the pipe or tubing, followed by the compression ring, and tighten the nut to create a watertight or airtight seal.
Common Applications in Plumbing and Other Fields
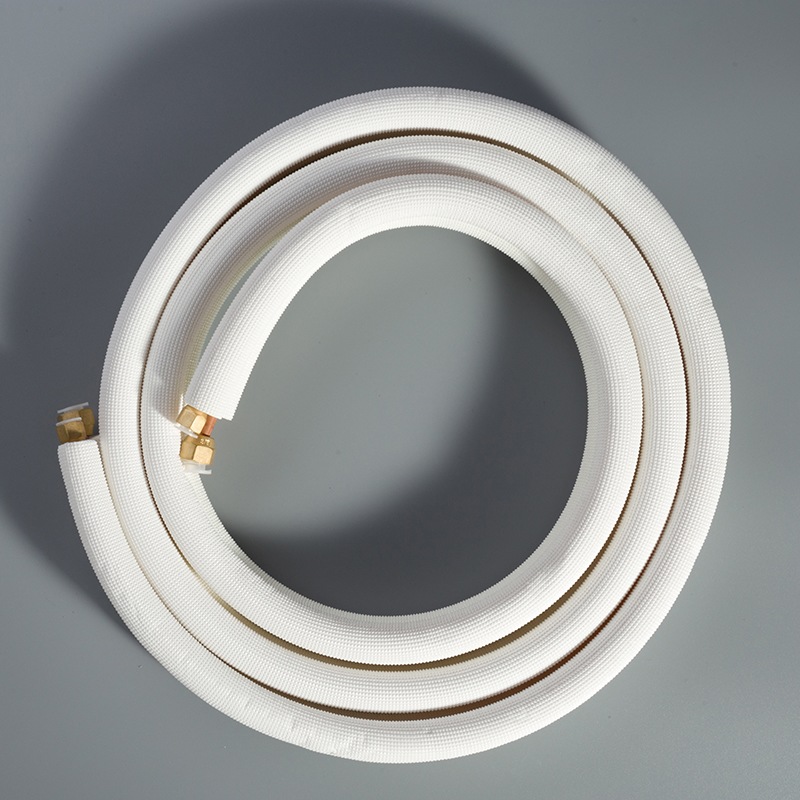
In plumbing and mechanical systems, compression fittings play a crucial role in connecting copper pipes with different shapes and materials like PVC or steel pipes.
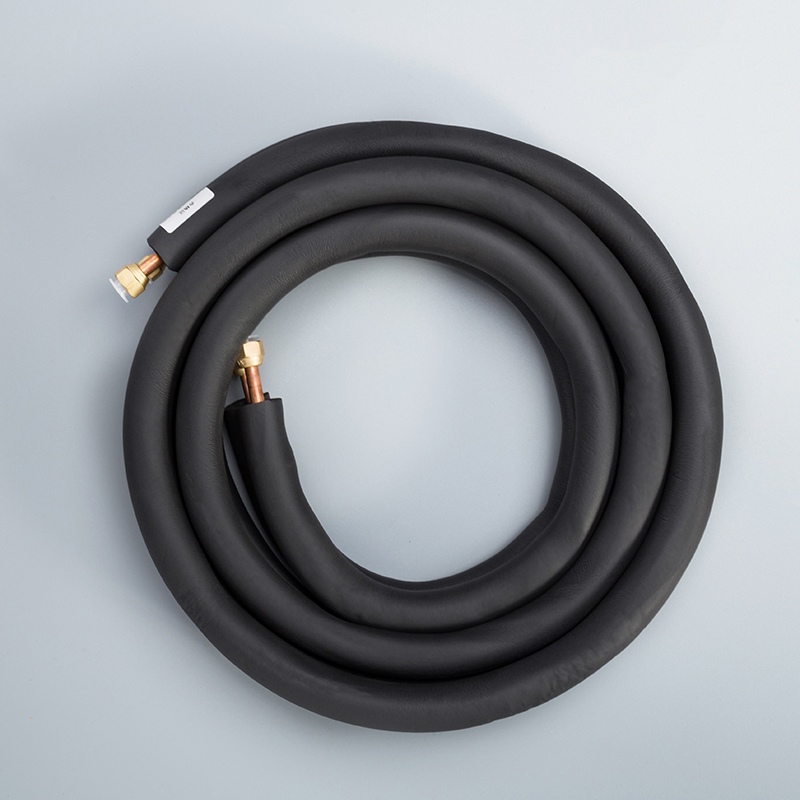
These fittings offer versatility in connecting metal or hard plastic tubing across various industries such as medical, semiconductor, and instrumentation.
Due to their extreme temperature and pressure capabilities, as well as compatibility with aggressive fluids, compression fittings are widely utilized in critical systems.
Tools and Materials Needed
Essential Tools
Wrenches and Pliers
Tightening or loosening compression fittings requires the use of reliable wrenches and pliers to ensure a secure connection.
The wrench provides the necessary torque to adjust the compression nut, while pliers offer a firm grip for precise handling.
Lubricants and Penetrating Oils
When dealing with stuck compression fittings, incorporating lubricants and penetrating oils is essential for easing the removal process.
Applying lubricants helps reduce friction between components, facilitating smoother disassembly without causing damage.
Optional Tools
Heat Guns
In situations where stubborn compression fittings pose challenges, utilizing heat guns can be beneficial.
The controlled application of heat aids in expanding metal components slightly, making it easier to break free from seized positions.
Specialized Removal Tools
For particularly challenging scenarios, having access to specialized removal tools can be a game-changer.
These tools are designed to provide targeted assistance in extracting stuck compression fittings efficiently.
Step-by-Step Methods to Remove Stuck Compression Fittings
Method 1: Using Penetrating Oil
To initiate the process of freeing stuck compression fittings, a mixture of 50% acetone and 50% power steering oil can be a potent solution. This method has shown excellent success in breaking loose threaded rusty nightmares.
Step-by-step instructions:
Prepare the Mixture: Combine equal parts of acetone and power steering oil in a container.
Apply the Solution: Use a brush or dropper to apply the mixture generously on the stuck compression fitting.
Wait and Repeat: Allow some time for the penetrating oil to work its magic, then reapply if necessary.
Attempt Removal: Once adequately soaked, try loosening the fitting using appropriate tools like wrenches or pliers.
Tips for effectiveness:
Patience is Key: Give the penetrating oil sufficient time to seep into the tight spaces before attempting removal.
Consistent Application: Reapply the solution at intervals to maximize its effectiveness in loosening the stuck compression fitting.
Method 2: Applying Heat
When dealing with stubborn fittings that refuse to budge, applying heat strategically can be a game-changer. Expanding the fixture or nut through controlled heat application has proven effective in breaking them loose.
Step-by-step instructions:
Select Heat Source: Choose a suitable heat source such as a heat gun or torch.
Heat Application: Direct the heat towards the stuck area of the compression fitting gradually.
Test Periodically: Check periodically for any signs of movement or loosening.
Proceed with Caution: Exercise care when applying heat to prevent damage to surrounding components.
Safety precautions:
Protective Gear: Wear appropriate safety gear such as gloves and goggles when working with heat sources.
Ventilation: Ensure adequate ventilation in the workspace to disperse any fumes generated during heating processes.
Method 3: Using a Puller Tool
In scenarios where traditional methods fall short, employing a specialized puller tool can provide targeted assistance in extracting stubborn compression fittings efficiently.
Step-by-step instructions:
Select Suitable Tool: Choose a puller tool designed for removing compression fittings securely.
Positioning: Place the tool over the stuck fitting ensuring proper alignment.
Application of Force: Gradually apply force using the puller tool while ensuring steady pressure.
Monitor Progress: Observe any movement or signs of release during extraction attempts.
When to use this method:
Complex Stuck Fittings: Utilize a puller tool when dealing with intricate or tightly seized compression fittings that resist conventional removal techniques.
Best Practices and Common Pitfalls
Best Practices
Regular Maintenance Tips
Inspecting Compression Fittings: Regularly check compression fittings for signs of wear, corrosion, or leaks to address any issues promptly.
Applying Lubricants Preventatively: Proactively use lubricants on compression fittings during routine maintenance to prevent them from seizing over time.
Implementing Scheduled Inspections: Establish a maintenance schedule to inspect compression fittings systematically and ensure their optimal performance.
Following Manufacturer Guidelines: Adhere to the manufacturer's recommendations for installation, maintenance, and replacement of compression fittings.
Preventive Measures
Avoiding Over-Tightening: Refrain from applying excessive force when tightening compression fittings to prevent them from getting stuck in the future.
Using Compatible Materials: Ensure that all components used with compression fittings are compatible with each other to avoid potential issues.
Proper Storage of Tools: Store wrenches, pliers, and other tools properly to maintain their effectiveness and prevent damage that could lead to stuck fittings.
Seeking Professional Assistance When Needed: If unsure or encountering difficulties during maintenance tasks, do not hesitate to consult with professionals for guidance.
Common Pitfalls
Mistakes to Avoid
Maintenance Guy:
Improper Hammer Usage: Avoid using hammers directly on compression fittings as it can cause damage. Instead, follow proper techniques like tapping gently on surrounding areas if necessary.
Neglecting Regular Inspections: Skipping routine checks can lead to unnoticed issues with compression fittings, resulting in potential failures down the line.
Unknown:
Incorrect Wrench Handling: Using wrenches incorrectly can strip threads or damage the fitting. Always ensure proper positioning and controlled application of force when handling wrenches.
Ignoring Warning Signs: Ignoring warning signs such as leaks or unusual noises coming from compression fittings can result in more severe problems if left unattended.
Troubleshooting Tips
Utilizing Two-Wrench Method: Employ two wrenches—one pulling towards you and the other pushing away—to create balanced force for loosening stuck compression fittings effectively.
Rotating Technique with Hammer: Rotate a hammer around the fitting while tapping gently on the backside with another hammer as a makeshift anvil following a circular motion for gradual release.
Comparing Alternative Methods
Alternative Method: Soldering
Pros and cons
Pros:
Provides a permanent and leak-free connection.
Ideal for high-temperature applications.
Offers a clean and professional appearance.
Cons:
Requires specialized skills and tools for implementation.
Involves the use of heat, which can be a safety concern.
Not easily adjustable or reusable once soldered.
When to consider this method
Consider soldering when:
A permanent and secure connection is necessary.
Working with materials that can withstand high temperatures.
Seeking a visually appealing finish without visible fittings.
Alternative Method: Push-to-Connect Fittings
Pros and cons
Pros:
Quick and easy installation without the need for soldering or compression fittings.
Suitable for DIY projects due to its simplicity.
Allows for disassembly and reusability if needed.
Cons:
May not be as durable as traditional compression fittings in certain applications.
Limited compatibility with certain pipe materials compared to compression fittings.
Higher initial cost compared to standard compression fittings.
When to consider this method
Consider push-to-connect fittings when:
Looking for a hassle-free installation process without soldering or compression requirements.
Engaging in DIY projects where simplicity and ease of use are essential factors.
Needing the flexibility of disassembling and reusing fittings in various setups.
Frequently Asked Questions (FAQ)
Common Questions
How to identify a stuck fitting?
Inspect the Fitting: Look for signs of corrosion, rust, or visible damage on the fitting surface.
Check for Movement: Attempt to turn the fitting gently with appropriate tools to assess its mobility.
Listen for Sounds: Pay attention to any unusual noises when manipulating the fitting, indicating potential issues.
Can stuck fittings be reused?
Assess Condition: Evaluate the condition of the stuck fitting after removal for any visible damage.
Consider Reusability: If the fitting shows no significant signs of wear or deformation, it may be reusable.
Consult Professionals: Seek advice from experts if unsure about the integrity and safety of reusing the fitting.
Expert Answers
Professional advice
Various Professionals:
Plumbers spend a career learning successful methods for dealing with stuck plumbing fixtures. The concepts presented need adaptation to individual situations.
Additional resources
Anonymous User:
Loosening ancient fittings by heating with a torch can be effective. Remember to be gentle while turning off the fitting to avoid causing leaks upstream.
Summarize the crucial steps for releasing stuck compression fittings effectively.
Implement regular maintenance practices to prevent future issues with compression fittings.
Remember, patience and proper tools are key to successful removal.
Seek guidance from professionals when encountering challenging situations.
See Also
Effortless Guide for Installing Compression Fittings on Curved Copper Tubing
Becoming an Expert in Copper Pipe Fittings: The Ultimate Manual
Expertise in Copper Pipe Fittings: The Complete DIY Handbook
Key Pointers for Utilizing 1/4 Copper Pipe Fittings Effectively
The Ultimate DIY Manual for Repairing Holes in AC Copper Tubing

© Copyright 2024 Dongguan Baoyuan Refrigeration Parts Co.,Ltd - All Rights Reserved.