How to Remove Solder from Copper Pipes Without Using Heat

When it comes to plumbing maintenance, knowing how to remove solder from copper pipe without heat can be a valuable skill. This process offers a non-intrusive method that avoids the risks associated with heat-based techniques. By understanding the steps involved and the benefits of this approach, individuals can confidently tackle solder removal tasks efficiently. Embracing the use of insulated copper and exploring different copper plumbing sizes can further enhance one's plumbing knowledge and skills. Additionally, understanding how long it takes to complete these tasks can help in planning and executing plumbing projects more effectively.
Tools and Materials
Essential Tools
Pliers
Plumbers commonly use pliers to grip and twist copper pipes during the solder removal process. The strong jaws of the pliers provide a firm grip, allowing for controlled manipulation of the pipe. This tool is essential for effectively loosening solder without the need for heat.
Wire Brush
A wire brush is a vital tool for cleaning residual solder from copper pipes. It consists of bristles made from materials like brass or stainless steel attached to a handle. When removing solder, it's crucial to brush in the same direction as the metal's grain to prevent damage to the pipe surface.
Additional Materials
Electrical Tape
Electrical tape can be wrapped around both ends of the copper pipe to provide additional grip when using pliers. This helps stabilize the pipe during the twisting motion, making it easier to loosen and remove solder effectively.
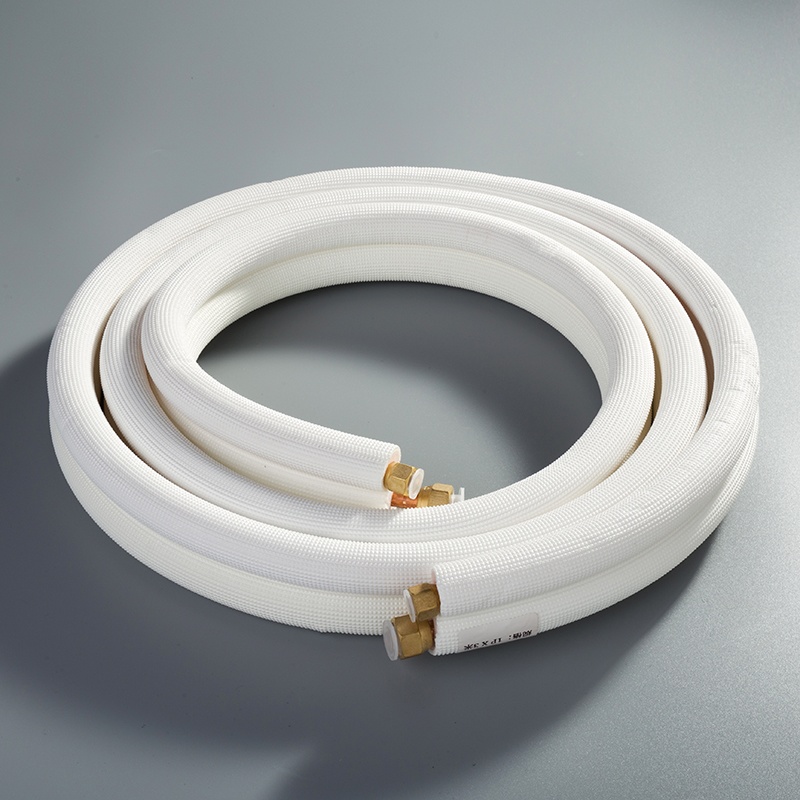
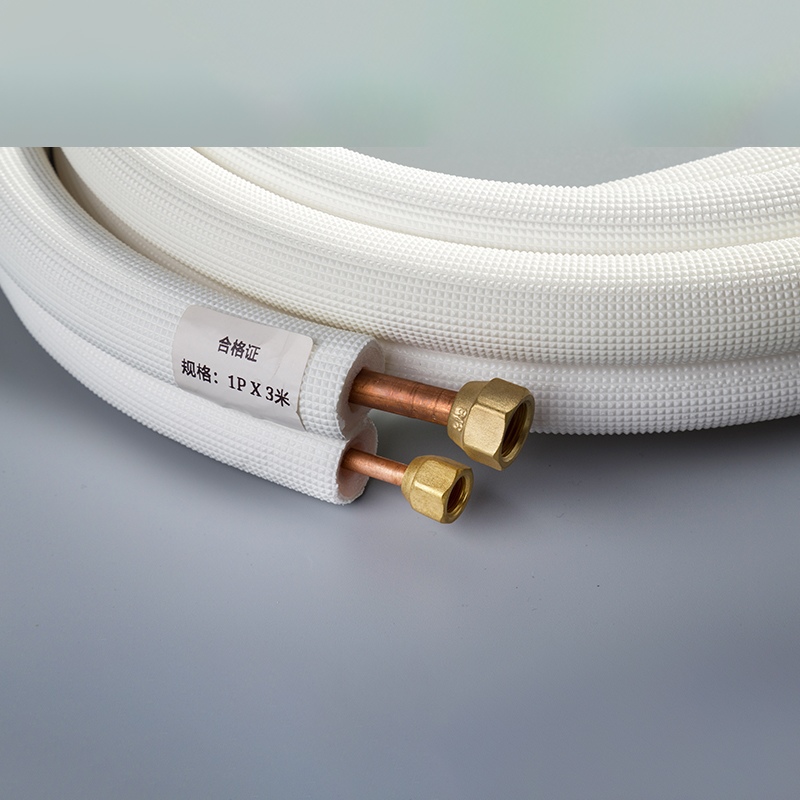
Insulated Copper
Using insulated copper pipes offers benefits such as increased durability and protection against external elements. These pipes are designed with insulation material that helps maintain temperature consistency within the plumbing system, ensuring long-lasting performance.
Step-by-Step Guide
Preparation
Safety Measures
Always wear appropriate safety gear, including gloves and eye protection, to prevent any injuries during the solder removal process.
Ensure the work area is well-ventilated to avoid inhaling any fumes that may be released during the procedure.
Keep a fire extinguisher nearby as a precautionary measure in case of any unexpected incidents.
Workspace Setup
Clear the workspace of any clutter or obstacles to allow for easy movement and access to the copper pipes.
Place all tools and materials within reach to minimize disruptions during the solder removal process.
Double-check that there are no flammable materials near the work area to prevent potential hazards.
Removing Solder
Gripping the Pipe
Use pliers with strong jaws to firmly grip the end of the copper pipe that requires solder removal.
Apply steady pressure while gripping the pipe to ensure a secure hold before proceeding with twisting.
Twisting the Pipe
Begin by gently twisting the pipe back and forth using controlled movements with the pliers.
Continue twisting until you feel the solder starting to loosen its grip on the pipe.
Maintain a consistent pace while twisting to effectively break down the solder bond without causing damage to the pipe.
Cleaning Residual Solder
After successfully loosening the solder, use a wire brush with firm bristles to clean off any residual solder from the surface of the copper pipe.
Brush in alignment with the metal's grain direction to prevent scratching or damaging the pipe's exterior.
Ensure thorough cleaning of all areas where solder was present for optimal results.
Tips and Tricks
Ensuring a Clean Surface
Before re-soldering or making any repairs, thoroughly clean and inspect the surface of the copper pipe for any remaining traces of old solder.
A clean surface ensures better adhesion and bonding when applying new solder, preventing future leaks or weak joints.
Avoiding Damage to the Pipe
Be cautious not to exert excessive force while gripping or twisting the copper pipe, as this may lead to deformation or structural damage.
Regularly check for signs of wear or weakening on older pipes before attempting any solder removal procedures.
By following these step-by-step guidelines, individuals can effectively remove solder from copper pipes without using heat, ensuring safe and efficient plumbing maintenance practices are upheld throughout each project undertaken in their homes or workplaces.
Understanding Copper Plumbing
When it comes to copper plumbing sizes, individuals have various options to consider based on their specific needs. Common sizes of copper pipes include ½ inch, ¾ inch, and 1 inch, each serving different purposes within a plumbing system. Selecting the right size is crucial to ensure optimal water flow and pressure throughout the network.
Insulated copper pipes offer several advantages that make them a popular choice among homeowners and plumbers alike. The primary benefits of insulated copper include enhanced temperature control, reduced condensation buildup, and increased pipe durability. By maintaining consistent temperatures within the pipes, insulated copper helps prevent freezing during colder months.
In terms of longevity, insulated copper pipes are known for their durability and can last for many years when properly maintained. The longevity of insulated copper is attributed to its protective insulation layer, which shields the pipe from external elements and minimizes wear over time. This extended lifespan makes insulated copper a cost-effective investment for long-term plumbing solutions.
Summarize the method: Begin by reviewing the step-by-step process of removing solder from copper pipes without heat, emphasizing the importance of safety measures and proper tool usage.
Highlight the benefits: Reflect on the advantages of this technique, such as avoiding potential damage to pipes and ensuring a clean surface for future repairs or maintenance.
Encourage trying the method: Inspire readers to apply this efficient and safe approach in their plumbing tasks, promoting confidence in handling solder removal without relying on heat sources.
See Also
Effortless Guide on Soldering Copper Pipes Safely
Expert Advice: Simple Techniques for 1 1/2 Copper Pipes
Basic Instructions: Soldering Copper Pipe for Newbies

© Copyright 2024 Dongguan Baoyuan Refrigeration Parts Co.,Ltd - All Rights Reserved.