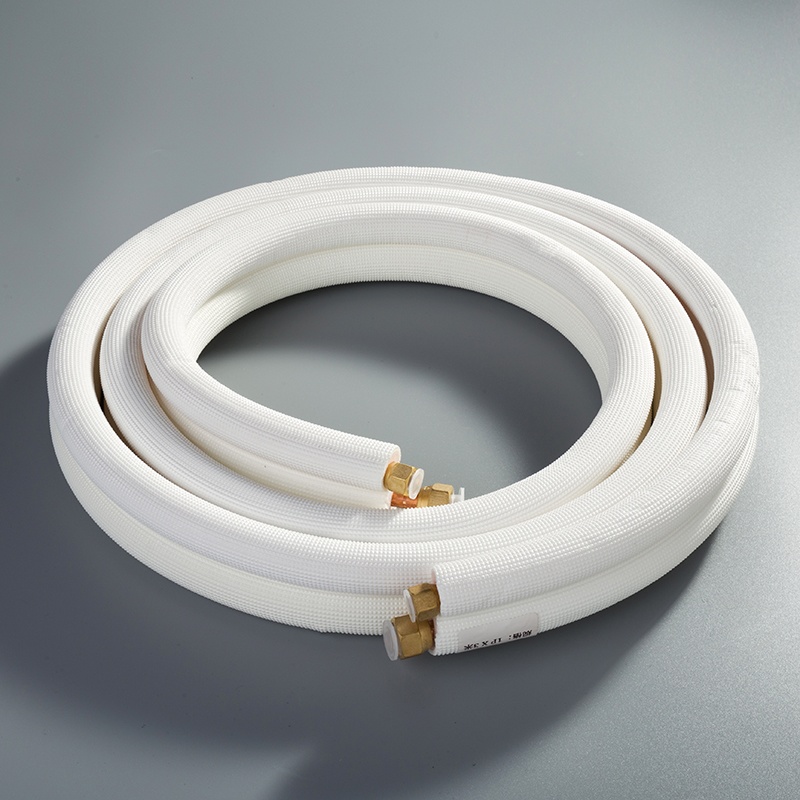
How to Safely Install 1/4 3/8 Twin Copper Pipe Coils

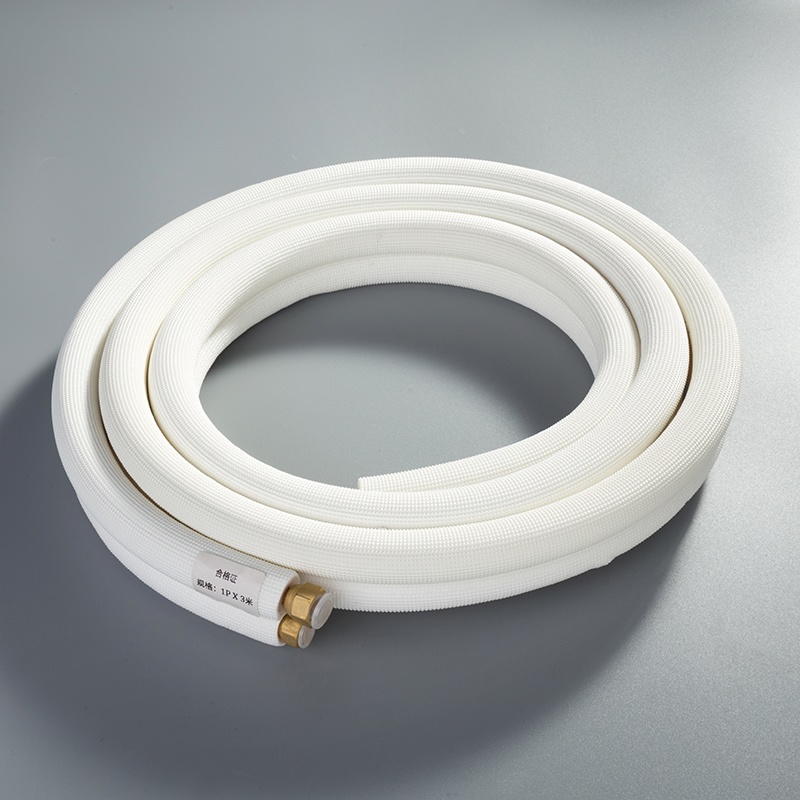
Ensuring the proper installation of 1/4 3/8 twin copper pipe coils is paramount to Review the safety standards that govern the installation process of 1/4 3/8 twin copper pipe coils i. A meticulous approach guarantees a durable and efficient system. The installation process involves precise steps from measuring and cutting to fitting and soldering. To embark on this project successfully, one must be equipped with essential tools like a pipe cutter, hacksaw, and deburring tool. Additionally, materials such as copper pipes and compression fittings are indispensable for a seamless setup.
Preparation
Gathering Tools and Materials
List of necessary tools
Copper Piping Installation Tools and Equipment: Essential for a successful installation, these tools include a pipe cutter, deburring tool, and copper pipe fittings.
Tools for Cutting Copper Pipes in Tight Spaces: Superior Tool's® Large Capacity 1-1/8" O.D. Mini Tubing Cutter and Imperial 174-F 3/8″ to 1-1/8″ Compact Tube Cutter are crucial for precise cuts.
Common Copper Pipe Tools: Equip yourself with a copper pipe crimping tool, pipe cutter, deburring tool, copper pipe swaging tool, and various copper pipe fittings.
List of required materials
Prioritize safety with protective gear like safety gloves, protective eyewear, and appropriate respiratory protection.
Ensure a clean workspace free from clutter to prevent accidents during the installation process.
Secure all tools properly while working at heights; inclined ladders should be secured at a 75ᵒ angle.
Measuring and Cutting the Copper Pipe Coils
Mastering the skill of cutting copper pipe is essential for any plumbing or DIY project. By following the steps outlined in this comprehensive guide and utilizing the appropriate cutting method, you can achieve accurate and clean cuts with ease. Remember to prioritize safety by wearing protective gear and using the right tools.
Measuring the Length
Begin by measuring the copper pipe coils accurately to ensure a precise fit within your installation space. Using a measuring tape, measure from one end of the pipe to the desired length. Mark the cut points clearly to guide your cutting process effectively.
Cutting the Pipe
When cutting copper pipes, it is crucial to use a pipe cutter for clean and precise cuts. Ensure that the cutter is aligned with the marked cut point on the tubing before proceeding. After cutting, use a reamer to clean the inside of the cut and remove any burrs that may affect the fitting process.
Expert Testimony:
David Johnn
"Degree and stamp your pipe precisely, select the fitting cutting strategy, and take your time to realize the finest comes about."
Fitting and Connecting the Pipes
To ensure a seamless installation process, Review the safety standards that govern the installation process of 1/4 3/8 twin copper pipe coils i. Properly preparing the pipe ends is crucial to guarantee leak-free connections and efficient plumbing systems.
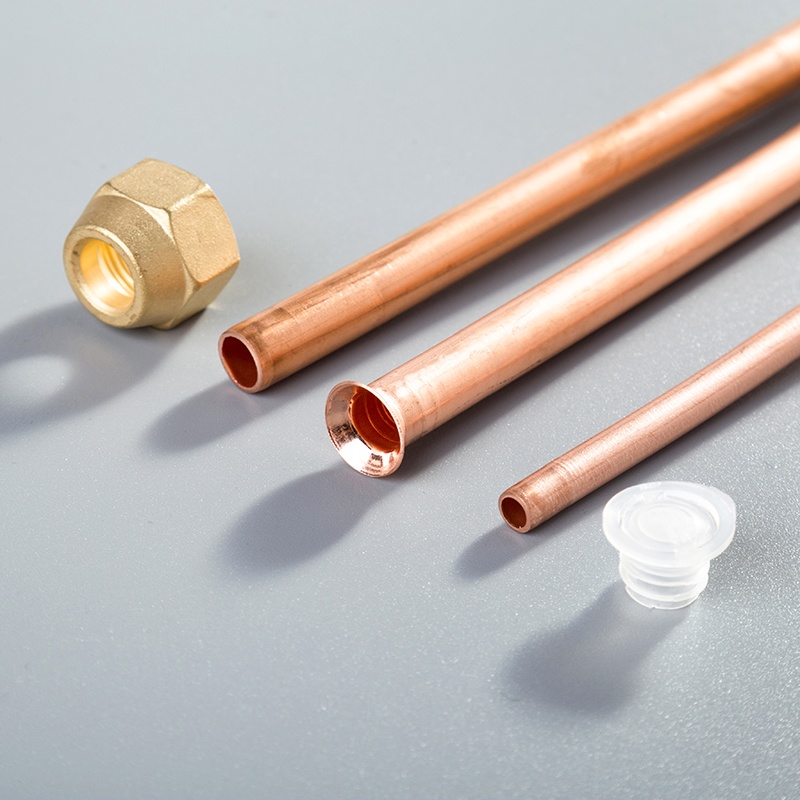
Preparing the Pipe Ends
Deburring the edges
Start by deburring the edges of the copper pipes using a deburring tool. This step is essential to remove any rough or sharp edges that could hinder proper fitting and connection.
Cleaning the pipe ends
After deburring, clean the pipe ends thoroughly to eliminate any dirt, debris, or contaminants. A clean surface ensures a secure and tight connection between pipes and fittings.
Assembling the Fittings
Types of fittings
Familiarize yourself with different types of fittings available for copper pipes, including compression fittings, solder ring fittings, and push-fit connectors. Selecting the right fitting for your project is vital for a successful installation.
Proper fitting techniques
When assembling fittings, ensure that each component fits snugly together without any gaps or misalignments. Proper fitting techniques guarantee a watertight seal and prevent potential leaks in the system.
Tightening compression fittings
Compression fittings should be tightened meticulously to avoid leaks. Hand tighten the fittings first before using wrenches to secure them fully. This two-step tightening process ensures a secure connection without damaging the components.
Soldering the Connections
Preparing for soldering
Before soldering, make sure that all surfaces are clean and free of debris. Apply flux to both the pipe ends and fittings to promote proper adhesion during soldering.
Soldering steps
Heat the joint evenly using a propane torch until it reaches an appropriate temperature.
Once heated, apply solder around the joint while ensuring it melts uniformly into place.
Allow the joint to cool naturally without disturbing it to ensure a strong bond between the pipes and fittings.
Bending the Copper Pipe
Techniques for Bending
Using a pipe bender
To bend copper pipes effectively, utilize a bending spring as an alternative method to a pipe bender. This spring, available in internal and external types, provides robust support to the pipe walls during manual bending. Insert the bending spring into or onto the copper pipe before applying gentle pressure to achieve the desired angle without compromising the pipe's integrity.
Filling the pipe with sand or salt to prevent kinking
Enhance your bending process by filling the copper pipe with sand or salt before initiating any bends. This technique prevents kinking and maintains the structural integrity of the pipe during shaping. The sand or salt acts as internal support, reducing the risk of deformities while ensuring smooth and accurate bends for optimal performance.
Testing the Installation
Checking for Leaks
To ensure a flawless installation, Review the safety standards that govern the installation process of 1/4 3/8 twin copper pipe coils i. Pressurize the system meticulously to detect any potential leaks that could compromise the efficiency of the plumbing system.
Pressurizing the system
Initiate the pressurization process by gradually increasing the pressure within the copper pipe coils. Monitor closely for any fluctuations or drops in pressure, as they may indicate leaks along the pipeline. Utilize a pressure gauge to accurately measure and maintain the desired pressure levels throughout this critical evaluation phase.
Inspecting joints and connections
Thoroughly inspect all joints and connections within the copper pipe coils for signs of leakage or improper sealing. Check each fitting meticulously to identify any gaps or irregularities that could lead to water seepage. A comprehensive inspection ensures that all components are securely fastened and aligned, guaranteeing a leak-free plumbing system.
Final Adjustments
Before concluding the installation process, focus on making final adjustments to optimize the performance and longevity of your plumbing setup.
Tightening fittings
Double-check all compression fittings to ensure they are securely tightened and properly aligned with their respective pipes. Use appropriate tools to reinforce connections without over-tightening, preventing damage to the fittings while maintaining a watertight seal.
Ensuring proper alignment
Verify that all copper pipe coils are aligned correctly according to your installation plan. Adjust any misaligned sections promptly to prevent stress on fittings and potential leaks in the future. Proper alignment enhances system efficiency and durability, ensuring a reliable water supply throughout your property.
Recapping the meticulous installation process is vital for ensuring a durable and efficient plumbing system. Regular maintenance plays a crucial role in prolonging the lifespan of copper pipes, with proper cleaning and monitoring being key practices. Following safety guidelines diligently throughout the installation and maintenance processes is imperative to prevent accidents and ensure optimal performance. Remember, quality workmanship and attention to detail are essential for a successful outcome that will stand the test of time.
Testimonials:
Unknown
"Tubes made from quality copper can last at least 25–50 years, but there are a few things to look out for: Wash away loose dirt first. Use a commercial metal polish if you have one to hand. If you prefer a homemade solution, mix white vinegar with salt or cream of tartar, then apply it to the pipe. Rinse and dry the tube completely when you’re done. For the most part, copper pipes require more monitoring than maintenance."
"Installing pipes and fittings correctly is key. As is ensuring acidic water isn’t corroding the inside of the pipes, like acid reflux."
"Maintain your copper with these methods and it will keep doing its job for several decades."
See Also
The Complete Handbook for Installing Dual Copper Pipe Coils
A Simple Guide to Safely Installing Copper Pipe Coils in Your Residence
Key Safety Measures for Twin Copper Pipe Installation

© Copyright 2024 Dongguan Baoyuan Refrigeration Parts Co.,Ltd - All Rights Reserved.