How to Sand Copper Pipes for a Smooth Finish

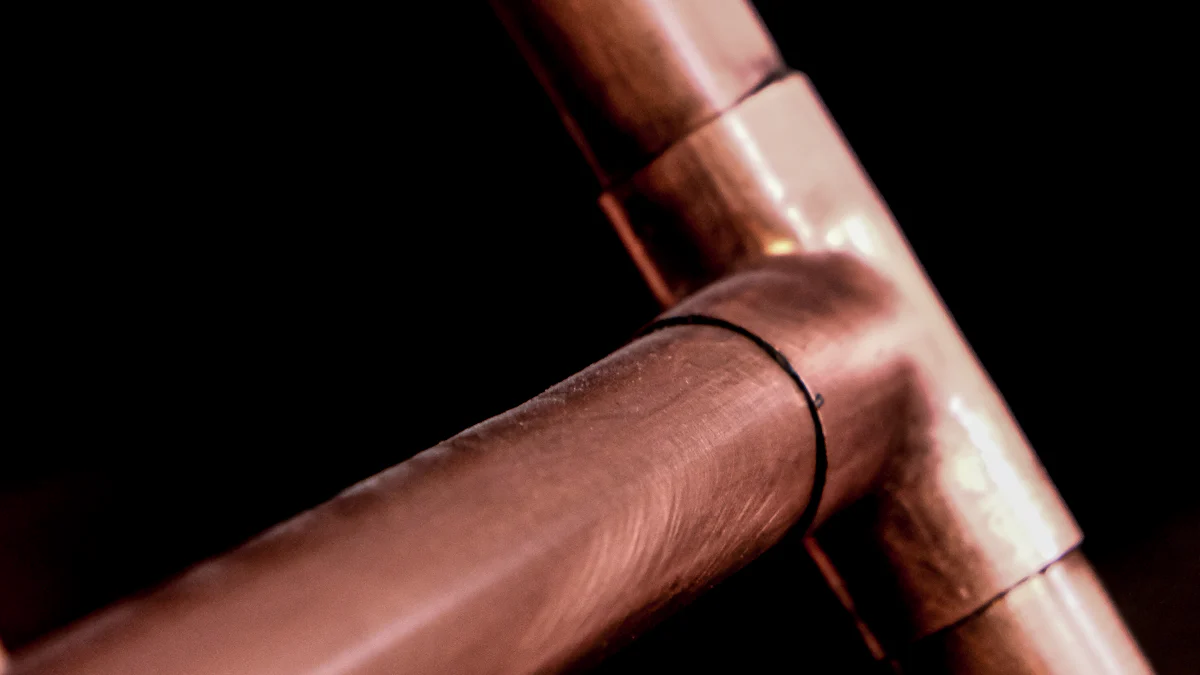
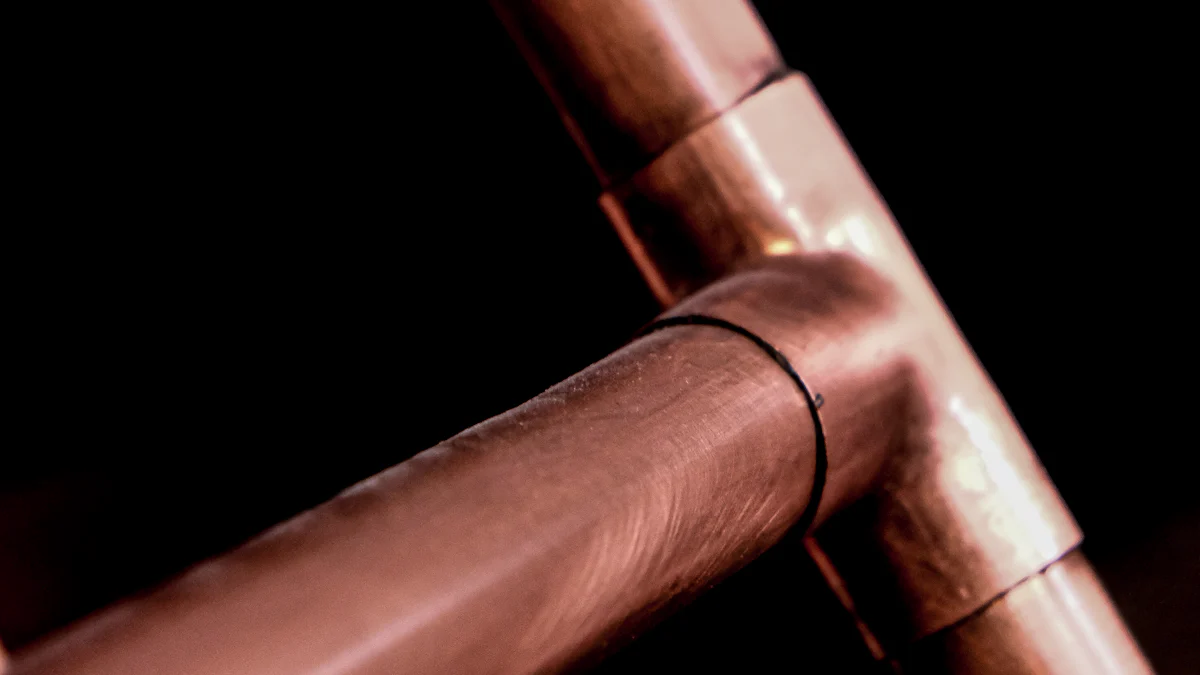
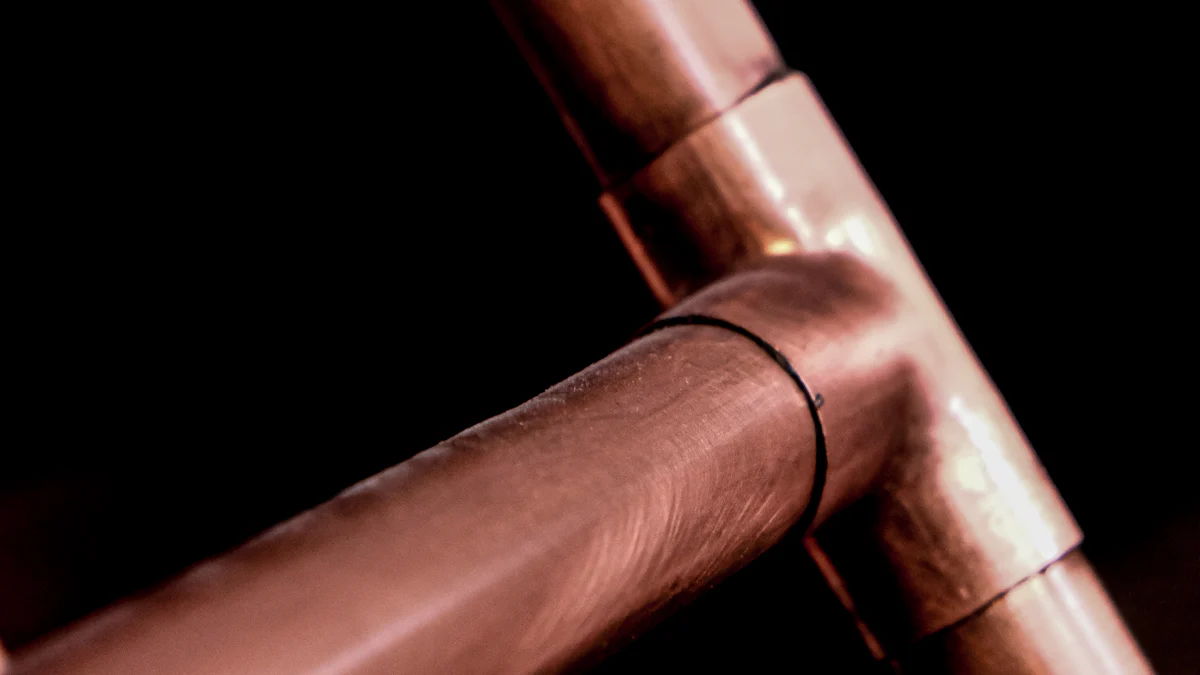
Tutorial on sanding techniques for copper pipes
Copper pipes play a crucial role in plumbing systems, offering smooth interior surfaces that enhance water flow and pressure. Improved water pressure ensures efficient water usage, especially beneficial for larger households with multiple fixtures. Unlike plastic pipes that can leach chemicals into drinking water, copper is a safer option for health-conscious individuals. Research highlights the risks associated with plastic PVC pipes, emphasizing the importance of choosing copper for long-term well-being.
Preparation
Gather Materials
When preparing to sand copper pipes, selecting the appropriate sandpaper is crucial. Sandpaper for Copper Pipes comes in various grit ranges, each catering to specific needs in surface preparation. This ensures a clean and smooth surface, ultimately enhancing the quality of soldering and fittings.
Apart from sandpaper, additional tools are essential for the sanding process. These tools can include a sanding block, wire brush cleaner, and Emory cloth for effective cleaning and smoothing of the pipes.
Safety Measures
Prioritize safety by wearing Protective Gear such as gloves and safety goggles to prevent any injuries during the sanding process.
Ensure a safe work environment by setting up your workspace properly. Clear the area of any obstacles and ensure proper ventilation to avoid inhaling dust particles generated during sanding.
Sanding Techniques

When it comes to sanding copper pipes, employing the right techniques is essential to achieve a flawless finish. Tutorial on sanding techniques for copper pipes emphasizes the significance of precision and care throughout the process. With proper sanding techniques and expert tips, achieving professional-grade results is within reach for any copper pipe application.
Wet Sanding
Wet sanding is a favored method due to its efficiency in reducing friction and enhancing cutting precision. Benefits of Wet Sanding include smoother finishes and prolonged sandpaper lifespan. To execute wet sanding effectively, follow these steps:
Begin by soaking the sandpaper in water or lubricant.
Gently sand the copper pipe in circular motions.
Rinse the pipe periodically to remove debris and assess progress.
Hand Sanding
Hand sanding offers a hands-on approach to refining copper pipes with meticulous detail. Using a Sanding Roll allows for controlled pressure application, ensuring uniformity across the surface. Alternatively, opt for the Sanding Block Method for consistent results:
Secure 80-grit sandpaper onto a block.
Employ back-and-forth motions for even abrasion.
Monitor smoothness regularly to gauge progress accurately.
Cleaning the Pipes
Maintaining clean copper pipes is crucial for optimal performance and longevity. Utilize Emory Cloth or a Wire Brush Cleaner to eliminate dirt and oxidation buildup effectively:
Emory cloth provides gentle yet thorough cleaning.
Wire brush cleaners are ideal for intricate areas within fittings.
By incorporating these techniques into your workflow, you can elevate your craftsmanship and ensure durable, high-quality copper piping installations.
Finishing Touches

Inspect the Pipes
To ensure the copper pipes are ready for installation, a thorough inspection is necessary. Checking for Smoothness is crucial to guarantee optimal water flow and prevent any potential leaks. By running your fingers along the sanded surface, any imperfections can be detected easily. If rough patches are felt, additional sanding may be required to achieve a perfectly smooth finish.
For Final Adjustments, focus on any areas that may still exhibit roughness or unevenness. Utilize a finer grit sandpaper to address these specific spots and create a uniform surface texture. Consistency in smoothness across the entire length of the pipe is essential for seamless connections and efficient water flow.
Preparing for Soldering
Before proceeding with soldering, proper preparation of the copper pipes is essential to ensure a secure and durable connection. Begin by using Fine Grit Sandpaper to further refine the surface and remove any remaining imperfections. This step guarantees maximum adhesion between the pipes and fittings, enhancing overall structural integrity.
To address any Oxidation that may have developed during the sanding process, consider using a specialized cleaner or solution designed for copper surfaces. Removing oxidation not only improves the appearance of the pipes but also promotes better solder adhesion, reducing the risk of leaks or weak joints.
Equipped with expert tips and streamlined techniques, achieving professional-grade results in sanding copper pipes is well within reach for any DIY enthusiast. Proper preparation sets the foundation for a flawless finish, ensuring optimal water flow and secure connections. By following each step diligently, individuals can elevate the quality of their work and enjoy the benefits of smooth, efficient copper piping installations.
Remember, success lies in meticulous attention to detail and adherence to best practices throughout the sanding process. Let your craftsmanship shine through by embracing the importance of thorough preparation and methodical execution.
See Also
Basic Techniques: Soldering Copper Pipes for Novices
Expert Soldering: Simple Pointers for 1 1/2 Copper Pipes
Effortless Process for Soldering Copper Pipes Without Heat
The Definitive Manual on Copper Pipe Varieties and Soldering
Comprehensive Handbook on Preserving Copper Pipe Performance


