Step-by-Step Guide to Repairing AC Copper Tubing Holes

Maintaining air conditioning units is essential for their longevity and efficiency. Neglecting regular upkeep can lead to costly repairs and reduced lifespan. One common issue faced by AC owners is copper tubing holes, which can disrupt the system's functionality. Understanding the repair process for these holes is crucial for homeowners. This blog will provide a detailed step-by-step tutorial on repairing small holes in copper tubing for air conditioners, offering practical guidance to tackle this common problem effectively.
Tools and Materials Needed

Essential Tools
Tubing cutter: A crucial tool for precisely cutting copper tubing to the required length.
Soldering kit: Essential for creating secure connections between copper pipes.
Sandpaper: Used to smooth out rough edges on the tubing for a seamless fit.
Safety gear: Includes gloves, goggles, and protective clothing to ensure safety during repairs.
Pipe cutter: Helps in cleanly cutting through copper tubing without causing damage.
Deburring tool: Necessary for removing any sharp edges or burrs from the inside of the pipe.
Required Materials
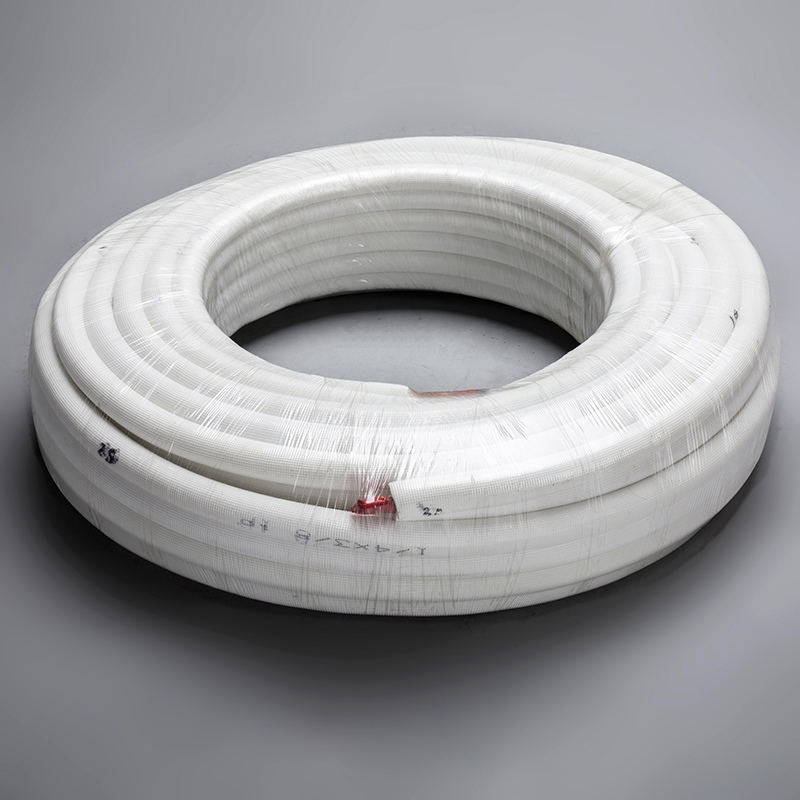
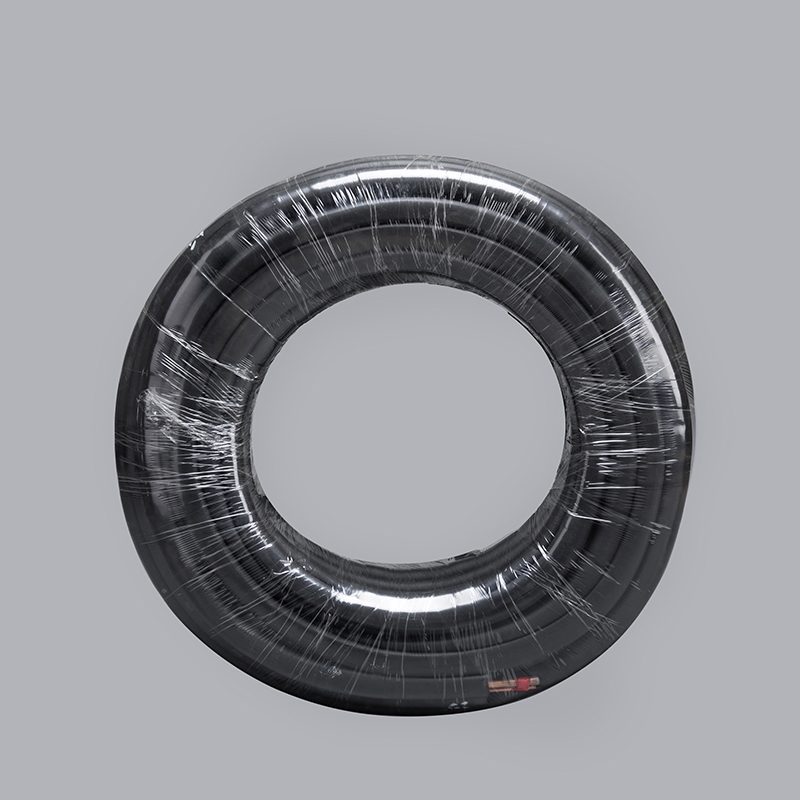
Copper tubing: The main component for replacing damaged sections of the AC unit's tubing.
Flux: A vital material used in soldering to promote strong adhesion between metals.
Solder: Meltable metal alloy used to join copper pipes securely together.
Cleaning solution: Ensures that the surfaces are free from dirt and debris before repair work begins.
Epoxy putty: Ideal for sealing small holes temporarily until a permanent fix can be implemented.
SharkBite fittings: Provide an efficient and quick solution for repairing leaks in copper tubing.
Slip repair coupling: Offers a secure method for joining two pieces of tubing without soldering.
Compression couplings: Another alternative to soldering, ensuring a tight connection between pipes.
Preparing for the Repair
Safety Precautions
Safety is paramount when preparing to repair AC copper tubing holes. Following expert advice on safety precautions ensures a smooth and secure repair process.
Turning off the AC Unit
Before starting any repair work, it is crucial to turn off the AC unit completely. This step prevents any accidents or mishaps during the repair process and ensures your safety.
Wearing Protective Gear
Equipping yourself with the necessary protective gear, including gloves, goggles, and appropriate clothing, shields you from potential harm. These items provide a protective barrier against any debris or sharp edges that may be encountered during the repair.
Inspecting the Damage
Thoroughly inspecting the damage is a critical initial step in addressing AC copper tubing holes. By identifying the hole and assessing its extent, you can effectively plan and execute the repair process with precision.
Identifying the Hole
Carefully locate the hole in the copper tubing. This meticulous examination allows you to pinpoint the exact area that requires attention, ensuring that your repair efforts are focused and effective.
Assessing the Extent of the Damage
Once you have identified the hole, assess how extensive the damage is. Understanding the size and severity of the hole enables you to determine which repair method will be most suitable for restoring functionality to your AC unit.
Step-by-Step Repair Process

Cutting the Damaged Section
To initiate the repair process, start by using the tubing cutter to make a precise cut on the damaged section of the copper tubing. This ensures a clean removal of the affected area without causing further harm. Once the cut is complete, proceed to remove the damaged piece carefully, making sure not to disturb the surrounding tubing.
Cleaning and Preparing the Tubing
Next, focus on sanding the edges of the newly cut tubing. This step is crucial for creating a smooth surface that promotes a secure connection during repairs. After sanding, applying flux comes into play. The flux aids in preparing the surface for soldering by removing any impurities and ensuring a strong bond between materials. Following this, deburring the inside of the pipe is essential to eliminate any rough edges that could hinder proper sealing.
Soldering the New Tubing
Moving forward, begin by heating the tubing using a soldering iron or torch. The heat helps in melting the solder for a seamless joint. Once heated adequately, applying solder to the connection point is vital for creating a durable bond between pipes. Ensure that you apply just enough solder to cover and seal the joint effectively. Finally, verify that you have achieved an secure connection, guaranteeing that your repair will withstand pressure and usage effectively.
Using Epoxy Putty
Mixing the putty
To begin the epoxy putty application, combine the two components of the putty thoroughly. This process ensures a proper chemical reaction for optimal hardening and sealing capabilities.
Applying to the hole
Once the epoxy putty is mixed evenly, mold it into a shape that can effectively cover the hole in the copper tubing. Ensure that the putty is applied generously to create a strong and lasting seal.
Allowing it to harden
After applying the epoxy putty to the hole, let it sit undisturbed for the recommended curing time. This waiting period allows the putty to harden completely, providing a secure and durable fix for the damaged area.
Testing the Repair
Reconnecting the AC unit
Turn the AC unit back on after completing the repair process to ensure that the system functions properly.
Monitor the unit for any unusual sounds or behaviors that may indicate further issues.
Adjust the settings to your desired temperature and observe how the AC responds to the changes.
Checking for leaks
Inspect the repaired area carefully for any signs of leakage, such as water droplets or dampness.
Run a thorough check on all connections and joints to verify that they are secure and leak-free.
Use a tissue or paper towel to wipe along the repaired section, checking for any moisture that could indicate a leak.
Additional Tips and Suggestions
Preventative Maintenance
Regular inspections
Conduct regular inspections of your AC unit to identify any potential issues before they escalate. This proactive approach can help in detecting minor problems early on, preventing major breakdowns and costly repairs down the line.
Inspect the valves, pipes, and flanges for any signs of wear or damage. Renewing these components can significantly improve the overall performance of your HVAC system.
Proper cleaning techniques
Implement proper cleaning techniques to keep your AC unit functioning efficiently. Dust and debris accumulation can hinder its performance, leading to reduced cooling capacity and increased energy consumption.
Regularly clean the filters to ensure optimal airflow and prevent dust buildup that could affect the air quality in your home.
When to Call a Professional
Identifying complex issues
Recognize when complex issues arise that may require professional intervention. Some problems, such as refrigerant leaks or compressor malfunctions, are best handled by experienced technicians to avoid further damage.
If you notice inconsistent cooling, unusual noises, or frequent cycling of the AC unit, it may indicate a more intricate issue that necessitates expert diagnosis and repair.
Understanding limitations
Understand the limitations of DIY repairs and know when to seek professional help. While minor maintenance tasks can be performed independently, certain repairs demand specialized knowledge and equipment.
Prioritize safety by refraining from tackling repairs beyond your expertise. Entrust intricate tasks like electrical component troubleshooting or refrigerant handling to qualified professionals for a safe and effective resolution.
Recap of the Repair Process:
Summarize the repair steps taken to fix the AC copper tubing holes.
Highlight the importance of each step in ensuring a successful repair.
Encouragement for Regular Maintenance:
Emphasize the significance of consistent upkeep for prolonging AC unit lifespan.
Mention the cost-saving benefits of preventive maintenance practices.
Invitation for Readers:
Share Experiences: Contribute your repair stories and tips to enrich our community's knowledge base.
Ask Questions: Feel free to inquire about any AC repair concerns or seek further guidance from our experts.
Join our community in enhancing your AC maintenance skills and knowledge!
See Also
Comprehensive DIY Tutorial for Repairing AC Copper Tubing Holes
Simple DIY Tutorial for Repairing a Split Copper Pipe
Effortless Guide: Installing Air Conditioning Copper Tubes Professionally
Basic Guide: Soldering a Copper Pipe for Novices
Quick Guide: Attaching Compression Fittings on Curved Copper Pipes


