Step-by-Step Guide to Sweating Copper Pipes Baoyuan manufacturer

Soldering copper pipes is a fundamental skill that ensures durable and leak-free plumbing connections. Mastering the art of sweating pipes, also known as soldering, is essential for creating permanent seals in plumbing systems. This blog serves as a comprehensive Guide to help individuals navigate the Step-by-step guide for sweating copper pipes effectively. From emphasizing the significance of proper technique to outlining the structure of this blog, readers will gain valuable insights into achieving professional-grade results.
Tools and Materials Needed
Essential Tools
Pipe Cutter: The AutoCut Pipe Cutter 1/2" is a recommended tool for cutting copper pipes efficiently. It features a ratcheting handle option that facilitates use in confined spaces.
Propane Torch: A handheld torch is an essential tool for soldering copper pipes effectively, providing the necessary heat for the soldering process.
Soldering Wire: Silver-bearing solder, which is lead-free and safe for water supply lines, is ideal for creating strong and durable joints due to its wide melting range.
Flux: Flux is crucial when sweating copper pipes as it helps the solder flow smoothly and ensures a secure bond between the pipes.
Wire Brush: A Fitting Wire Brush 3/4" is recommended for cleaning fittings and pipes before soldering to remove any debris or oxidation.
Necessary Materials
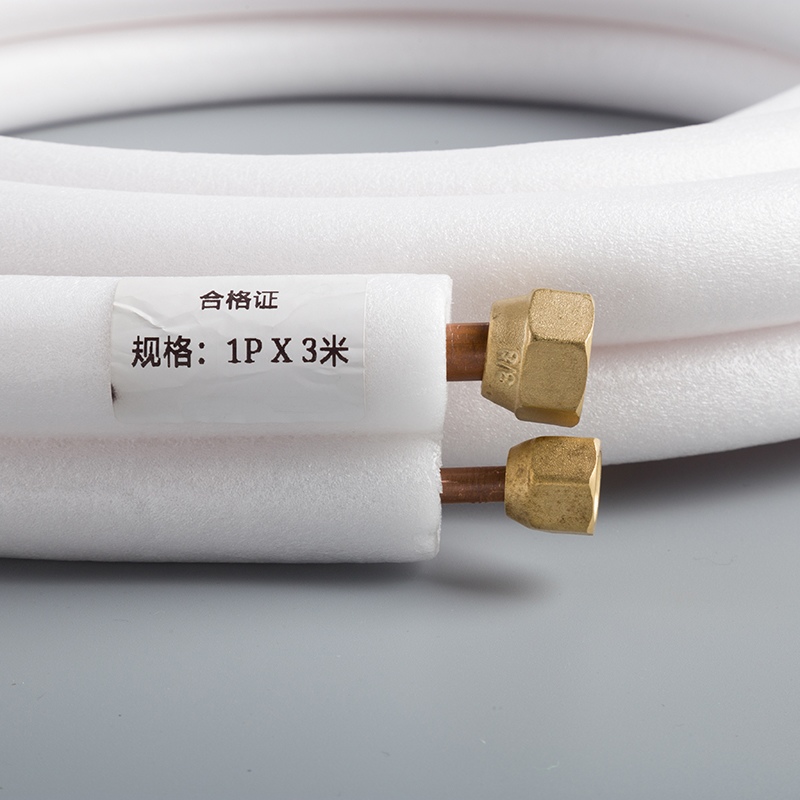
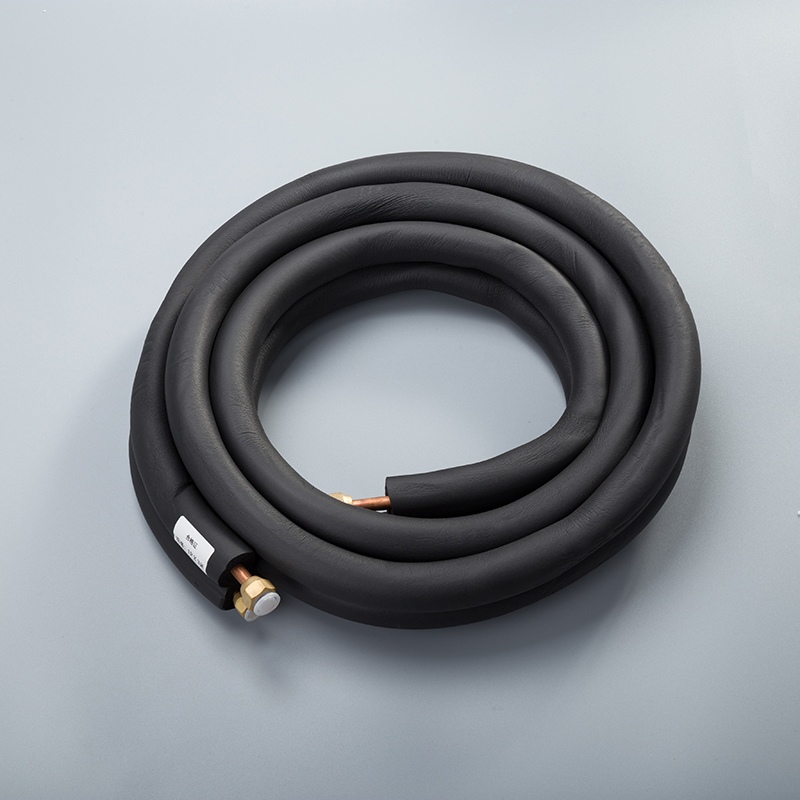
Copper Pipes: High-quality copper pipes are essential for plumbing projects to ensure durability and longevity in the system.
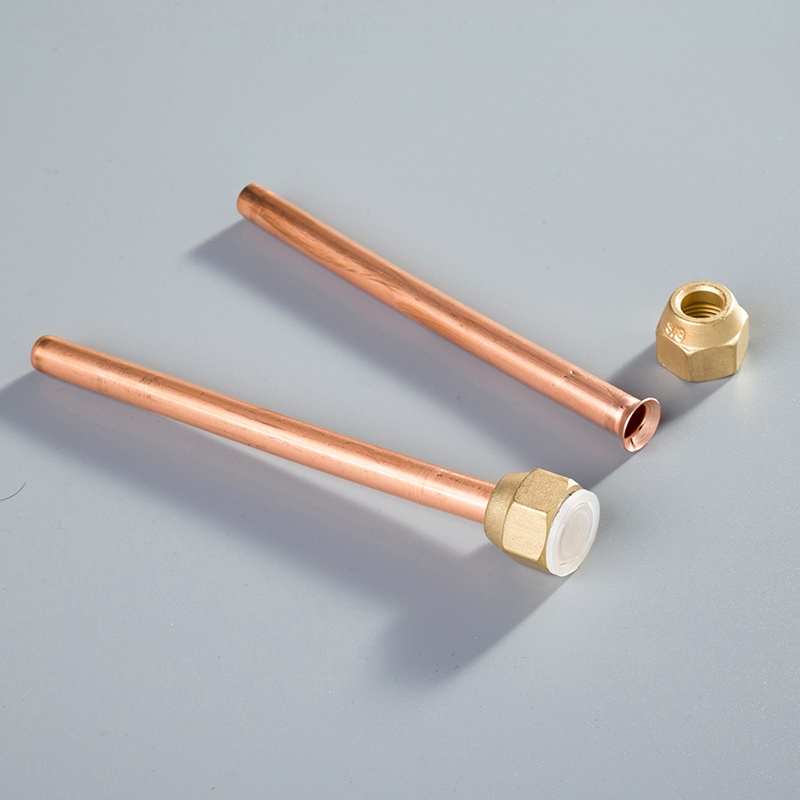
Copper Fittings: Using compatible copper fittings with the pipes is crucial for creating leak-proof connections in plumbing systems.
Sandpaper or Emery Cloth: Sandpaper or emery cloth can be used to clean and smooth the surfaces of the pipes before soldering, ensuring proper adhesion.
Safety Gear (Gloves, Goggles): Safety goggles are essential to protect your eyes during soldering tasks, while gloves provide protection from hot surfaces and materials.
Preparation Steps
Measuring and Cutting the Pipes
Measuring the Length
To initiate the preparation process, accurately measure the length of the copper pipes using a measuring tape. Precision in measurement is key to ensuring a seamless fit during assembly.
Marking the Cut
Once the measurements are determined, mark the cutting points on the pipes with a pencil or marker. Clear and visible markings will guide you during the cutting process for precise results.
Using a Pipe Cutter
Employing a pipe cutter is essential for achieving clean and straight cuts on the copper pipes. The ratcheting mechanism of the cutter allows for controlled cutting, ensuring uniformity in pipe lengths.
Cleaning the Pipes and Fittings
Using a Wire Brush
Prior to soldering, thoroughly clean the exterior of both pipes and fittings using a wire brush. This step removes any dirt, corrosion, or debris that could hinder proper adhesion during soldering.
Sanding the Surfaces
After cleaning with a wire brush, lightly sand the surfaces of the pipes and fittings using sandpaper or emery cloth. This abrasive action smoothens out any imperfections, promoting better flux adhesion for a secure joint.
Applying Flux
Importance of Flux
Flux plays a pivotal role in soldering copper pipes by facilitating solder flow and enhancing bond strength between components. It acts as a cleaning agent, removing oxides from metal surfaces to promote successful soldering.
How to Apply Flux Correctly
Apply flux generously to both cleaned pipe ends and fittings before assembly. Using an acid brush or flux applicator, ensure even coverage over all surfaces that will come into contact during soldering. Remember, excess flux can be detrimental; apply with precision for optimal results.
Sweating the Copper Pipes
Assembling the Pipes and Fittings
To begin the assembly process, position the cleaned pipes and fittings together for a dry fit. This step ensures that all components align correctly before proceeding with the soldering process.
Dry fitting the pieces
When conducting a dry fit, verify that the pipes and fittings interlock seamlessly without any gaps or misalignments. This practice guarantees a snug fit during soldering, promoting a leak-free connection.
Ensuring proper alignment
Prior to heating the joint, double-check the alignment of the pipes and fittings to prevent any last-minute adjustments. Proper alignment is crucial for a successful soldering outcome and long-term plumbing integrity.
Heating the Joint
Once satisfied with the dry fit, it's time to apply heat to create a secure bond between the copper pipes and fittings.
Using the propane torch
Activate the propane torch and adjust it to an appropriate flame level for heating. Position the flame evenly around the joint area to ensure uniform heating for effective soldering.
Heating evenly
Maintain consistent motion while heating to distribute heat evenly across all sides of the joint. This technique prevents overheating in one specific area, promoting a balanced temperature for optimal solder flow.
Applying the Solder
With proper alignment and heated joint in place, proceed with applying solder to complete the sweating process successfully.
Melting the solder
Gently touch the end of the solder wire against the heated joint until it melts smoothly into place. The molten solder should flow uniformly around the connection point, indicating a secure seal between pipes and fittings.
Ensuring a complete seal
As you observe the melted solder spread throughout the joint, ensure that it forms a complete seal without any gaps or irregularities. A properly sealed joint guarantees leak-proof connections within your plumbing system.
Post-Soldering Steps
Cooling and Cleaning the Joint
To ensure the durability and integrity of the piping system, it is imperative to allow the joint to cool naturally after the soldering process. This step prevents thermal shock, which could potentially compromise the joints' structural integrity over time.
Allowing the joint to cool
Letting the joint cool gradually post-soldering is crucial for preventing any sudden temperature changes that may weaken the bond.
During this cooling period, avoid any disturbances to the joint to maintain its stability and strength for long-term reliability.
Cleaning off excess flux
After the joint has cooled completely, meticulously clean off any excess flux residue using a clean cloth or brush.
Removing residual flux not only enhances the aesthetics of the connection but also ensures that there are no obstructions that could impede proper water flow within the plumbing system.
Inspecting the Joint
Following the completion of soldering and cleaning processes, a thorough inspection of the joint is necessary to validate its quality and functionality.
Checking for leaks
Conduct a visual inspection of all soldered joints to detect any signs of leakage or seepage.
Pressurize the system if possible to verify that there are no hidden leaks compromising the plumbing network's efficiency.
Ensuring a strong bond
Test the strength of each joint by gently applying pressure to assess its resistance.
A secure bond should withstand moderate force without showing signs of separation or weakness, ensuring a reliable connection within your plumbing infrastructure.
Safety Tips and Common Mistakes
Safety Tips
Ensure proper ventilation in the workspace to minimize the inhalation of fumes and maintain a safe environment for soldering activities.
Wear safety gear, including heat-resistant gloves, safety glasses, and a respirator, to protect yourself from potential hazards during the soldering process.
Common Mistakes to Avoid
Avoid overheating the joint as excessive heat can damage the pipes or fittings, leading to leaks or weakened connections.
Use an appropriate amount of solder; using too much can result in drips and excess buildup, while using too little may lead to incomplete seals and weak joints.
Cleanup Procedures
Cleaning Tools and Work Area
Cleaning the tools
Wipe down all tools used in the sweating copper pipes process with a clean cloth to remove any residual flux or solder.
Inspect each tool for any signs of damage or wear and tear, ensuring they are in optimal condition for future use.
Store the cleaned tools in a designated toolbox or storage area to maintain organization and prevent misplacement.
Disposing of waste materials
Gather all waste materials, such as used flux containers or metal shavings, and dispose of them in accordance with local regulations.
Recycle any recyclable items to promote environmental sustainability and reduce waste accumulation.
Keep the work area clean and free of debris by sweeping up any leftover materials and storing tools properly after use.
Storing Tools and Materials
Proper storage techniques
Place copper pipes and fittings in a dry storage area away from moisture to prevent corrosion and maintain their integrity.
Store soldering wire in a cool, dry place to prevent oxidation and ensure its usability for future projects.
Organize tools based on size or function in labeled containers or drawers for easy access during plumbing tasks.
Maintaining tool condition
Regularly inspect tools for rust or damage, addressing any issues promptly to prolong their lifespan and effectiveness.
Lubricate moving parts of tools, such as pipe cutters, to ensure smooth operation and prevent premature wear.
Keep safety gear like gloves and goggles clean and stored in a designated area to maintain their protective qualities for future use.
In mastering the art of sweating copper pipes, individuals embark on a journey towards professional plumbing excellence. By following this comprehensive Guide, readers equip themselves with the knowledge and skills necessary to achieve leak-free connections with confidence. As Kunkune aptly stated, soldering copper pipes is a craft that demands precision, patience, and a deep understanding of materials. With practice and dedication, every individual can hone their skills and solder copper pipe like a seasoned pro. Share your experiences or seek guidance in the comments below to further enhance your plumbing prowess.
See Also
Effortless Guide on Soldering Copper Pipes for Newbies
Simple Techniques for Soldering Copper Pipes Safely
Quick Guide to Measuring Copper Pipes Like an Expert

© Copyright 2024 Dongguan Baoyuan Refrigeration Parts Co.,Ltd - All Rights Reserved.