Steps for Installing Copper Pipes

Steps for Installing Copper Pipes
Proper copper pipe installation ensures a safe and efficient plumbing system. Copper pipes offer durability, corrosion resistance, and safety for drinking water. The installation process requires specific tools and materials, including pipe cutters, flux, and solder. Safety and preparation are crucial. Personal protective equipment (PPE) and a well-organized workspace prevent accidents and ensure a smooth installation process.
For a detailed guide on the steps for installing copper pipes, visit https://copperpipe.net/products/.
Preparation
Gathering Tools and Materials
Proper preparation is crucial for the successful installation of copper pipes. The right tools and materials ensure a smooth and efficient process.
List of Necessary Tools
Tube Cutter: A tube cutter is essential for cutting the copper pipe to the desired length. It ensures a square cut for accurate fittings.
Deburring Tool: This tool removes any small bumps or roughness on the inside diameter of the copper pipe after cutting. It ensures proper water flow and prevents noisy pipes.
Abrasive Sand Cloth: An abrasive sand cloth cleans the outside of the pipe end before soldering. It helps in removing oils and dirt for a clean surface.
Propane Torch: A propane torch applies high-intensity heat for soldering copper pipes. It ensures even heating around the fitting.
Measuring Tape: A measuring tape is necessary for accurate measurements of the pipe lengths.
Pipe Wrench: A pipe wrench helps in tightening and loosening fittings.
Safety Goggles: Safety goggles protect the eyes from sparks and debris during the cutting and soldering process.
List of Necessary Materials
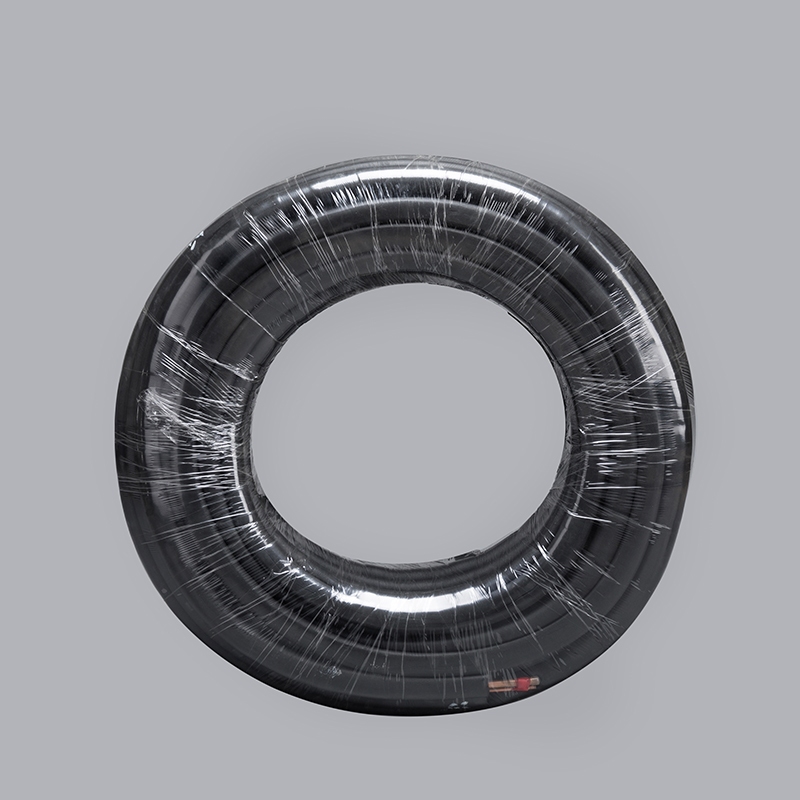
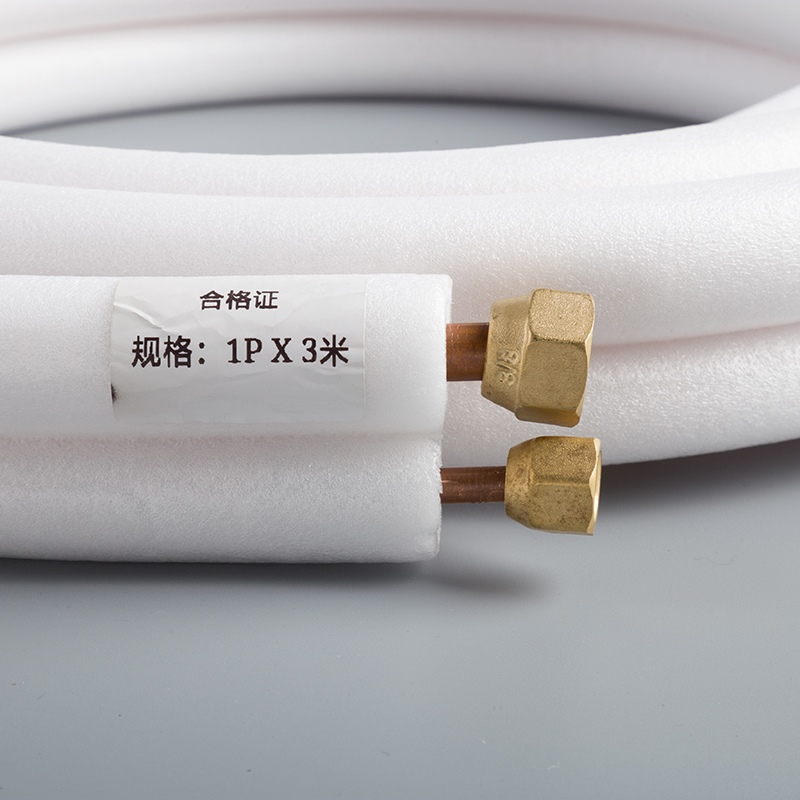
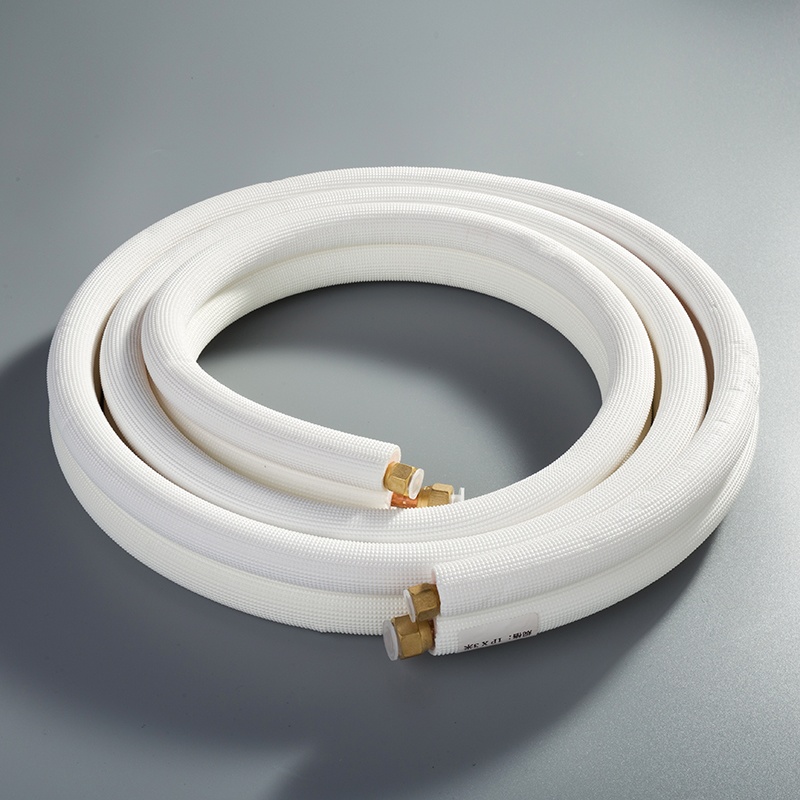
Copper Pipes: High-quality copper pipes are essential for durability and corrosion resistance.
Flux: Flux cleans and prepares the pipe ends for soldering, ensuring a strong bond.
Solder: Solder is used to join the copper pipes together securely.
Fittings: Various fittings like elbows, tees, and couplings are needed to connect the pipes.
Pipe Insulation: Insulating the pipes helps in preventing heat loss and condensation.
Safety Precautions
Safety should always be a priority when working with copper pipes. Proper safety measures prevent accidents and ensure a smooth installation process.
Personal Protective Equipment (PPE)
Safety Goggles: Protect the eyes from sparks and debris.
Gloves: Wear gloves to protect the hands from sharp edges and hot surfaces.
Respirator Mask: Use a respirator mask to avoid inhaling harmful fumes during soldering.
Fire Extinguisher: Keep a fire extinguisher nearby in case of accidental fires.
Workspace Preparation
Clear the Area: Ensure the workspace is free from clutter and flammable materials.
Ventilation: Work in a well-ventilated area to avoid inhaling harmful fumes.
Organize Tools: Arrange all tools and materials within easy reach to avoid unnecessary movement during the installation process.
Lighting: Ensure adequate lighting to see clearly during the cutting and soldering process.
By following these steps for installing copper pipes, one can ensure a safe and efficient installation process. Proper preparation and safety measures are essential for achieving the best results.
Measuring and Cutting
Accurate measurements and precise cuts are crucial steps for installing copper pipes. Properly measured and cut pipes ensure a seamless fit and prevent leaks.
Measuring the Pipes
Using a Measuring Tape
Use a measuring tape to determine the required length of each copper pipe. Place the tape measure at the starting point and extend it to the desired length. Record the measurement to ensure accuracy.
Marking the Pipes
Mark the copper pipe at the measured length using a permanent marker or a pipe scribe. Make a clear, visible mark to guide the cutting process. Accurate marking is essential for achieving the correct pipe length.
Cutting the Pipes
Using a Pipe Cutter
Use a pipe cutter to cut the copper pipe at the marked location. Position the pipe cutter around the pipe, aligning the cutting wheel with the mark. Tighten the cutter and rotate it around the pipe. Continue tightening and rotating until the pipe is cut through.
Smoothing the Edges
After cutting the pipe, use a deburring tool to smooth the edges. Insert the deburring tool into the pipe end and rotate it to remove any burrs or rough spots. Smooth edges ensure proper fitting and prevent damage to the pipe joints.
Fitting and Soldering
Proper fitting and soldering ensure a leak-free and durable copper piping system. Follow these steps for installing copper pipes to achieve professional results.
Dry Fitting the Pipes
Assembling the Pipes Without Solder
Dry fitting involves assembling the copper pipes and fittings without using solder. This step allows for adjustments before permanent installation. Insert each pipe into the corresponding fitting. Ensure that each connection fits snugly. Proper alignment ensures a seamless final assembly.
Checking for Proper Fit
After assembling the pipes, check each joint for proper fit. Ensure that all connections align correctly. Verify that the pipes are cut to the correct length. Adjust any misaligned sections. Proper fitting prevents leaks and ensures a strong bond during soldering.
Applying Flux
Cleaning the Pipe Ends
Clean the ends of the copper pipes before applying flux. Use an abrasive sand cloth to remove any dirt, oil, or oxidation. Cleaning ensures a smooth surface for the flux to adhere to. Proper cleaning is crucial for a strong solder joint.
Applying Flux to the Joints
Apply flux to the cleaned pipe ends and the inside of the fittings. Use a brush to spread a thin, even layer of flux. Flux helps in removing oxidation during heating. It also promotes the flow of solder into the joint. Proper application of flux ensures a strong and leak-free connection.
Soldering the Pipes
Heating the Joint
Use a propane torch to heat the joint evenly. Position the torch so that the flame heats both the pipe and the fitting. Move the torch around the joint to ensure even heating. Proper heating is essential for the solder to flow and bond effectively.
Applying Solder
Once the joint reaches the correct temperature, apply solder to the seam. Touch the solder to the joint opposite the flame. The heat will draw the solder into the joint through capillary action. Ensure that the solder flows completely around the joint. Proper soldering creates a strong and durable connection.
Allowing the Joint to Cool
Allow the joint to cool naturally after soldering. Do not disturb the joint while it cools. Cooling solidifies the solder and forms a strong bond. Proper cooling ensures the integrity of the connection.
Following these steps for installing copper pipes ensures a reliable and efficient plumbing system. Proper fitting, cleaning, and soldering techniques prevent leaks and ensure long-lasting performance.
Testing and Finishing
Inspecting the Joints
Checking for Leaks
Inspect each joint meticulously to ensure a leak-free system. Turn on the water supply gradually to pressurize the pipes. Observe each connection closely for any signs of water seepage. Use a dry cloth to wipe around the joints, making it easier to spot any moisture. A pressure test can also be conducted by closing all valves and monitoring the pressure gauge. Consistent pressure over time indicates a secure system.
"THANKS FOR EVERYONES HELP! I changed the valves and the pressure test has not budged overnight. What a relief! I now feel very confident closing up the walls." — Anonymous User on Terry Love Forums
Ensuring Strong Connections
Verify the strength of each connection by gently tugging on the pipes. Ensure that the joints remain intact and do not show any signs of movement. A strong connection will withstand the pressure and prevent future leaks. If any joint appears weak, reheat and apply additional solder to reinforce the bond.
Final Adjustments
Making Any Necessary Tweaks
Make any necessary tweaks to ensure optimal performance. Adjust the alignment of the pipes to avoid any strain on the joints. Tighten any loose fittings using a pipe wrench. Recheck the measurements to confirm that the pipes are correctly positioned. Proper adjustments enhance the overall efficiency of the plumbing system.
Cleaning Up the Workspace
Clean up the workspace thoroughly after completing the installation. Dispose of any debris, such as pipe cuttings and used flux brushes. Store the tools in an organized manner for future use. Wipe down the work area to remove any residual flux or solder. A clean workspace ensures safety and readiness for the next project.
By following these steps for testing and finishing, one can ensure a reliable and efficient copper piping system. Proper inspection and final adjustments guarantee long-lasting performance and peace of mind.
Proper copper pipe installation involves several key steps. Safety and precision are paramount throughout the process. Practicing these techniques will build confidence and proficiency.
Feel free to leave comments or ask questions for further guidance. Explore Baoyuan's range of high-quality products at Baoyuan Products.
See Also
Basic Instructions: Soldering Copper Pipe for Novices
Quick Guide: Measuring Copper Pipe for DIY Projects
Detailed Manual for Purchasing Copper Pipe Coils
Vital Safety Tips for Setting Up Dual Copper Pipes
Five Steps for Safely Installing Copper Pipe Coils in Residence

© Copyright 2024 Dongguan Baoyuan Refrigeration Parts Co.,Ltd - All Rights Reserved.