Steps to Measure Copper Pipes Accurately

Steps for Measuring and Installing Copper Pipes
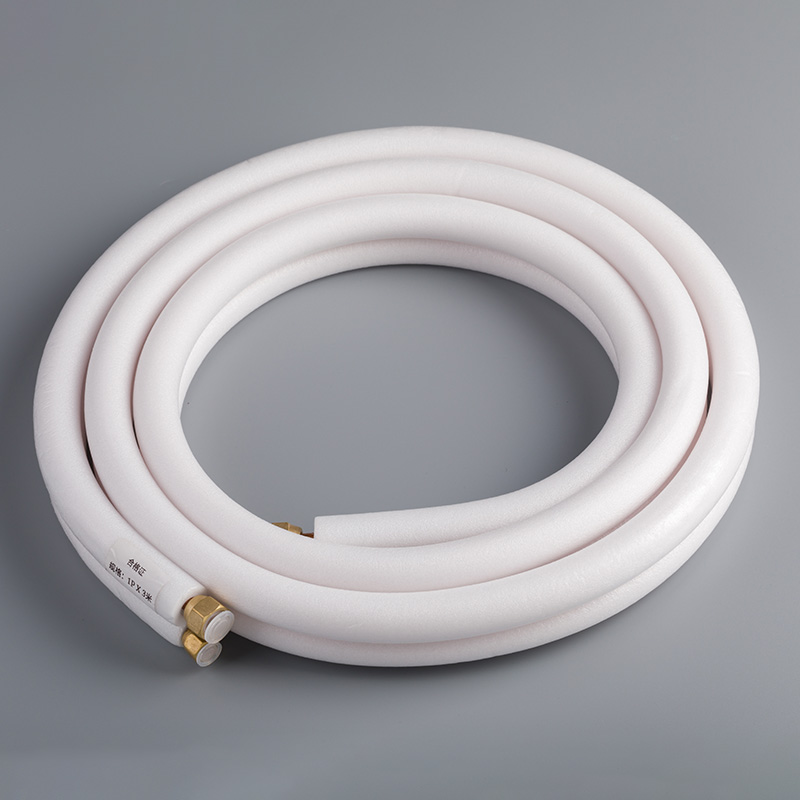
Accurate measurements play a crucial role in plumbing and construction. Precision ensures the safety, efficiency, and longevity of infrastructure projects. When it comes to copper pipes, especially those manufactured by Baoyuan for air conditioning and plumbing, meticulous measurement is essential to prevent leaks and ensure a proper fit. Here are the steps for measuring and installing copper pipes:
Gather Your Tools: To measure copper pipes accurately, you'll need tools like measuring tapes, pipe calipers, and digital calipers. These tools will help you obtain precise measurements.
Measure the Outside Diameter (OD): Wrap a string or flexible tape around the outside of the copper pipe. Make a mark where the string or tape meets, then measure the length of the string or tape. Divide this measurement by pi (approximately 3.14159) to find the outside diameter.
Determine the Nominal Pipe Size: Remember, the nominal pipe size of a copper pipe is always ⅛ inch less than the actual outer diameter. Use this information to select the correct pipe size for your project.
Cutting the Pipe: Once you have the correct measurements, use a pipe cutter to cut the copper pipe to the desired length. Ensure the cut is clean and straight to avoid any fitting issues.
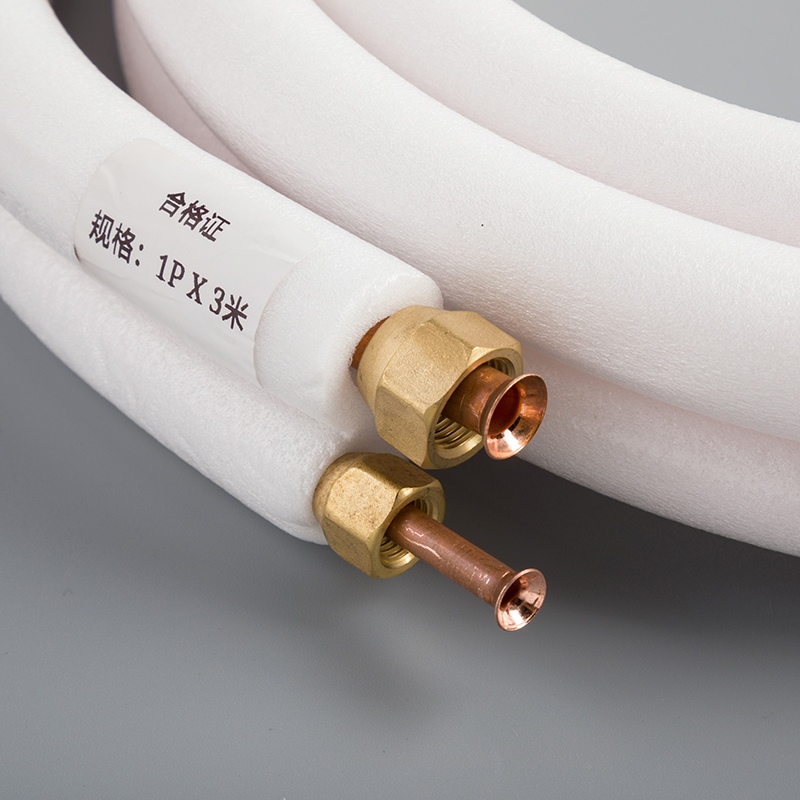
Fitting and Installation: Fit the copper pipe into place, ensuring all connections are secure. Use appropriate fittings and connectors to join the pipes. For air conditioning systems, ensure the connections are airtight to prevent leaks.
Testing: After installation, test the system for any leaks or issues. This step is crucial to ensure the longevity and efficiency of your project.
Proper techniques and tools enhance project planning, budgeting, and overall success. Accurate data also facilitates coordination among multiple parties involved in property development. For more information on Baoyuan's pure copper connecting pipes for air conditioners, visit Baoyuan Products.
Tools Needed for Measuring Copper Pipes
Essential Tools
Measuring Tape
A measuring tape provides a straightforward method to measure the length and circumference of copper pipes. Choose a tape with clear, easy-to-read markings. Wrap the tape around the pipe to measure the circumference. Divide this measurement by pi (approximately 3.14159) to determine the outside diameter.
Pipe Caliper
A pipe caliper offers precision when measuring the diameter of copper pipes. Place the caliper's jaws around the pipe and read the measurement on the scale. This tool ensures accurate readings, crucial for fitting and installation tasks.
Pipe Sizing Template
A pipe sizing template helps identify the nominal size of copper pipes. Align the pipe with the corresponding slot on the template. The template provides a quick reference for selecting the correct pipe size for your project.
Optional Tools
Digital Caliper
A digital caliper enhances measurement accuracy with its electronic display. Place the caliper around the pipe and read the measurement on the digital screen. This tool simplifies the process of obtaining precise measurements, especially for small diameters.
Pipe Micrometer
A pipe micrometer measures the wall thickness of copper pipes. Position the micrometer around the pipe and tighten it until it contacts the surface. Read the measurement on the scale. This tool is essential for applications requiring precise wall thickness measurements, such as air conditioning and refrigeration systems.
Using these tools ensures accurate measurements, which are vital for the successful implementation of cooling and air conditioning systems. Proper measurements prevent leaks and ensure a secure fit, enhancing the efficiency and longevity of your projects.
Preparing for Measurement
Safety Precautions
Wearing Gloves
Wearing gloves protects hands from sharp edges on copper pipes. Gloves also prevent contamination of the pipe surface. Choose gloves made of durable material for better protection.
Ensuring a Clean Workspace
A clean workspace ensures accurate measurements. Remove any clutter or debris from the area. A clean environment reduces the risk of errors and enhances safety.
Cleaning the Pipe
Removing Debris
Debris on copper pipes can affect measurement accuracy. Use a soft brush or cloth to remove any dirt or particles. Ensure that the pipe surface is smooth and clean.
Drying the Pipe
Drying the pipe prevents rust and corrosion. Use a dry cloth to wipe the pipe thoroughly. Moisture can lead to inaccurate measurements and potential damage. Proper drying ensures a clean and accurate measurement process.
Step-by-Step Guide to Measuring Copper Pipes
Measuring the Diameter
Using a Measuring Tape
To measure the diameter of a copper pipe, wrap a measuring tape around the pipe. Ensure the tape lies flat against the surface. Mark the point where the tape meets itself. Measure the length from the starting point to the mark. Divide this measurement by pi (approximately 3.14159) to find the outside diameter.
Using a Pipe Caliper
A pipe caliper provides a more precise measurement. Place the caliper's jaws around the pipe. Adjust the jaws until they fit snugly against the pipe's outer edges. Read the measurement on the caliper's scale. This tool ensures accurate readings, which are crucial for fitting and installation tasks.
Measuring the Length
Ensuring Straightness
Ensure the copper pipe is straight before measuring its length. Use a level or a straight edge to check for any bends or curves. A straight pipe guarantees an accurate length measurement.
Marking the Measurement Points
Use a measuring tape to determine the desired length of the copper pipe. Mark the measurement points with a permanent marker. These marks will guide the cutting process, ensuring precision and accuracy.
Measuring the Wall Thickness
Using a Pipe Micrometer
A pipe micrometer measures the wall thickness of copper pipes. Position the micrometer around the pipe. Tighten the micrometer until it contacts the pipe's surface. Read the measurement on the micrometer's scale. This tool is essential for applications requiring precise wall thickness measurements, such as air conditioning and refrigeration systems.
Using a Digital Caliper
A digital caliper enhances measurement accuracy with its electronic display. Place the caliper around the pipe. Read the measurement on the digital screen. This tool simplifies the process of obtaining precise wall thickness measurements, especially for small diameters.
Accurate measurements play a critical role in the steps for measuring and installing copper pipes. Proper techniques ensure the success of plumbing and air conditioning projects. Precision prevents leaks and ensures a secure fit, enhancing the efficiency and longevity of installations.
Tips for Ensuring Accuracy
Double-Checking Measurements
Repeating the Process
Repeating the measurement process ensures accuracy. Measure the copper pipe multiple times. Consistent results confirm the reliability of the measurements. This practice minimizes errors and enhances precision.
Comparing with Standard Sizes
Compare the obtained measurements with standard sizes. Use a pipe sizing chart for reference. Matching the measurements with standard sizes verifies correctness. This step prevents mismatches during installation.
Common Mistakes to Avoid
Misreading the Measuring Tape
Misreading the measuring tape leads to inaccurate measurements. Ensure clear visibility of the tape markings. Align the tape properly against the pipe. Double-check the reading to avoid mistakes.
Not Accounting for Pipe Bends
Pipe bends affect length measurements. Straighten the pipe before measuring. Use a level or straight edge to check for bends. Accurate length measurements require a straight pipe.
Accurate measurements ensure structural integrity and cost-effectiveness. Proper techniques prevent rework and potential issues. Reliable data facilitates seamless collaboration among engineers, architects, and construction workers. Uniform measurements enhance project planning and execution.
Accurate measurements hold immense importance in plumbing and construction. Practicing these techniques will enhance precision and efficiency. For further learning, explore additional resources and tools available online. Precision in measurements ensures the safety and longevity of projects.
Michelli Weighing & Measurement team emphasizes that "Quality weighing & measurement equipment is crucial to constructing impressive structures safely & efficiently."
Togal.AI states, "Precision plays a pivotal role in construction projects, often being the thin line between success and failure."
Adopting accurate measurement practices will lead to successful and reliable installations.
See Also
Effortless Guide: How to Measure Copper Pipes Professionally
Simple Steps: Measuring Copper Pipe for DIY Achievement
Simple Tutorial: Measuring Copper Pipe Professionally

© Copyright 2024 Dongguan Baoyuan Refrigeration Parts Co.,Ltd - All Rights Reserved.