How to Sweat Copper Pipes: A Step-by-Step Guide

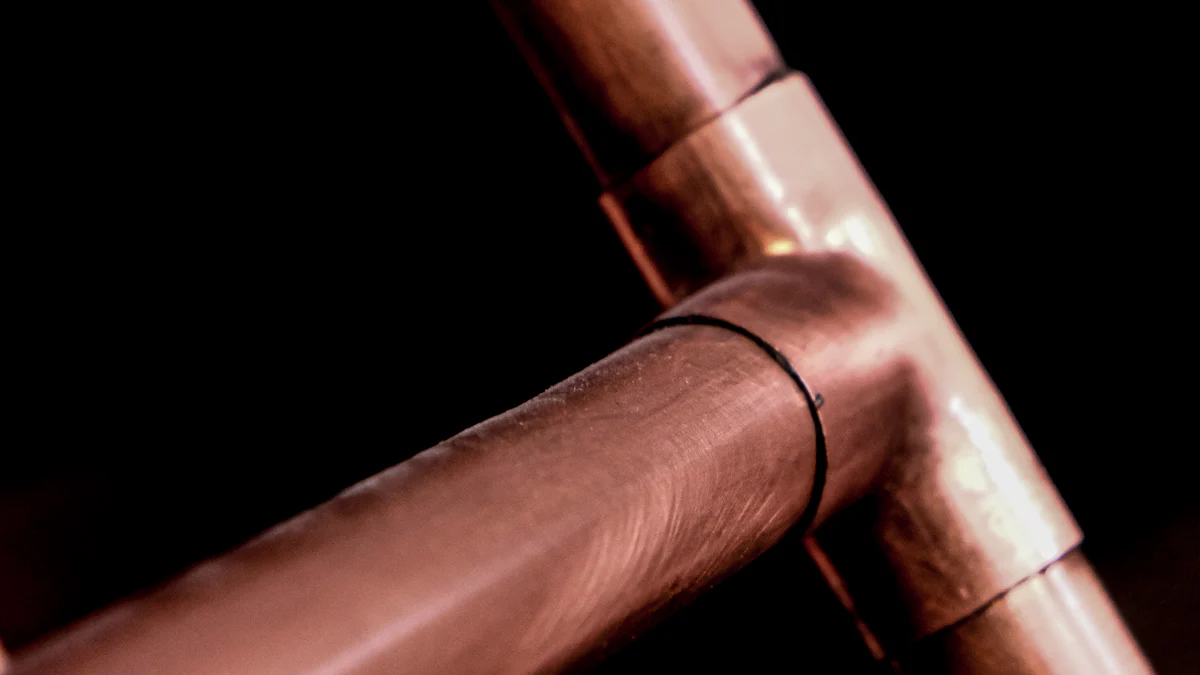
Soldering copper pipes is a fundamental skill for ensuring a secure seal and the durability of plumbing work. The gold standard for creating leak-proof joints in copper tubing has always been solder. It works exceptionally well for sweating copper pipes, making it a valuable skill for any property owner. Patience and practice are key in perfecting the art of soldering copper pipe, guaranteeing joints that reflect expertise and promise sustainability. Following simple tips on how to sweat copper pipe safely can lead to a successful soldering experience. Additionally, using a copper pipe bender can help in shaping the pipes to fit your needs, and copper pipe compression fittings offer an alternative method for joining pipes without solder. For projects involving 2 copper pipe connections, mastering these techniques is essential.
Tools and Materials
When preparing to sweat copper pipes, having the right tools and materials is crucial for a successful outcome. Copper Pipe Cutter is an essential tool that allows precise cutting of the pipes to the required length. This tool ensures clean cuts, which are vital for seamless joints. Additionally, a Copper Pipe Bender is indispensable when shaping the pipes to fit specific angles or curves in your plumbing layout.
In terms of necessary materials, Copper Pipe is the primary component that you will be working with. It's important to choose high-quality copper pipes to ensure durability and longevity of your plumbing system. Copper Pipe Compression Fittings provide an alternative method for joining pipes without soldering, offering flexibility in connecting different sections of piping. Lastly, Solder and Flux are essential materials for sweating copper pipes. The flux helps in cleaning and preparing the surfaces for soldering, while the solder creates a strong bond between the joined pipes.
Remember, using the right tools and materials not only simplifies the process but also ensures a secure and leak-free connection for your plumbing system.
Preparation Steps
Cutting the Pipe
To begin the process of sweating copper pipes, cutting the pipe to the required length is the initial step. Precise measurements are crucial for ensuring a proper fit and secure connection. Using a Copper Pipe Cutter, carefully score around the pipe, rotating it after each pass until it cleanly snaps apart. This method guarantees clean cuts, preventing jagged edges that could compromise the joint's integrity.
Cleaning the Pipe
After cutting the pipe, thorough cleaning is essential to remove any debris or contaminants that could hinder the soldering process. Start by using a wire brush to scrub both the outside and inside of the pipe thoroughly. This action eliminates dirt, oxidation, and other impurities that may prevent a strong bond between the pipes. Remember, cleanliness is key to achieving a leak-free joint.
Applying Flux
Once the pipe is cut and cleaned, applying flux is critical for successful soldering. Flux plays a vital role in preparing the surfaces by preventing oxidation and ensuring proper adhesion between the pipes. To apply flux correctly, use a brush to coat both the inside of fittings and outside of pipes evenly. This step sets the foundation for a secure bond when soldering copper pipes.
Remember, meticulous preparation is fundamental in achieving durable and reliable joints when sweating copper pipes. By following these preparation steps diligently, you set yourself up for success in creating leak-proof connections that stand the test of time.
Sweating the Copper Pipe

Heating the Joint
To begin the process of sweating copper pipes, heating the joint is a crucial step. The torch should be held steadily around the joint to evenly distribute heat. This ensures that the pipe reaches the necessary temperature for soldering without overheating. By focusing on heating the joint first, it allows for a seamless transition when applying the solder.
Applying Solder
Once the joint is adequately heated, it's time to apply solder. Hold the solder wire against the heated joint, allowing it to melt and flow into the connection. Moving the solder around the entire joint ensures a complete seal and reinforces the bond between the pipes. Remember, proper application of solder is key to creating a watertight seal that will withstand pressure and time.
Cooling and Inspecting
After applying the solder, allow sufficient time for it to cool and solidify. Once cooled, inspect the joint carefully to ensure there are no gaps or imperfections in the seal. A well-executed sweat should result in a smooth and uniform finish along the joint. Inspecting your work ensures that any potential issues are addressed promptly, guaranteeing a secure connection for your plumbing system.
By following these steps diligently and mastering each aspect of sweating copper pipes, you can achieve professional results that stand up to scrutiny. Remember, practice makes perfect when it comes to soldering techniques, so don't be discouraged by initial challenges. With patience and attention to detail, you can become proficient in sweating copper pipes and create enduring piping solutions for your plumbing needs.
To conclude, the process of sweating copper pipes involves meticulous preparation and precise execution. By following the steps outlined in this guide, individuals can achieve leak-proof joints that ensure the durability of their plumbing systems. Proper technique is paramount when soldering copper pipes, as it guarantees secure connections that withstand pressure and time. For future considerations, mastering these skills can lead to efficient plumbing repairs and installations. Remember, practice and patience are key in perfecting the art of sweating copper pipes. As BernzOmatic states, "Also works very well for sweating copper pipes," emphasizing the effectiveness of these techniques in plumbing applications.
See Also
Beginner's Guide: Easy Steps for Soldering Copper Pipes
Efficient Copper Pipe Maintenance: A Comprehensive Guide
Flameless Soldering: Simple Steps for Copper Pipes

© Copyright 2024 Dongguan Baoyuan Refrigeration Parts Co.,Ltd - All Rights Reserved.