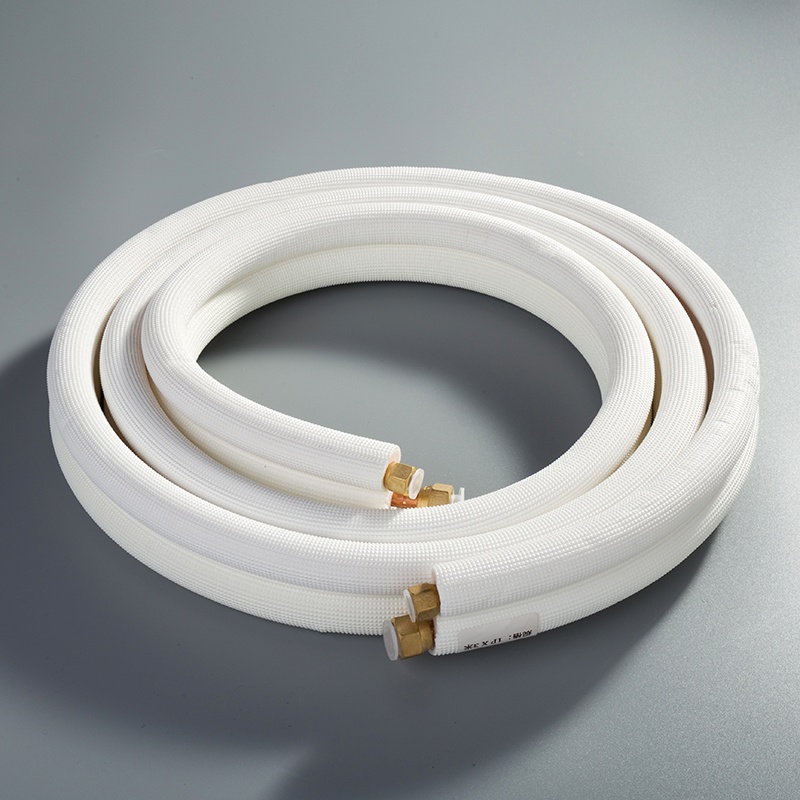
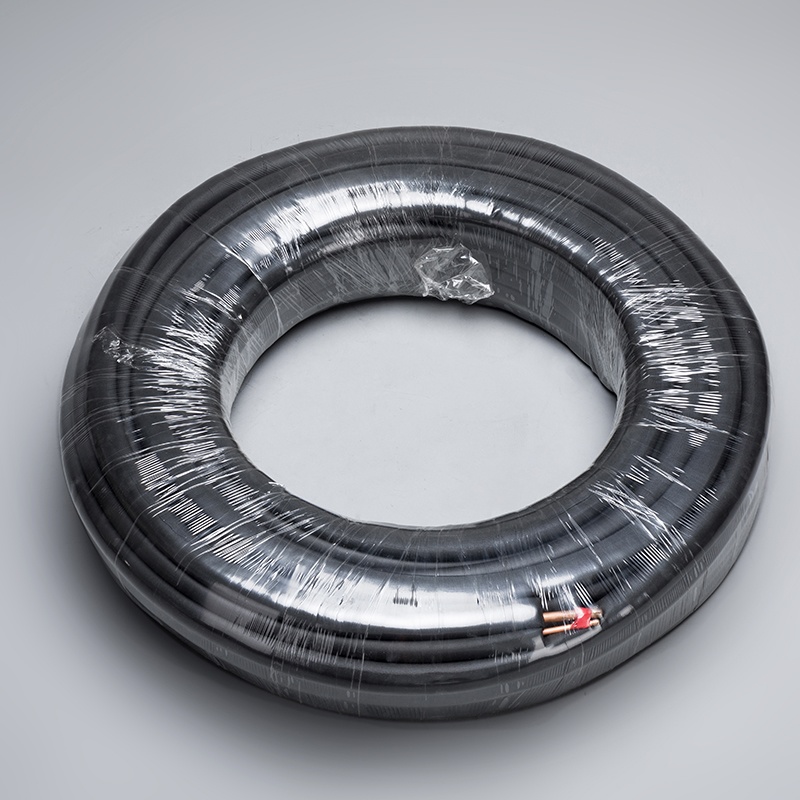
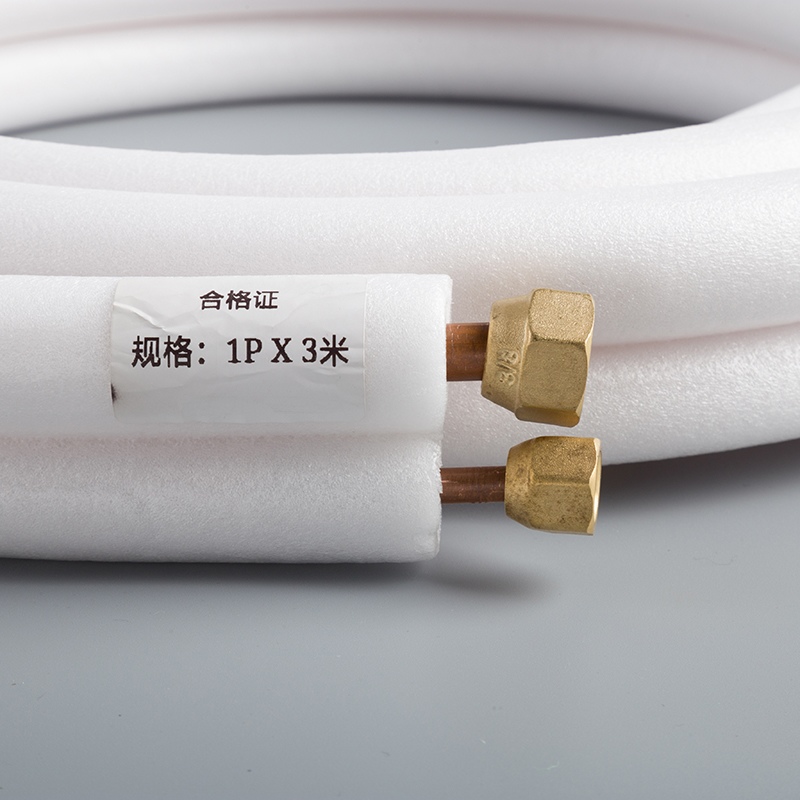
Tools You Need for Measuring Copper Pipes Effectively

Accurate measurements are essential for the success of any project involving copper pipes. Whether you're installing air conditioning systems or tackling plumbing tasks, ensuring the correct dimensions guarantees a perfect fit and helps avoid expensive errors. However, measuring copper pipes can sometimes be challenging due to uneven surfaces, confined spaces, or uncertainty about the appropriate tool to use.
This is why selecting tools to measure copper pipes' dimensions is so important. Choosing the right tools not only makes the process easier but also enhances your confidence in obtaining precise and reliable results.
Key Takeaways
Measuring copper pipes correctly is important to avoid mistakes.
Use tools like tape measures and calipers for exact sizes.
Clean the pipe and keep it steady before measuring for better results.
Check and store your tools properly to keep them working well.
Practice with tools to get better and more confident at measuring.
Understanding Copper Pipe Measurements
When working with copper pipes, understanding the different types of measurements is crucial. Each measurement plays a role in ensuring the pipe fits perfectly and performs as expected. Let’s break it down.
Types of Measurements
Diameter
The diameter of a copper pipe can be tricky to measure because it comes in two forms: nominal and actual. Nominal Pipe Size (NPS) refers to the approximate inside diameter, while the actual measurement is the outside diameter (OD). For example, a 1-inch NPS pipe has an OD of about 1.315 inches. On the other hand, copper tubes use the exact OD, such as 1.125 inches for a 1-inch tube. This distinction is vital when selecting tools to measure copper pipes accurately.
Length
Measuring the length of a copper pipe is straightforward. Place a measuring tape at one end of the pipe and extend it to the other. Make sure the tape is straight to avoid errors. This step ensures you cut the pipe to the correct size for your project.
Wall Thickness
Wall thickness determines the pipe’s strength and durability. It varies depending on the type of copper pipe. For instance, Type K pipes have thicker walls than Type L or M. You can measure this using calipers or specialized tools designed for precision.
Common Standards and Units
Imperial vs. Metric
Copper pipe measurements often use both imperial (inches) and metric (millimeters) units. In the U.S., common sizes include 1/2 inch, 3/4 inch, and 1 inch. In other regions, millimeters are more common. Knowing which system applies to your project helps you avoid conversion errors.
Industry Standards
Industry standards ensure compatibility and performance. For example:
NPS is used for plumbing systems, while exact OD is crucial for HVAC and refrigeration.
Wall thickness is specified by schedules (e.g., Schedule 40) or types (e.g., Type K, L, M).
These standards guide manufacturers and installers, ensuring pipes meet specific requirements for strength, fit, and efficiency.
Selecting Tools to Measure Copper Pipes

When it comes to selecting tools to measure copper pipes, having the right equipment can make all the difference. The right tools ensure accurate measurements, save time, and help you avoid costly mistakes. Let’s explore some essential tools you’ll need for the job.
Essential Tools for Measuring Copper Pipes
Measuring Tape
A measuring tape is one of the most basic yet indispensable tools for measuring copper pipes. It’s perfect for determining the length of a pipe. To use it, simply stretch the tape from one end of the pipe to the other. Make sure it stays straight to avoid errors. Look for a tape with clear markings in both imperial and metric units. This way, you can easily switch between systems depending on your project’s requirements.
Pipe Calipers
Pipe calipers are excellent for measuring the outside diameter of copper pipes. They provide a precision fit, ensuring the pipe connects seamlessly with fittings. This reduces the risk of leaks and makes installation faster. Calipers also eliminate guesswork when selecting components, so you can be confident everything will fit perfectly.
However, keep in mind that calipers work best on pipes with a regular shape. If the pipe is deformed or irregular, the readings might not be accurate. Also, make sure the calipers are properly calibrated before use to maintain precision. Despite these limitations, calipers remain a go-to tool for many professionals.
Laser Measuring Tools
If you’re working on a large-scale project or measuring pipes in hard-to-reach areas, laser measuring tools are a game-changer. These devices use laser technology to measure distances quickly and accurately. They’re especially useful for measuring the length of pipes installed in tight spaces or overhead. With a laser tool, you can get precise measurements without needing to physically touch the pipe. This not only saves time but also makes the process safer and more efficient.
By selecting tools to measure copper pipes that suit your specific needs, you’ll set yourself up for success. Whether you’re using a simple measuring tape or advanced laser tools, the right equipment ensures your project runs smoothly.
Advanced Tools and Techniques

Ultrasonic Thickness Gauges
How They Work
Ultrasonic thickness gauges are a game-changer when it comes to measuring copper pipes. These devices use sound waves to determine the thickness of a material. Originally developed in the 1940s, they’ve come a long way. Modern gauges are portable and highly efficient, thanks to advancements in microprocessor technology. You only need access to one side of the pipe to get accurate readings, which makes them perfect for tight spaces or hard-to-reach areas.
Here’s how you can use one:
Set the zero point on your gauge and probe combination.
Measure the pipe’s thickness and adjust the echo readings until they match the actual thickness.
Verify that the first echo aligns with subsequent readings to ensure accuracy.
These steps make ultrasonic gauges a reliable tool for precise measurements.
When to Use Them
You’ll find ultrasonic thickness gauges especially useful in specific scenarios. They’re ideal for measuring the effects of corrosion or erosion on pipes, tanks, or other structures. If you’re working with painted pipes, these gauges can measure thickness without removing the coating. They’re also great for thin-walled tubing and materials like cast aluminum or ductile iron. Whether you’re dealing with blasted surfaces or need high-resolution measurements, these gauges deliver consistent results.
Digital Measuring Devices
Benefits of Digital Tools
Digital measuring devices bring a new level of precision to your projects. They’re faster and more accurate than traditional tools, making them a favorite among professionals. With features like laser technology, these devices can measure distances in seconds. They’re perfect for large-scale projects or when you need to measure pipes installed in tricky spots. Plus, they reduce human error, so you can trust the results every time.
Integration with Software
One of the coolest things about digital tools is their ability to integrate with software. Many devices now connect to mobile apps or cloud platforms, letting you store and access data from anywhere. Some even work with 3D scanning technology, which saves time and improves accuracy. Imagine creating detailed floor plans or pipe layouts directly from your measurements. This integration streamlines your workflow and makes planning a breeze.
By selecting tools to measure copper pipes, like ultrasonic gauges and digital devices, you can tackle any project with confidence. These advanced tools not only save time but also ensure your measurements are spot-on.
Tips for Accurate Measurements
Preparing the Pipe
Cleaning and Inspection
Before you start measuring, make sure the copper pipe is clean and ready. A dirty or oxidized surface can lead to inaccurate readings. Here’s how you can prepare the pipe effectively:
Use a specialized pipe cleaner to remove debris or oxidation from the pipe ends.
Clean the outside of the pipe until it’s shiny. This removes any oils or dirt that might interfere with your tools.
Avoid touching cleaned areas with your hands to prevent contamination.
Keep the workspace clean and avoid placing cleaned pipes on dirty surfaces.
If you need to cut the pipe, use a tubing cutter for a clean, square cut. After cutting, remove any burrs or rough edges to ensure a smooth surface. Proper preparation not only improves measurement accuracy but also sets the stage for a successful installation.
Ensuring Stability
Stability is key when measuring copper pipes. A moving or unstable pipe can throw off your readings. Secure the pipe in place using clamps or a vise. This keeps it steady and allows you to focus on getting precise measurements. If you’re working with long pipes, support both ends to prevent sagging. Taking these steps ensures your tools can do their job accurately.
Avoiding Common Mistakes
Misreading Measurements
Misreading measurements is one of the most common errors. To avoid this, always double-check your readings. Use tools with clear markings, and make sure you’re looking at the correct unit—imperial or metric. If you’re using a digital tool, verify the settings before you start. Taking a moment to confirm your measurements can save you from costly mistakes later.
Incorrect Tool Usage
Using the wrong tool or using a tool incorrectly can lead to inaccurate results. For example, after cutting the pipe, deburr the inside to remove any roughness. This prevents issues like pressure drops or restricted water flow. Also, clean all openings of the fitting hub with a fitting brush to ensure a proper connection. Always follow the manufacturer’s instructions for your tools, and make sure they’re calibrated and in good condition. Proper tool usage not only improves accuracy but also extends the life of your equipment.
By preparing the pipe and avoiding common mistakes, you’ll ensure your measurements are spot-on. These tips will help you work more efficiently and achieve professional results every time.
Maintenance and Care of Measuring Tools
Proper maintenance and care of your measuring tools ensure they remain accurate and reliable for years to come. Let’s dive into how you can keep your tools in top-notch condition.
Regular Calibration
Importance of Calibration
Calibration is essential for maintaining the accuracy of your measuring tools. Over time, normal wear and tear or external factors like mechanical shocks can affect their precision. Regular calibration helps you avoid costly mistakes and ensures your tools perform as expected. Here’s why it’s so important:
It guarantees accurate measurements, which are critical for product quality and safety.
Proper calibration extends the lifespan of your tools and enhances workplace safety.
It ensures compliance with industry regulations and reduces risks tied to inaccurate readings.
Avoids increased production costs and potential liabilities from defective products.
By calibrating your tools regularly, you’ll not only improve their accuracy but also enhance the overall quality of your projects.
How to Calibrate Tools
Calibrating your tools doesn’t have to be complicated. Follow these simple steps to keep them in check:
Refer to the manufacturer’s guidelines for calibration intervals and procedures.
Use a certified calibration device or service to verify your tool’s accuracy.
Test the tool against a known standard and adjust it as needed.
Record the calibration results for future reference.
Taking the time to calibrate your tools ensures they’re always ready to deliver precise measurements.
Proper Storage
Protecting Tools from Damage
Storing your tools correctly is just as important as using them. Improper storage can lead to damage, reducing their lifespan and accuracy. Follow these best practices to keep your tools safe:
Store tools in a dry, temperature-controlled environment to prevent moisture and heat damage.
Use original cases, boxes, or racks to protect them from shocks and contamination.
Keep tools away from equipment that causes vibrations or motion.
By creating a safe storage environment, you’ll protect your tools from unnecessary wear and tear.
Organizing Your Tool Kit
An organized tool kit saves time and keeps your workspace efficient. When everything has its place, you’ll spend less time searching and more time working. Here’s how you can organize your tools effectively:
Use dividers, pegboards, or tool organizers to keep each item in its designated spot.
Label your tools clearly to make them easy to find.
Regularly check your kit to ensure all tools are accounted for and in good condition.
A well-organized tool kit not only prevents damage but also boosts productivity. You’ll always know where to find what you need, making your work smoother and more enjoyable.
By calibrating and storing your tools properly, you’ll ensure they remain reliable and efficient. These small steps go a long way in maintaining the quality of your measurements and the success of your projects.
Measuring copper pipes effectively starts with the right tools and techniques. From basic tools like measuring tapes and calipers to advanced options like ultrasonic gauges, each plays a role in ensuring precision. Preparing your pipes, avoiding common mistakes, and maintaining your tools are equally important steps to achieve professional results.
🛠️ Tip: Practice using these tools regularly to build confidence and improve your accuracy.
To deepen your understanding, explore resources that cover copper tubing types, dimensions, and measurement methods. These guides often include:
A detailed copper pipe size chart (OD, ID & Thickness).
Applications and color codes for different pipe types (Type K, L, M, and DWV).
Step-by-step instructions for measuring length and diameter.
With the right knowledge and tools, you’ll handle any copper pipe project like a pro!
FAQ
What is the best tool for measuring copper pipe diameter?
The best tool depends on your needs. For quick measurements, use pipe calipers. For more precision, try a digital caliper. Both tools ensure accurate readings of the outside diameter, which is crucial for selecting the right fittings.
Can I measure copper pipes without removing them?
Yes, you can! Use a laser measuring tool for length or an ultrasonic thickness gauge for wall thickness. These tools work without direct contact, making them perfect for pipes in tight or hard-to-reach spaces.
How do I avoid errors when measuring copper pipes?
Here are some tips:
Clean the pipe surface before measuring.
Use the right tool for the job.
Double-check your readings.
🛠️ Tip: Always ensure your tools are calibrated for the most accurate results.
What’s the difference between NPS and OD in copper pipes?
NPS (Nominal Pipe Size) refers to the approximate inside diameter, while OD (Outside Diameter) is the actual measurement of the pipe’s outer surface. For example, a 1-inch NPS pipe has an OD of about 1.315 inches.
How often should I calibrate my measuring tools?
Calibrate your tools regularly, especially if you use them frequently. Check the manufacturer’s guidelines for specific intervals. Regular calibration ensures your tools stay accurate and reliable, saving you from costly mistakes.
🔧 Note: Proper maintenance extends the life of your tools and keeps your projects on track.
See Also
Simple Techniques for Accurate Copper Pipe Measurement
Beginner's Guide to Expert Copper Pipe Measurement
Step-by-Step Method for Measuring Copper Pipes Successfully


