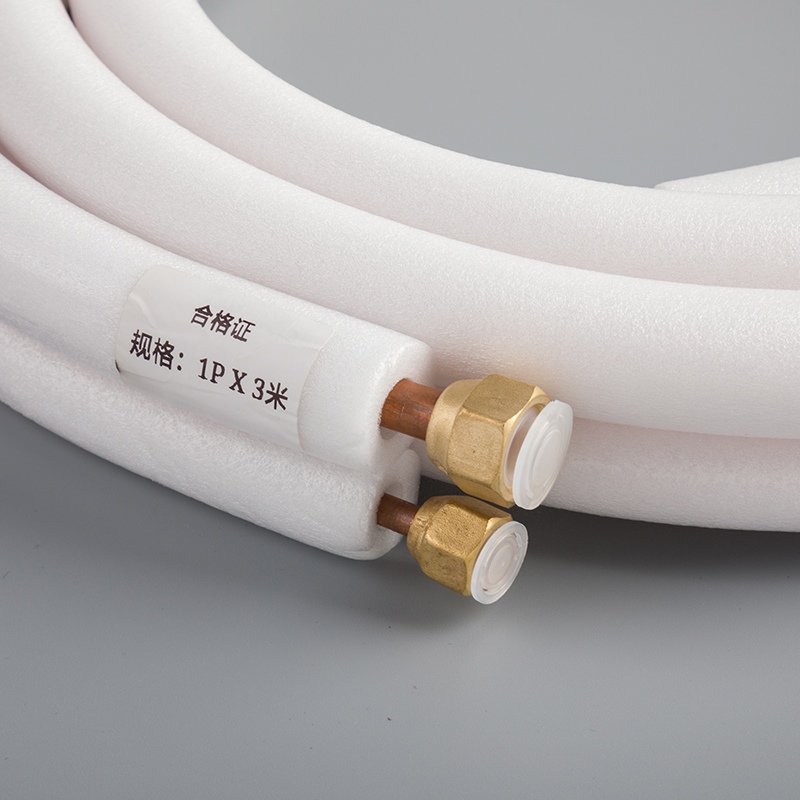
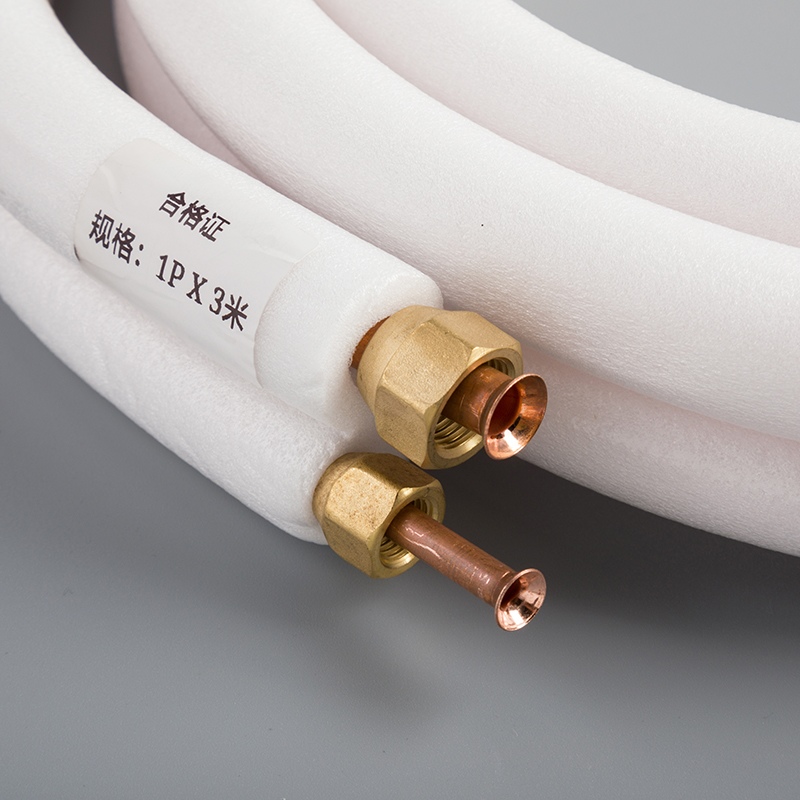
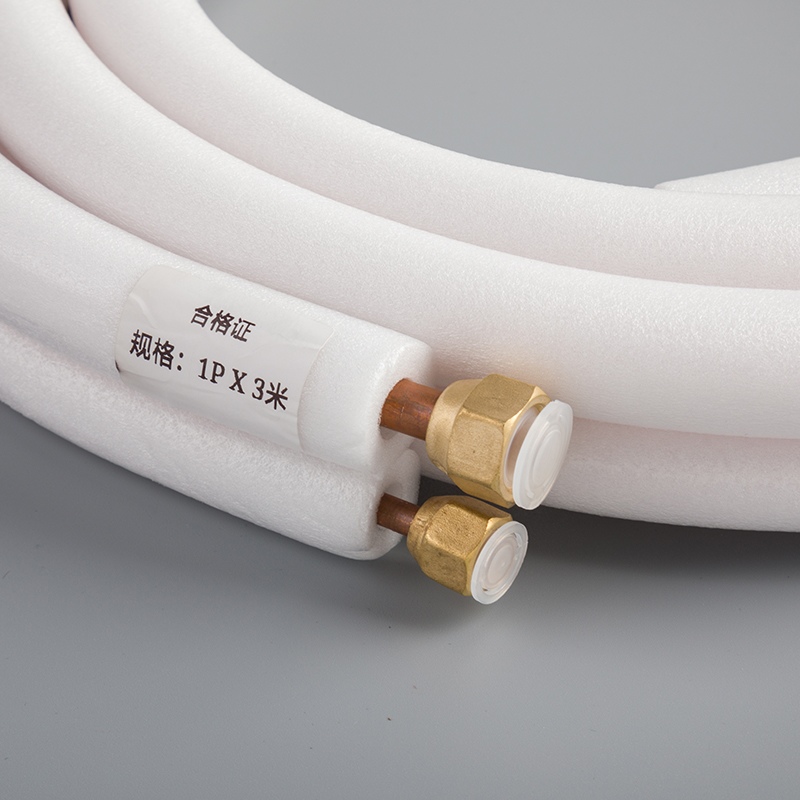
Best Practices for Caring for Copper Pipes and Fittings

Taking care of your copper pipes is essential for keeping your plumbing system efficient and long-lasting. Without proper maintenance, you might face issues like leaks, corrosion, or even freezing during winter. Problems such as pinhole leaks, mineral buildup, or burst pipes can be avoided with regular checks and proper care for copper pipe fittings.
Key Takeaways
Check your copper pipes often for leaks or rust to fix problems early and avoid expensive repairs.
Clean pipes with gentle solutions like vinegar, not strong chemicals, to keep them in good shape.
Cover pipes in cold spots to stop freezing and breaking in winter.
Benefits of Copper Pipe Fittings
Durability and Longevity
When it comes to durability, copper pipe fittings stand out as a top choice. They’re tougher and more reliable than materials like PVC or PEX. Here’s why:
PVC can become brittle over time and doesn’t handle heat well.
PEX, while flexible, doesn’t last as long or maintain its strength as effectively as copper.
Copper pipes resist UV rays and rodent damage, making them ideal for long-term use.
You can count on copper pipe fittings to withstand wear and tear, ensuring your plumbing system stays in great shape for years. This durability also means fewer repairs and less frequent replacements, saving you time and money on maintenance.
Resistance to Bacteria and Contaminants
Copper pipe fittings don’t just last long—they also help keep your water clean. Copper has natural antimicrobial properties, which means it resists bacteria and other harmful contaminants. This makes it a safer option for your home’s water supply.
If you’re concerned about water quality, copper pipes are a smart choice. They provide peace of mind by reducing the risk of bacteria buildup, ensuring your family has access to clean, safe water every day.
Tip: Regular maintenance, like checking for leaks or discoloration, can help you spot any issues early and keep your copper pipes performing at their best.
Eco-Friendly and Recyclable Material
Did you know copper is one of the most environmentally friendly materials used in plumbing? About 32% of the copper used annually comes from recycled sources. Recycling copper uses only 15% of the energy required to mine and process new copper. This significantly reduces CO2 emissions, making copper pipe fittings a sustainable choice.
By choosing copper, you’re not just investing in a durable and reliable material—you’re also contributing to a greener planet. Plus, when it’s time to replace your pipes, copper can be recycled again, reducing waste and conserving resources.
Maintenance Tips for Early Leak Detection
Spotting leaks early can save you from costly repairs and water damage. With a few simple steps, you can stay ahead of copper pipe issues and keep your plumbing system in top shape.
Regular Visual Inspections
Take a few minutes every month to inspect your pipes. Look for cracks, dents, or any unusual changes. Pay close attention to joints and fittings, as these areas are more prone to leaks. If you notice anything out of the ordinary, it’s time to act.
Tip: Use a flashlight to check hard-to-reach areas. A little extra effort now can prevent bigger problems later.
Identifying Moisture or Discoloration
Moisture or discoloration on walls, ceilings, or near pipes often signals a leak. Don’t ignore these signs. Even small amounts of water can lead to mold growth or structural damage. If you’re unsure, touch the area to confirm if it’s damp.
For more precise detection, consider hiring a leak detection specialist. They use advanced tools like hydrophones to pinpoint leaks without unnecessary digging. Specialists are known for their accuracy and efficiency, making them a smart choice for tricky situations.
Monitoring Water Pressure
Unusual changes in water pressure can indicate copper line leaks. If your water pressure suddenly drops or fluctuates, it’s worth investigating. Use a pressure gauge to check the levels. Consistent readings outside the normal range might mean there’s a problem.
Regular maintenance, like monitoring pressure and inspecting pipes, helps you catch issues early. Staying proactive keeps your plumbing system running smoothly and avoids unexpected surprises.
Cleaning and Corrosion Prevention for Copper Lines

Keeping your copper pipes in good condition requires regular cleaning and proactive steps to prevent corrosion. With the right techniques, you can extend the life of your plumbing system and avoid costly repairs.
Using Mild Cleaning Solutions
When it comes to cleaning copper pipes, gentle methods work best. Harsh chemicals can damage the surface and accelerate corrosion. Instead, try these mild cleaning solutions:
Scotchbrite Pads: These pads are perfect for removing tarnish and light corrosion without scratching the surface.
Steel Wool: Use fine-grade steel wool (like grade 0000) to clean stubborn spots without harming the copper.
Rubber Sanding Pads: Attach these to a drill for internal cleaning. They’re great for tackling light to moderate corrosion.
These tools are effective and safe, making them ideal for maintaining your copper pipes.
Avoiding Abrasive Cleaners
Abrasive cleaners might seem like a quick fix, but they can do more harm than good. Scrubbing too hard or using harsh materials can wear down the protective layer on copper pipes, leaving them vulnerable to corrosion. Stick to soft materials and gentle pressure when cleaning. If you’re unsure, test your cleaning method on a small, hidden section first.
Tip: Avoid using bleach or ammonia-based products. These can react with copper and cause discoloration or damage.
Applying Protective Coatings
Once your pipes are clean, consider applying a protective coating. This extra layer shields the copper from moisture and air, two key factors that cause corrosion. Look for coatings specifically designed for copper pipes. They’re easy to apply and provide long-lasting protection. Regular maintenance, like reapplying the coating every few years, ensures your pipes stay in top condition.
By following these steps, you can clean copper lines effectively and keep corrosion at bay. A little effort now can save you from bigger headaches down the road.
Insulation and Temperature Protection for Copper Pipes

Insulating Pipes in Cold Areas
If you live in a colder climate, insulating your copper pipes is a must. Without proper insulation, pipes are vulnerable to freezing, which can lead to bursts and expensive repairs. Choosing the right insulation material is key to protecting your plumbing system. Here’s a quick guide to help you decide:
Insulation Material | Pros | Cons | Best For |
|---|---|---|---|
Polyethylene Foam | Affordable, easy to install, effective for moderate temperature control | Limited flexibility | DIY projects and residential hot or cold water pipes in moderate climates |
Rubber Insulation | Flexible, durable, resistant to temperature fluctuations and UV exposure | Higher cost compared to foam options | Outdoor pipes or areas with significant temperature changes |
Fiberglass Insulation | High thermal resistance, excellent for extreme temperatures, effective noise reduction | Requires careful handling and installation | Industrial or high-temperature applications, where maximum thermal resistance is needed |
Pick the material that suits your needs and budget. For most homes, polyethylene foam or rubber insulation works well.
Preventing Freezing During Winter
Frozen copper pipes can cause major headaches. When water freezes, it expands, putting pressure on the pipe walls. This often leads to bursts, with repair costs averaging $5,000. To avoid this, insulate pipes in unheated areas like basements, attics, or crawl spaces. Insulation keeps the pipe surface above freezing, reducing the risk of damage.
Tip: Don’t forget to disconnect outdoor hoses and shut off exterior water lines before winter. This simple step can prevent freezing and save you money.
Managing Temperature Fluctuations
Temperature changes can stress your copper pipes, leading to leaks or reduced efficiency. Insulation minimizes these fluctuations, keeping your plumbing system stable. Lightweight foam insulation is great for low-temperature areas, while fiberglass works well for both hot and cold pipes. For high-temperature applications, mineral wool provides superior thermal resistance.
By insulating your pipes, you’ll not only protect them from damage but also improve their longevity and efficiency. A little maintenance now can save you from costly repairs later.
Proper Installation of Copper Pipe Fittings
Ensuring Secure Connections
Getting a secure connection is crucial when installing copper pipe fittings. A loose joint can lead to leaks, while an overly tight one might cause damage. To ensure a proper fit, always prepare the fittings correctly. Clean the pipe ends thoroughly and remove any debris or oxidation. This step allows the solder to flow smoothly into the joint, creating a strong bond.
Avoid common mistakes like using low-quality materials or skipping the preparation process. These errors can result in tight fits that block solder flow, leaving your connections weak. Always leave a small gap between the pipe and fitting to let the solder fill the joint evenly.
Tip: Invest in fittings from professional plumbing suppliers rather than retail stores. High-quality materials make a big difference in the durability of your connections.
Using the Right Tools and Materials
The right tools can make or break your installation process. Here are a few essentials you’ll need:
Duct Tape: Perfect for securing foam sleeves or insulation wraps, ensuring no gaps are left.
Adhesive: Armaflex 520 adhesive provides a strong bond for insulation pieces, even in challenging environments.
Narrow Pieces of Wood: These support the weight of the pipes, preventing insulation from compressing and losing effectiveness.
Using these tools not only simplifies the process but also ensures your copper pipes remain in excellent condition. Proper tools are a key part of good maintenance practices.
Avoiding Over-Tightening Fittings
It’s easy to think that tighter is better, but over-tightening fittings can cause serious problems. Here’s what might happen:
The fittings or tubing could deform, compromising their integrity.
Disassembling the fittings later might become impossible.
Leaks could develop, defeating the purpose of a tight connection.
In extreme cases, the tubing might fail entirely.
To avoid these issues, tighten fittings just enough to create a snug seal. If you’re unsure, consult a professional plumber to ensure everything is installed correctly.
By following these tips, you’ll set yourself up for a successful installation. Proper preparation, the right tools, and careful tightening will keep your copper pipes functioning efficiently for years to come.
Harmful Practices to Avoid in Copper Line Maintenance
Avoiding Harsh Chemicals
Using harsh chemicals might seem like a quick fix for cleaning or unclogging pipes, but it can do more harm than good. Chemicals like bleach, ammonia, or drain cleaners can react with copper, causing corrosion and weakening the pipe walls. Over time, this can lead to leaks or even pipe failure.
Instead, stick to mild cleaning solutions or natural alternatives like vinegar and baking soda. These options are safer for your copper pipes and still effective at removing buildup. If you’re dealing with a stubborn clog, consider using a plumbing snake or calling a professional plumber to avoid damaging your pipes.
Tip: Always read product labels before using any cleaner on your pipes. Look for products specifically designed for copper line maintenance.
Preventing Physical Damage to Pipes
Physical damage is one of the most common causes of copper pipe issues. It can happen in several ways:
Corrosion from poor water quality, such as acidic water or high chlorine levels.
Ground movement or tree roots pressing against underground pipes.
Freezing and thawing cycles during winter.
Improper installation techniques, like poor soldering or using incompatible materials.
High water pressure stressing the pipes.
To prevent these problems, conduct regular inspections of your plumbing system. Address water quality issues by installing a water softener or filtration system. If you’re planning any landscaping or construction work, ensure the pipes are protected from external forces. Proper maintenance can help you prevent costly repairs caused by physical damage.
Avoiding DIY Repairs Without Proper Knowledge
DIY repairs might seem like a cost-saving option, but they often lead to bigger problems. Without the right tools or knowledge, you risk making mistakes that can damage your plumbing system. For example:
Risk | Example | Cost of DIY Failure | Cost of Professional Repair |
|---|---|---|---|
Improper Pipe Connections | Using PVC fittings for copper pipes, causing leaks. | $3,000 | $300 - $500 |
Using Incorrect Materials | Replacing hot water lines with standard PVC pipes. | $2,500 | $200 - $400 |
Inadequate Sealing | Using plumber’s putty instead of Teflon tape. | $2,000 - $6,000 | $150 - $300 |
Hiring a professional ensures the job is done correctly and complies with local plumbing codes. It’s a small investment that can save you from expensive repairs down the road.
Note: If you’re unsure about a repair, it’s always better to call a plumber than risk damaging your copper pipes.
Professional Maintenance and Repairs for Copper Pipes
When to Call a Plumber
Sometimes, copper pipe repair is best left to the professionals. Knowing when to call a plumber can save you from costly damage. Here are some signs that it’s time to pick up the phone:
Leaky Pipes: Constant dripping sounds, moisture under sinks, or brown spots on walls are red flags.
Discolored Water: If your water isn’t running clear, it could mean your copper plumbing is corroding.
Foul Smell: Unpleasant odors might indicate broken sewer pipes.
Slow Drains: Persistent clogs often need professional attention.
Frozen Pipes: These can lead to serious copper line repairs if not addressed quickly.
If you notice frequent leaks, visible corrosion, or low water pressure, it’s time to act. Don’t wait for small issues to turn into major problems.
Benefits of Professional Inspections
Scheduling regular professional maintenance checks for your copper plumbing offers several advantages. These inspections:
Extend the lifespan of your copper pipes.
Reduce the risk of unexpected plumbing emergencies.
Lower repair costs by catching issues early.
Minimize the frequency of copper pipe repair needs.
A professional plumber can spot problems you might miss, ensuring your system stays in top shape.
Ensuring Compliance with Local Plumbing Codes
Professional plumbers don’t just fix pipes—they also ensure your copper plumbing meets local codes. These regulations exist to keep your home safe and your plumbing efficient. Non-compliance can lead to fines or even require costly rework.
By hiring a licensed plumber, you’ll have peace of mind knowing your copper line repairs are done correctly. They’ll use approved materials and techniques, ensuring your system is both durable and up to code.
Tip: Always verify that your plumber is licensed and familiar with local regulations. This small step can save you from future headaches.
Taking care of your copper pipes doesn’t have to be complicated. By following a few simple steps, you can keep your plumbing system in great shape for years. Here’s a quick recap of the most important tips:
Inspect pipes regularly for leaks or corrosion.
Monitor water pressure to catch problems early.
Use proper fittings and avoid harsh chemical cleaners.
Clean copper lines to prevent oxidation.
Insulate pipes in cold areas to avoid freezing.
Schedule professional maintenance checks for thorough inspections.
These practices not only protect your pipes but also save you money in the long run.
Economic Benefit | Description |
|---|---|
Ease of Upkeep | Copper pipes require less maintenance, reducing long-term costs. |
Enhanced Property Resale Value | Modernized plumbing with copper pipes increases property value. |
Long-term Reliability | Durable copper pipes mean fewer repairs, saving money over time. |
By staying proactive, you’ll enjoy a reliable plumbing system and peace of mind. Start implementing these tips today to ensure your copper pipes last for decades!
FAQ
How often should you inspect copper pipes for issues?
You should inspect your copper pipes every three to six months. Regular checks help you catch leaks or corrosion early, saving you from costly repairs.
Can you use vinegar to clean copper pipes?
Yes, vinegar works well for cleaning copper pipes. It’s a natural and safe option for removing tarnish or light buildup without causing damage.
What’s the best way to prevent pipe freezing in winter?
Insulate your pipes, especially in unheated areas. Proper insulation is a key part of copper pipe maintenance and keeps your plumbing safe during freezing temperatures.
See Also
Essential Strategies for Enhancing Copper Pipe Performance
Five Key Tips for Caring for Copper Pipe Coils
Five Important Guidelines for 1/4 Copper Pipe Fittings
The Definitive Handbook for Premium Copper Pipe Fittings
Comprehensive Overview of Copper Pipe Varieties and Soldering


