Step-by-Step Guide to Installing an Air Conditioner Pipe Kit

Installing an air conditioner pipe kit might seem like a daunting task, but getting it right is crucial. A proper installation ensures your system runs efficiently and lasts longer. If you rush or skip steps, you might end up with poor cooling or even damage to your unit. By following this guide, you’ll learn how to set up the pipe kit correctly and keep your air conditioner working at its best.
Remember, taking the time now saves you from headaches later!
Key Takeaways
Get all tools and supplies ready before you begin. This helps you work faster and stay calm while installing.
Pick a good spot for the air conditioner. Make sure there’s enough room for air to move and keep it away from heat.
Be safe while working. Wear safety gear and use tools carefully to prevent injuries.
Look for leaks in the pipes after you’re done. Test connections with soapy water to make sure they’re tight.
Take care of your air conditioner often. Clean the filters and check the pipes to keep it working well.
Tools and Materials Needed
Before starting, gather everything needed for the job. Having the right tools will save time and avoid stress.
Tools You’ll Need
Here are the main tools required. These tools make the job easier and safer:
Pipe Wrenches: Used to connect pipes to HVAC systems. They come in various sizes for different pipes.
Tubing Cutters: These cut copper pipes neatly. Rough edges can cause problems later.
Insulated Screwdrivers: Protect you from shocks when working with electrical parts.
Pliers: Useful for cutting, bending, or holding wires. Different types work for specific tasks.
Tip: Good-quality tools make installation smoother and prevent damage to your system.
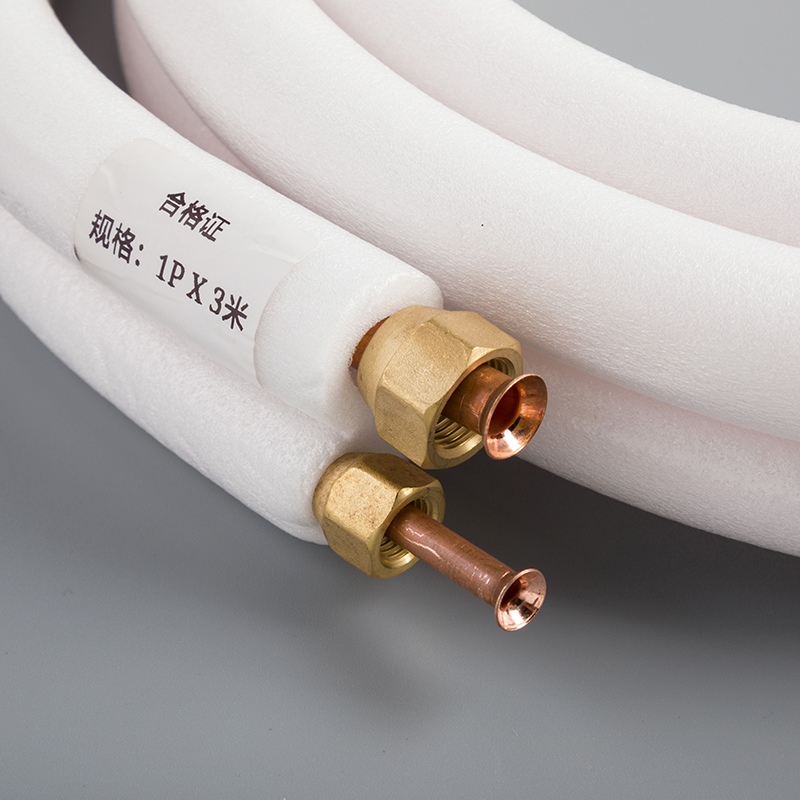
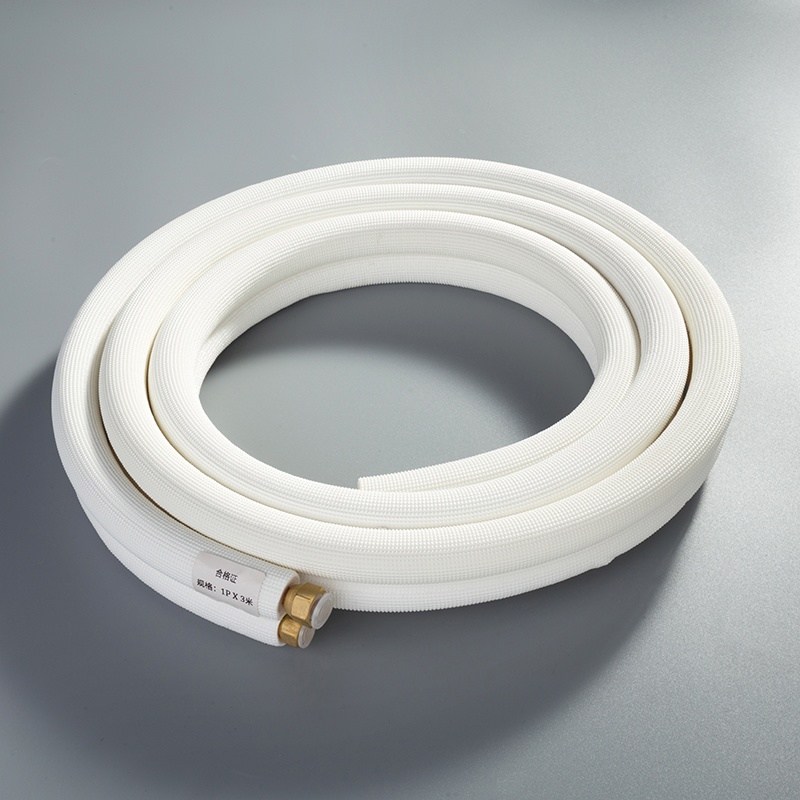
What’s in the Pipe Kit?
Your pipe kit includes important parts. These meet industry standards for quality and performance:
Product Description | Certification | Type | Shape | Alloy | Grade | State |
|---|---|---|---|---|---|---|
UL Certified Insulated Copper Tube 20m | CE, ISO, RoHS | Straight Copper Pipe | Round | Alloy | Tp2 | Soft |
CE, ISO, RoHS | Straight Copper Pipe | Round | Alloy | Tp2 | Soft | |
Refrigeration Grooved Copper Coil | RoHS, ISO, CE | Straight Copper Pipe | Round | Alloy | Tp2 | Soft |
Insulated Copper Pipes 3-Layer Insulation | CE, ISO, RoHS | ASTM B88, ASTM B837, ASTM B306, ASTM B883 | Round | Alloy | Tp2 | Soft |
Best Quality 5m Kit 1/4+3/8 Copper Pipe | ASTM B280 | Straight Copper Pipe | Round | Alloy | Tp2 | Soft |
These parts are certified for durability and top performance.
Extra Items You Might Need
You may need a few more things to finish the job. Here’s a list:
Sealant Tape: Stops leaks by sealing pipe connections.
Cable Ties: Keeps wires and pipes neat and tidy.
Safety Gloves: Protects your hands from sharp tools or materials.
Drill and Bits: Helps create holes to secure pipes in place.
Note: Check your kit to ensure all parts are there before you begin.
Preparing for Installation
Picking the Right Spot
Choosing where to put your air conditioner is very important. Use this checklist to pick the best location:
The spot should be easy to clean and maintain.
Leave enough room around it for air to flow well.
Don’t place it near doors or windows to avoid air mixing.
Keep it away from stoves or heaters to save energy.
Pick a shaded area to stop overheating from sunlight.
Tip: A clean, open area without dust helps your system work better.
Cleaning the Space and Marking Drill Spots
Before starting, clean the area where the unit will go. This makes installation easier. Follow these steps:
Remove dirt and dust from the space.
Put the unit in its chosen spot.
Place it on a strong base as the instructions say.
Match the base holes with the unit’s fixing points.
Use pads under the unit to lower noise and wear.
Mark drill spots carefully to match the unit’s position.
Note: Check the alignment twice before drilling. Good placement helps pipes and cables fit perfectly.
Staying Safe During Installation
Safety is very important while installing the unit. Follow these rules:
Wear gloves, goggles, and shoes that don’t slip.
Follow electrical safety rules to avoid shocks.
Use tools properly and check they’re working well.
If working high up, wear gear to prevent falls.
Learn how to handle refrigerants and what to do in emergencies.
Alert: Don’t skip safety steps. Even small mistakes can cause big problems.
Installing the Air Conditioner Pipe Kit

Connecting Pipes to the Indoor Unit
The first step is attaching pipes to the indoor unit. Look for the pipe connectors on the back of the unit. These are usually labeled to show where each pipe fits.
Follow these steps:
Prepare the Pipes: Make sure the copper pipes are clean and clear. Dirt can block airflow and lower efficiency.
Attach the Pipes: Connect the pipes carefully to the unit’s connectors. Use a pipe wrench to tighten them, but don’t over-tighten. This could damage the threads.
Seal the Connections: Wrap sealant tape around the joints to stop leaks. This step is very important for keeping the system working well.
Tip: Check all connections twice before continuing. A loose pipe can leak refrigerant, which is expensive to fix.
Connecting Pipes to the Outdoor Unit
After securing the indoor pipes, connect the pipes to the outdoor unit. This step needs careful work to ensure the system runs smoothly.
Here’s how to do it:
Align the Pipes: Place the pipes so they match the outdoor unit’s connectors. This avoids bending and reduces strain.
Attach the Pipes: Tighten the connections with a pipe wrench, just like before. Add sealant tape to secure the joints.
Secure the Pipes: Use cable ties to hold the pipes steady. This keeps them from moving or getting damaged later.
Alert: Keep the outdoor unit raised on a strong base. This prevents water damage during heavy rain.
Securing and Insulating the Pipes
The last step is insulating the pipes. Good insulation stops heat loss and helps the air conditioner work better.
Follow these steps:
Wrap the Pipes: Cover the copper pipes with the insulation material from your kit. Make sure the insulation fits tightly and covers the whole pipe.
Secure the Insulation: Use tape or cable ties to hold the insulation in place. This keeps it from slipping off over time.
Test Thermal Performance: Certifications like ASTM C518 and ASTM C335 check how well the insulation works. These tests show how it performs in different situations.
ASTM Test Method | Description | Application Context |
|---|---|---|
ASTM C518 | Measures how well insulation blocks heat between flat surfaces. | Shows performance in steady conditions. |
ASTM C335 | Tests how insulation works on pipes in real-world settings. | Shows how it performs in daily use. |
Note: Insulating pipes saves energy and helps your air conditioner last longer.
Testing and Ensuring Functionality
Checking for Leaks
Before testing, ensure all pipe connections are tight. Leaks can lower efficiency and harm your air conditioner. Here’s how to check for leaks:
Look Closely: Inspect all pipe joints carefully. Moisture or frost might mean a leak.
Soap Test: Mix water with dish soap. Apply it to pipe joints. Bubbles show a leak.
Modern Methods: Advanced tools like CFD simulations find leaks faster and better.
Recent studies highlight effective leak-checking methods:
Dong et al. used CFD simulations to detect SF6 leaks well.
Maojuan et al. found height and airflow affect R290 refrigerant leaks.
Zhang et al. studied how pressure and wind impact R290 leak scenarios.
Tip: Always check for leaks after setup. It prevents costly fixes later.
Testing the Air Conditioner System
After confirming no leaks, test the air conditioner to ensure it works.
Steps to follow:
Turn It On: Power the air conditioner and set your desired temperature.
Check Airflow: Ensure cool air flows evenly from vents. Uneven flow may mean a problem.
Measure Temperature: Use a thermometer to check room temperature. Record readings for consistency.
Standard testing ensures proper function:
Section | Description |
|---|---|
Overview | Checks how air conditioning affects CO2 emissions. |
Interior air temperature | Measures room temperature every 5 seconds. |
System settings | Confirms correct settings for testing. |
Test procedure | Follows emission testing rules with exceptions. |
Alert: If cooling fails, recheck pipe connections and insulation.
Adjustments for Optimal Performance
Small tweaks can improve your air conditioner’s performance after installation.
Set the Thermostat: Choose a comfortable temperature. Avoid extreme settings to save energy.
Check Insulation: Make sure insulation covers all pipes tightly. Gaps cause heat loss.
Outdoor Unit Placement: Keep the outdoor unit shaded and on a strong base. This prevents overheating and water damage.
Regular maintenance is key. Clean filters, inspect pipes, and check for wear often.
Note: Small fixes now can stop bigger problems later.
Putting in an air conditioner pipe kit isn’t too hard. If you follow the steps, your system will work well and last longer. From picking tools to testing, each step matters for good performance.
Here’s a simple breakdown of the main steps:
Step | What to Do |
|---|---|
1 | Secure lines every 4-6 feet to stop damage. |
2 | Avoid bending or twisting the lines too much. |
3 | Use dry nitrogen to protect pipes and check for leaks. |
4 | Add condensate lines to stop water from flooding. |
5 | Install the thermostat to control the system properly. |
6 | Test the system to make sure it works well. |
To do it right, check all connections, insulate pipes, and test everything carefully. Clean filters and check pipes often to keep your air conditioner working great.
Tip: Don’t rush. Take your time to avoid costly mistakes.
With care and focus, you’ll enjoy a cool and comfy home for a long time.
FAQ
1. How long does it take to install an air conditioner pipe kit?
It usually takes 2–4 hours to finish. The time depends on your skill and how tricky the setup is. If you're new, go slow and follow each step carefully.
2. Can I install the pipe kit without professional help?
Yes, you can do it yourself! This guide is made for DIY fans. But if you're unsure about refrigerants or electrical work, hiring a pro is safer.
3. What should I do if I notice a leak after installation?
First, turn off the air conditioner right away. Check all pipe connections and tighten them if needed. Use soapy water to test for leaks. If the problem doesn’t stop, call a technician for help.
4. Do I need to insulate the pipes?
Yes, insulating pipes is very important. It stops heat loss and helps the system work better. Insulation also prevents condensation, which can cause water damage later.
5. What tools are essential for this installation?
You’ll need pipe wrenches, tubing cutters, screwdrivers, and pliers. A drill and sealant tape are also useful. The right tools make the job easier and safer.
Tip: Check your tools before starting to avoid delays.
See Also
Simple Methods To Expertly Install Copper Tubes For AC
Comprehensive Instructions For Purchasing Copper Pipe Coils
Five Essential Steps For Safe Copper Pipe Coil Installation
Thorough DIY Manual For Repairing AC Copper Tubing Leaks
The Definitive Handbook For Installing Twin Copper Pipe Coils

© Copyright 2024 Dongguan Baoyuan Refrigeration Parts Co.,Ltd - All Rights Reserved.