
You can master copper pipe & fittings with just a few easy steps. Push-fit and compression fittings make the job simple, even if you have never tried plumbing before. Remember to stay safe. Learning these skills saves money and gives you confidence to handle small repairs at home.
Key Takeaways
Begin with push-fit and compression fittings for simple installation. These ways do not need special skills and do not use heat.
Always look at local plumbing rules before you start any project. This keeps you safe and follows the law.
Collect all the tools and materials you need before you begin. Being ready makes the installation easier and safer.
Copper Pipe & Fittings Basics
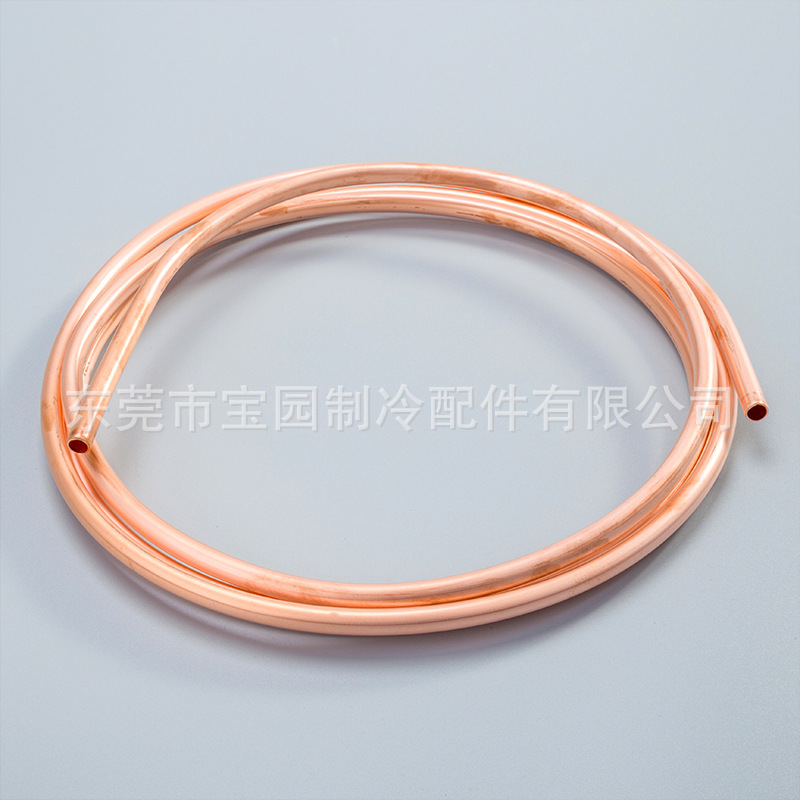
Copper pipe & fittings play a big role in home plumbing. You see them in water supply lines, heating systems, and even some gas lines. They last a long time and resist corrosion, which makes them a favorite for many homeowners. When you work with copper pipe & fittings, you get strong, reliable piping that stands up to daily use.
Types of Copper Pipe Fittings
You will find several types of copper pipe & fittings, each with its own job. Here’s a quick look:
Type | Description |
|---|---|
Elbows | Change the direction of piping. |
Tees | Split piping into two branches. |
Couplings | Join two pipes in a straight line. |
Adapters | Connect pipes of different sizes. |
Compression | Secure pipes with a nut and ferrule, no heat needed. |
Flare | Connect pipes to appliances, often for high-pressure systems. |
Transition | Join copper pipe to other materials, like plastic. |
Connection Methods Overview
You have a few ways to connect copper pipe & fittings. Some methods need more skill, while others are perfect for beginners:
Soldering: You heat the joint and melt solder to seal it.
Brazing: Similar to soldering but hotter and stronger.
Press fittings: You use a special tool to press the fitting onto the pipe.
Threaded connections: You screw the pipes together.
Compression fittings: You tighten nuts to seal the joint.
Push-on fittings: You just push the fitting onto the pipe—no tools needed.
Clamp-on fittings: You crimp the fitting with a tool.
Solderless connections, like push-on fittings and compression fittings, are safer for beginners. You avoid open flames and lower the risk of accidents.
Best Beginner Options
If you’re new to copper pipe & fittings, start with push-on fittings and compression fittings. Push-on fittings snap right onto the pipe, making them super easy. Compression fittings only need a couple of wrenches. Both options skip the need for heat or special skills. You can fix leaks or add new piping without much fuss.
Before you start any piping project, check your local plumbing codes. Some areas have rules about which fittings or connection methods you can use. This step keeps your home safe and up to code.
How to Fit Copper Pipes Step by Step
Tools and Materials
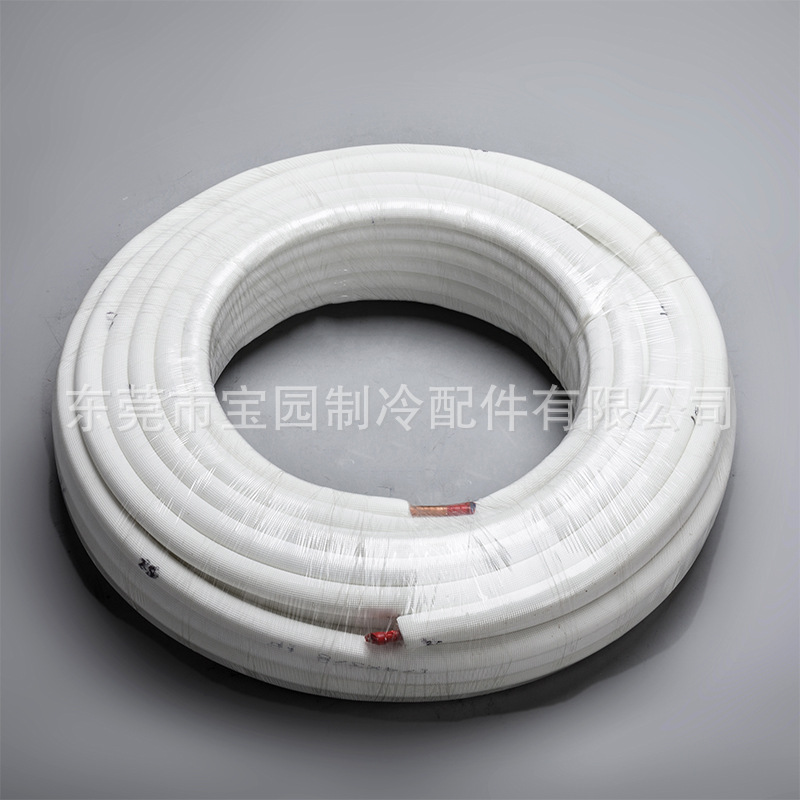
Before you start, gather the right tools and materials. Having everything ready makes the job smoother and safer. Here’s what you’ll need:
Copper pipes and your choice of fittings (push-fit, compression, or soldered connections)
Pipe cutter or hacksaw (a pipe cutter gives cleaner cuts)
Emery cloth or sandpaper (to clean pipe ends)
Measuring tape and marker
Adjustable wrenches (for compression fittings)
Propane torch and solder (if you plan to make soldered connections)
Flux paste (helps solder flow)
Pipe cleaning brush (for inside fittings)
Safety gear: gloves, goggles, and a fire-resistant cloth (for soldering)
Pressure gauge (to check for leaks after installation)
If you want to try press joining systems later, you’ll need a special pressing tool, but for beginners, push-fit and compression fittings work well without extra gear.
Cutting and Preparing Pipes
Cutting and preparing pipes properly sets the stage for strong joints. Follow these steps:
Measure the length you need and mark the pipe clearly.
Use a pipe cutter to slice through the pipe. Turn the cutter around the pipe, tightening it gradually until the pipe separates. Avoid crushing the pipe.
If you use a hacksaw, cut straight and file down any rough edges.
Clean the pipe ends with emery cloth or sandpaper until shiny. Remove all dirt, grease, and oxidation.
For soldered connections, also clean the inside of the fittings with a pipe brush.
Make sure the pipe ends are smooth and free of burrs. This helps the fittings slide on easily and creates a tight seal.
Connecting with Push-Fit and Compression
Push-fit and compression fittings are beginner-friendly joining methods. Here’s how to use each:
Push-Fit Fittings:
Simply push the pipe into the fitting until it clicks or seats fully.
Make sure the pipe is clean and cut squarely.
Push-fit fittings have internal O-rings that seal the joint without tools.
They allow quick installation and easy removal if needed.
Compression Fittings:
Slide the compression nut and ferrule (ring) onto the pipe.
Insert the pipe into the fitting body fully.
Slide the ferrule and nut up to the fitting and hand-tighten the nut.
Use two wrenches to tighten the nut firmly but avoid over-tightening, which can damage the ferrule.
Compression fittings create a strong seal by compressing the ferrule onto the pipe.
Both methods avoid open flames and complex soldering techniques. They work well for water supply lines and repairs.
Soldering Basics for Beginners
Soldered connections offer a permanent, strong joint but require more skill and safety care. Here’s a simple technique to get started:
Clean the pipe ends and fitting interiors thoroughly.
Apply flux paste evenly to both pipe and fitting surfaces.
Assemble the joint by pushing the pipe into the fitting.
Heat the joint evenly with a propane torch until the flux sizzles.
Touch the solder wire to the joint’s edge. The heat will melt the solder, drawing it into the joint by capillary action.
Remove the heat and let the joint cool naturally. Don’t move the pipe while cooling.
Wipe off any excess flux to prevent corrosion.
Remember, soldered connections and brazing joints differ mainly in temperature and strength. Brazing joints use higher heat and stronger filler metals, but soldering is enough for most home plumbing.
Safety Tips
Safety matters every step of the way. Keep these tips in mind:
Always wear gloves and goggles, especially when cutting pipes or soldering.
Work in a well-ventilated area to avoid inhaling fumes.
Keep a fire-resistant cloth nearby when using a torch.
Turn off the water supply before starting any work.
Use tools properly and avoid rushing.
Check local codes for approved joining methods and materials.
If you use press joining systems, follow the tool manufacturer’s safety instructions.
Troubleshooting Leaks
Leaks can happen, but you can find and fix them quickly if you know what to look for. Here’s how to spot leaks and solve common problems:
Listen for unusual sounds like hissing or rushing water near your joints.
Use a pressure gauge to monitor water pressure. A sudden drop may mean a leak.
Pour food coloring into a toilet’s water supply line. If color appears in the bowl without flushing, you have a leak.
Common causes of leaks include pinhole leaks from corrosion, high water pressure, or poor installation like bad soldered connections or damaged pipes.
To fix leaks:
Turn off the water at the main valve.
Drain the pipes by opening faucets.
For small leaks, use temporary fixes like pipe repair clamps, epoxy putty, or rubber gaskets with hose clamps.
For permanent repairs, cut out the damaged section and install new pipe with push-to-connect fittings or soldered connections.
Slowly turn the water back on and check for leaks again.
If you find multiple leaks or feel unsure, call a professional plumber.
Remember, good preparation and careful technique help prevent leaks before they start.
By following these installation procedures, you’ll gain confidence in fit copper pipes and create strong, reliable joints. Whether you choose push-fit, compression, soldered connections, or even press joining systems later, each joining method has its place in your plumbing toolkit.
You can install copper pipe fittings with a few simple steps. Remember these beginner tips:
Pick the right products for your project.
Use only a thin layer of flux.
Remove the flame once the solder melts.
Clean up after finishing.
Safety matters. Always check local codes before you start. Copper pipes last for decades and boost your home’s value. You gain confidence and skills with every project. Give it a try—you’ve got this! 🚀
FAQ
Can I use solderless connections for all plumbing jobs?
Solderless connections work for many home repairs. Some jobs need other methods, like high-pressure lines. Always check your local plumbing codes first.
Are solderless connections safe for drinking water?
Yes, you can use solderless connections for drinking water pipes. They make a tight seal. Buy fittings that are marked safe for potable water.
How do I remove solderless connections if I make a mistake?
Most solderless connections can be removed with a special tool. You can also follow the fitting instructions to take them off. This helps you fix mistakes or change your setup easily.
Tip: Solderless connections let you skip using open flames. You stay safer and finish your project faster.
Solderless connections are good for beginners.
You do not need special skills to use them.
You can use solderless connections for repairs and new jobs.
Solderless connections save time and keep things clean.
You can trust solderless connections for most home plumbing.
Solderless connections help you fix leaks fast.
You can buy solderless connections at most hardware stores.
Solderless connections fit many pipe sizes.
You can use solderless connections in small spaces.
Solderless connections help you avoid tricky tools.