
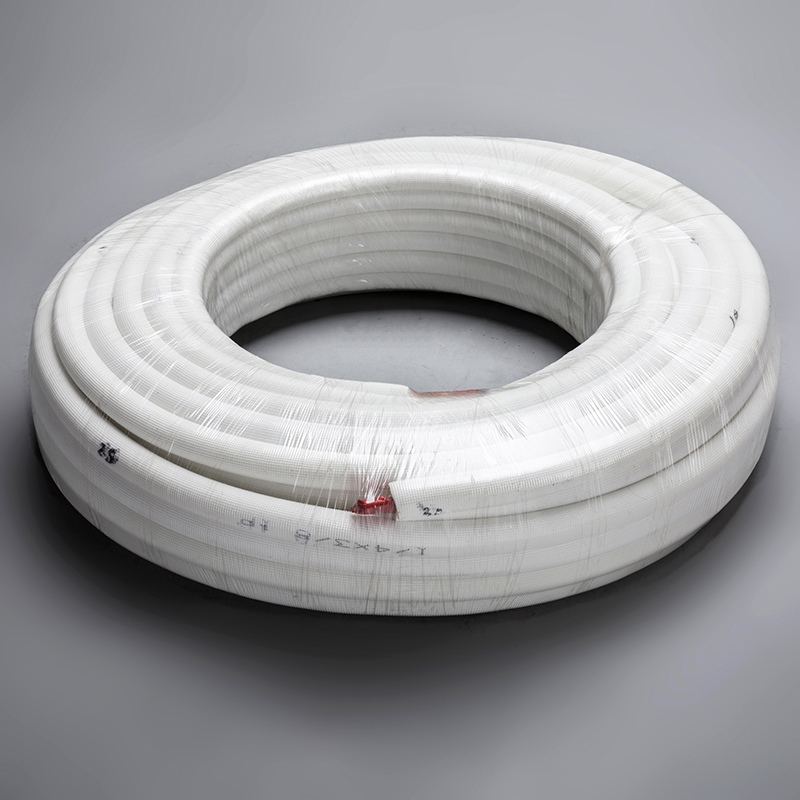
Installing Copper Pipe for Air Conditioner systems correctly is essential. Every step matters. Properly aligning the Copper Pipe for Air Conditioner, adding insulation, and performing leak checks all help prevent issues. These actions also boost the system’s performance. The table below explains how each step with Copper Pipe for Air Conditioner improves safety and efficiency:
Step | Impact on Safety and Efficiency |
|---|---|
Pipe alignment and securing | Prevents leaks and system malfunctions |
Insulation | Improves energy efficiency and performance |
Leak testing | Ensures the Copper Pipe for Air Conditioner works reliably |
You’ll discover simple methods to ensure your Copper Pipe for Air Conditioner installation is successful and long-lasting.
Key Takeaways
Use the correct tools like a pipe cutter and flaring tool. These tools help make clean cuts and tight connections. – Pick Type L copper pipe because it is strong and does not leak easily in air conditioner setups. – Make a short and straight path for the pipe. This helps the air conditioner work better and stops leaks. – Put insulation on copper pipes to save energy. This also keeps away moisture problems. – Look for leaks with a vacuum pump and soapy water. This makes sure the air conditioner works well.
Tools and Materials for Copper Pipe Installation
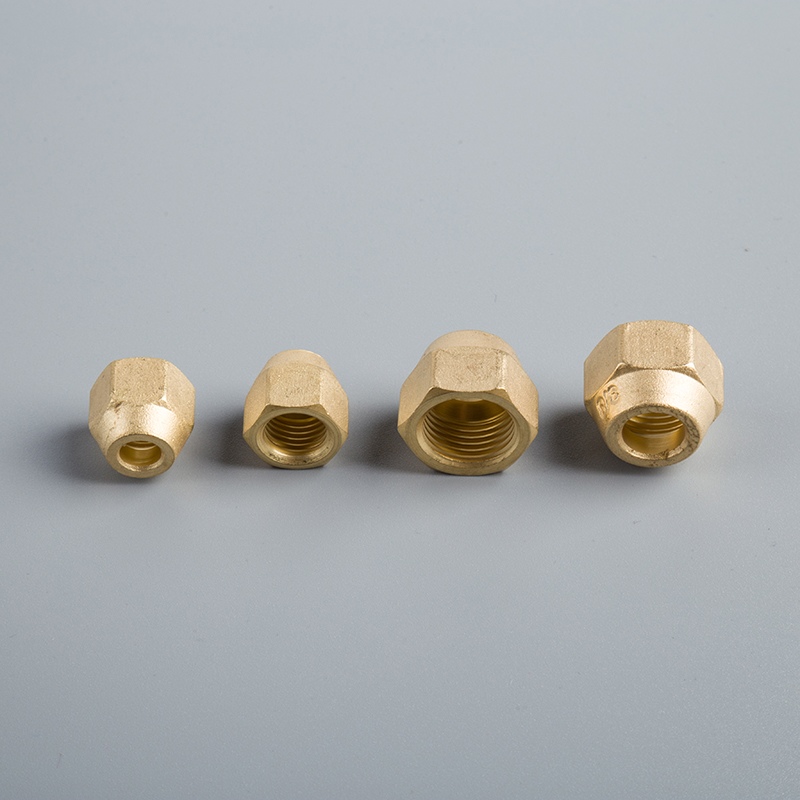
Essential Tools
You need the right tools to install copper pipe for your air conditioner. HVAC professionals recommend a few key items for a smooth installation.
Pipe cutter: This tool helps you cut copper pipe with clean, straight edges.
Flaring tool: You use this to make flares at the ends of the copper pipe. Flares help create tight, leak-free connections.
Wrenches: These help you tighten and secure fittings and connections.
Vacuum pump: This tool removes air and moisture from the copper pipe system. Removing moisture prevents damage and keeps your air conditioner running well.
Tip: Always check your tools before starting. Clean tools make your work easier and safer.
Copper Pipe Types and Sizes
You must choose the right copper pipe for your project. Most air conditioner systems use two copper pipes. One pipe carries cool refrigerant, and the other returns warm refrigerant. The most common types are Type L and Type M. Type L copper pipe is thicker and stronger. Type M is thinner and lighter. For air conditioner installations, Type L is usually best because it lasts longer and resists leaks.
Copper pipe comes in different sizes. The size you need depends on your air conditioner’s requirements. Most home systems use copper pipe with diameters between 1/4 inch and 5/8 inch. Always check your air conditioner manual for the correct size.
Safety Gear
You must protect yourself when working with copper pipe. Wear safety glasses to shield your eyes from metal shavings. Use gloves to protect your hands from sharp edges. A dust mask helps you avoid breathing in particles when cutting or sanding copper pipe. Good safety gear keeps you safe and lets you focus on doing a great job.
Site Preparation for Air Conditioner Piping
Selecting Pipe Route
You start by choosing the best path for your copper pipe. Look for a route that keeps the pipe as short and straight as possible. Avoid sharp bends or obstacles like electrical wires and plumbing. A smooth path helps your air conditioner work efficiently and reduces the chance of leaks. Plan the route so the copper pipe stays protected from damage and extreme weather. If you run the pipe outdoors, pick a spot that stays shaded to prevent heat buildup.
Tip: Use a flexible measuring tape to map the route on walls or ceilings before cutting any pipe.
Marking and Clearing Area
Once you select the route, mark it clearly with a pencil or painter’s tape. Mark where the copper pipe will pass through walls or floors. Check for studs, pipes, or wires behind these spots before drilling. Clear the area of furniture, debris, or anything that might block your work. Keeping the workspace tidy helps you move safely and work faster.
Mark all pipe bends and connection points.
Remove obstacles along the route.
Prepare tools and materials nearby for easy access.
Safety Checks
Before you start cutting or drilling, perform safety checks. Wear your safety gear, including gloves and glasses. Use a stud finder or wire detector to avoid hitting electrical cables or plumbing. Make sure your ladder or step stool is stable if you need to reach high places. Double-check that your workspace has good lighting and ventilation. Taking these precautions protects you and prevents costly mistakes.
Note: Always turn off power to nearby electrical circuits before drilling into walls.
Following these steps prepares your site well. Proper preparation makes installing the copper pipe for your air conditioner easier and safer.
Measuring and Cutting Copper Pipe for Air Conditioner
Measuring Pipe Lengths
You need to measure the copper pipe before you start cutting. Use a flexible tape measure to follow the planned route. Start at the air conditioner’s indoor unit and measure all the way to the outdoor unit. Add a few extra inches to your measurement. This extra length helps you make adjustments during installation. Write down each measurement so you do not forget. Double-check your numbers to avoid mistakes.
Tip: Mark the measured length on the copper pipe with a permanent marker for easy cutting.
Cutting and Reaming Pipe Ends
Cutting copper pipe the right way is important for a good fit. Use a pipe cutter to make clean and precise cuts. This tool helps you avoid damage or deformities. Place the pipe in the cutter, tighten the knob, and rotate the tool around the pipe. Keep turning until the pipe separates. After cutting, you need to ream the pipe ends. Reaming removes sharp edges and burrs inside the pipe. Smooth pipe ends make assembly easier and help your air conditioner system work better.
Ream the inside of each pipe end to remove burrs.
Check that each pipe end feels smooth before connecting.
Drilling Wall Holes
You must drill holes in the wall for the copper pipe to pass through. Mark the spot where the pipe will exit or enter the wall. Use a drill with the right size bit for your copper pipe. Drill slowly and keep the drill straight. This helps you avoid cracking the wall or damaging the pipe. Clean out any dust or debris from the hole. A clean hole makes it easier to slide the copper pipe through and keeps the installation neat.
Note: Always wear safety glasses when drilling to protect your eyes from dust and debris.
Connecting Copper Pipe: Flaring, Soldering, and Securing
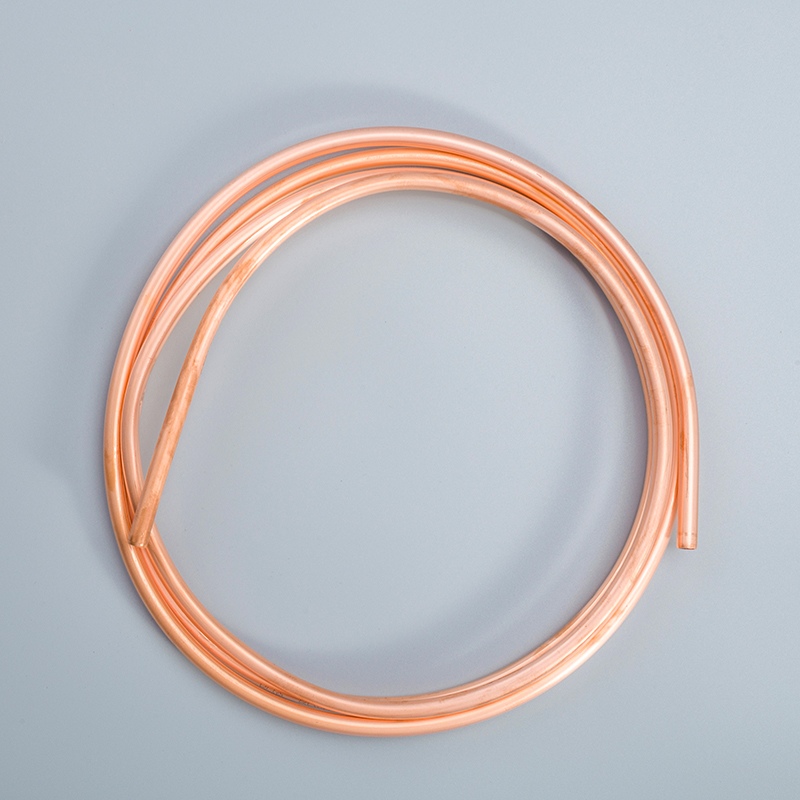
Cleaning and Fluxing Pipe Ends
You need to clean the pipe ends before connecting them. Dirt or oil can make joints weak and cause leaks. Use a wire brush or sandpaper to scrub the pipe ends. Keep scrubbing until the pipe ends look shiny. This step helps the solder stick better.
Put a thin layer of flux on the cleaned pipe ends. Also put flux inside the fittings. Flux acts like glue and helps solder spread evenly. Use a small brush or your finger to spread the flux. Do not use too much flux because extra flux can block the pipe.
Tip: Clean and add flux to both the pipe and fitting before joining. This makes strong connections that do not leak.
Flaring Copper Pipe
Flaring pipe ends helps make tight connections. You need a flaring tool made for copper pipe. First, cut the pipe to the right length. Remove sharp edges inside the pipe. Put the pipe in the flaring tool’s clamp. Leave a little bit of pipe sticking out.
Turn the flaring cone slowly to shape the pipe end. The flare should look like a wide cone. It must fit tightly against the flare nut. Check for cracks or rough edges. If you see damage, cut the pipe end and flare it again.
Note: Your air conditioner uses two refrigerant lines. Flare both pipes the right way. Use the correct pipe size for each line. This stops leaks and keeps refrigerant flowing well.
Soldering Joints
Soldering makes a strong seal between pipes and fittings. After cleaning and adding flux, fit the pipe and fitting together. Heat the joint with a propane torch. Move the flame around the joint so it heats evenly.
When the joint is hot, touch solder wire to the seam. The solder melts and fills the joint. Take away the heat and let the joint cool by itself. Do not move the pipe while the solder hardens.
Use lead-free solder made for HVAC systems.
Work where air moves well so you do not breathe fumes.
Wear gloves that resist heat and safety glasses.
Tip: Practice soldering on scrap pipe before working on your air conditioner pipes.
Connecting to Indoor and Outdoor Units
After joining the pipes, connect them to the air conditioner units. Each unit has special fittings for the refrigerant lines. Attach the flared or soldered pipe ends tightly to these fittings.
Use adjustable wrenches to tighten flare nuts. Do not tighten too much or you might damage the flare. For soldered pipes, make sure they fit snugly in the unit’s ports before soldering.
Check that the bigger pipe connects to the suction line. The smaller pipe connects to the liquid line. This step is important for the air conditioner to work right.
Note: Always follow the instructions from the manufacturer for your air conditioner model when connecting copper pipes.
If you clean, add flux, flare, solder, and secure your copper pipe connections carefully, you make a strong system that does not leak. This helps your air conditioner work well and last longer.
Air Conditioner Copper Pipe Insulation and Leak Testing
Applying Copper Pipe Insulation
You need to put insulation on copper pipes to help your air conditioner work well. The insulation stops heat from getting in or out of the copper pipe. This saves energy and helps your system stay strong. When you wrap the pipes, you keep them warmer than the dew point. This stops water from forming on the pipes and keeps away moisture problems.
Insulating copper pipes is very important for saving energy in air conditioning systems. It cuts down on heat loss or gain, so you use less energy. Good insulation also keeps the pipe surface warmer than the dew point. This means you do not get water drops or moisture on the pipes.
Pick insulation that fits tightly around the copper pipe. Most people use foam tubes or rubber sleeves for this job. Measure each pipe before you cut the insulation. Make sure you cover every part of the copper pipe, especially the parts outside or in hot places.
Covering your copper pipes with insulation is very important for saving energy. When you wrap the pipes, you stop heat from escaping or coming in. This helps your air conditioner use less energy and saves money.
Securing Insulation
After you put the insulation on the copper pipe, you need to hold it in place. Use special tape or zip ties to keep the insulation tight. Make sure there are no spaces between the pieces of insulation. Spaces let air in and can cause water drops or waste energy.
Look at all the joints and bends. Press the insulation together at corners so it stays close. If you see any open spots, fill them with more insulation. This step keeps your air conditioner copper pipe insulation working well and stops water from dripping on the floor or wall.
Wrap tape around the ends of the insulation.
Use zip ties every few feet to hold it better.
Press seams together to keep out air and water.
Tip: Check the insulation after a few days. If you find loose spots, fix them right away.
Vacuuming and Leak Detection
When you finish putting on the insulation, you need to check for leaks in the copper pipe. Use a vacuum pump to pull air and water out of the pipes. Connect the pump to the service port and let it run until the pressure goes down. This helps you find leaks and keeps the pipes dry.
After vacuuming, use a leak detector or soapy water to check all the joints and connections. If you see bubbles, there is a leak. Tighten the fittings or fix the connection if you need to. Never skip this step. Leaks waste energy and can hurt your air conditioner.
Hook up the vacuum pump to the service port.
Run the pump until you reach the right pressure.
Test every joint with a leak detector or soapy water.
Note: Always follow the instructions from the manufacturer for vacuuming and leak testing.
Good copper pipe insulation and careful leak checks help your system last longer. You save energy, stop water damage, and keep your air conditioner working its best.
You have learned the main steps to install copper pipe for your air conditioner: measuring, cutting, connecting, insulating, and testing. Always be careful and wear safety gear to avoid errors. Check every connection and make sure the flare nuts are tight to keep the system strong and stop leaks. Wrap the pipes with insulation to save energy and protect your system. If you find leaks or low refrigerant, a trained technician should fix the problem and test the repair.
Sign | Cause | Solution |
|---|---|---|
Low refrigerant levels | Undercharging or leaks | Have a professional fix leaks, test repairs, and charge the system properly. |
Remember, if you are unsure at any step, ask a professional for help. A well-installed copper pipe system keeps your air conditioner working well and lasting longer.
FAQ
What type of insulation works best for copper pipe for air conditioner?
You should use foam or rubber insulation. These materials fit snugly around the copper pipe for air conditioner. They help keep the cool air inside the pipe. Good insulation saves energy and stops water from forming. This keeps your air conditioner safe and working well.
Why does my air conditioner not cool even after installing new copper pipe for air conditioner?
You might have low refrigerant or bad insulation. Check all connections for leaks. Make sure insulation covers every part of the copper pipe for air conditioner. If it still blows warm air, ask a technician to check the compressor and system.
How does insulation improve air conditioner performance?
Insulation keeps cool air inside the copper pipe for air conditioner. It stops heat from getting in. This helps your air conditioner use less energy. You get better energy efficiency and improved system work. Insulation also stops moisture problems and helps your compressor last longer.
Can I install copper pipe for air conditioner myself?
You can install copper pipe for air conditioner if you follow all steps. Wear safety gear. Measure and cut pipes carefully. Add insulation and check for leaks. If you feel unsure, call a professional. This keeps your air conditioner safe and helps your compressor last longer.
How do I know if my compressor or copper pipe for air conditioner has a leak?
You can put soapy water on joints and insulation. If you see bubbles, there is a leak. Low refrigerant or poor cooling can also mean leaks. Fix leaks quickly to protect your compressor and keep cool air flowing in your air conditioner.